At the start of this tutorial, you should have a Windows PC connected to your network either by Wi-Fi or Ethernet. Please note, that if you connect your PC to your network via Ethernet, you will have to have a second Ethernet port in order to connect your VPN incompatible device. Usually, you can buy an NIC card to add a second port on your desktop PC. On laptops, an Ethernet port usually is already there, and you can connect the laptop over Wi-Fi.
You will also have a VPN incompatible device, which does not support any VPN protocols, but can connect to the internet using an Ethernet port.
Note: Make sure you are not connected to TorGuard VPN at the beginning - the tutorial will mention when you can connect.
-
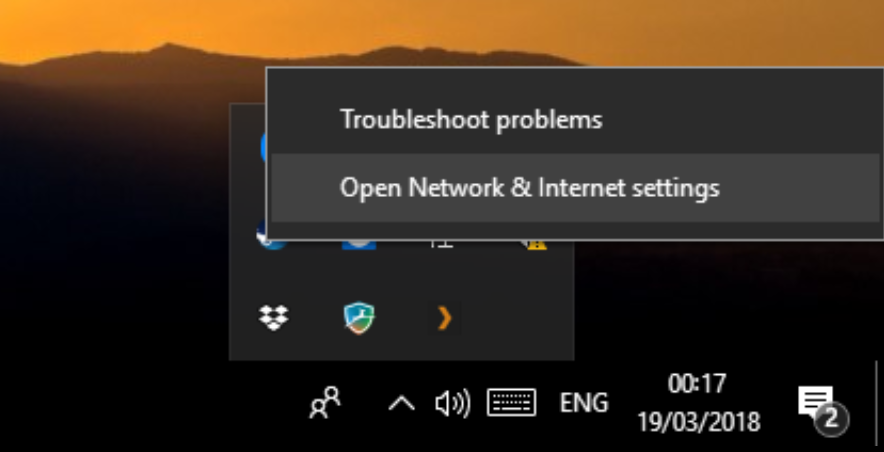
Open the Network & Internet Settings. The simplest way to do this is to right-click the network icon in the system tray and select "Open Network & Internet Settings"
-
In the Network Status screen, open "Change adapter options".
- Here you will see the network interfaces you have. There should be at least three interfaces - the one with the internet connection, the one where you will attach your VPN incompatible device, and the TAP adapter used by our TorGuard app to connect to the VPN.
Right-click the TAP adapter, and open Properties.

-
Open the Sharing tab, enable "Allow other network users to connect through this computer's Internet connection", and select the name of the network interface to which you will share the connection to. Click OK afterwards.

- Now connect the VPN-incompatible device to your PC using an Ethernet cable. Once you see the Ethernet interface trying to identify the connection, you can connect to Torguard VPN using the TorGuard VPN app.
- Congratulations, your VPN connection is now shared to your VPN-incompatible device!