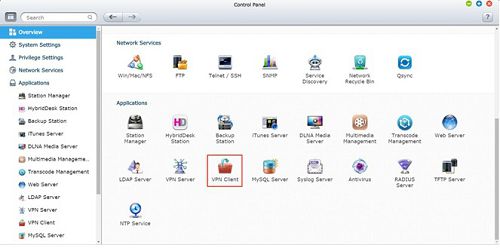
Open the "Control Panel" and click "VPN Client":

Click "Add", then choose "PPTP" in the dropdown-menu.

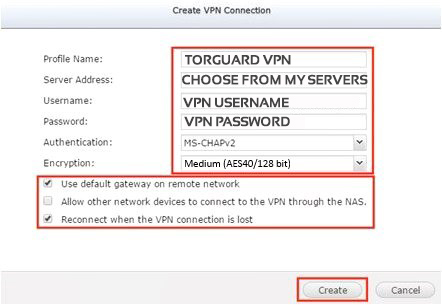
Enter the following data:
- Profile Name: Anything you want, this is just for identifying the VPN profile when having multiple of them. Use e.g. "TorGuard VPN", or "TorGuard UK" or something that fits to your VPN server choice.
- Server address: This needs to be a server IP or hostname from one of TorGuard's VPN servers. You can find them here
- Username: Your VPN Account Username
- Password: Your VPN password
- Authentication: MS-CHAPv2
- Encryption: Medium (AES40/128 bit)
- Use default gateway on remote network: Activated
- Allow other network devices to connect to the VPN through the NAS: Only activate if you want other devices to use the NAS' VPN connection (NAS sharing VPN to other devices)
- Reconnect when the VPN connection is lost: Activated

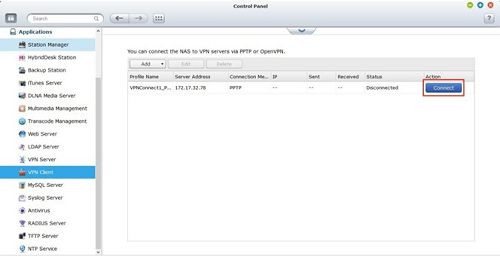
Click the blue "Connect" button next to the connection you've just created.

You can login to the NAS via SSH and run the below command:
curl http://checkip.dyndns.org
It will show the IP your NAS has changed to.
