TorGuard's SSL proxy network provides extremely fast download speeds and can bypass VPN blocks or tough Internet Filters.
This guide will show how to use TorGuard's SSL proxy service on an Android device using the third party vpn client app SagerNet.
1. First visit the Google Play store and download the SagerNet app.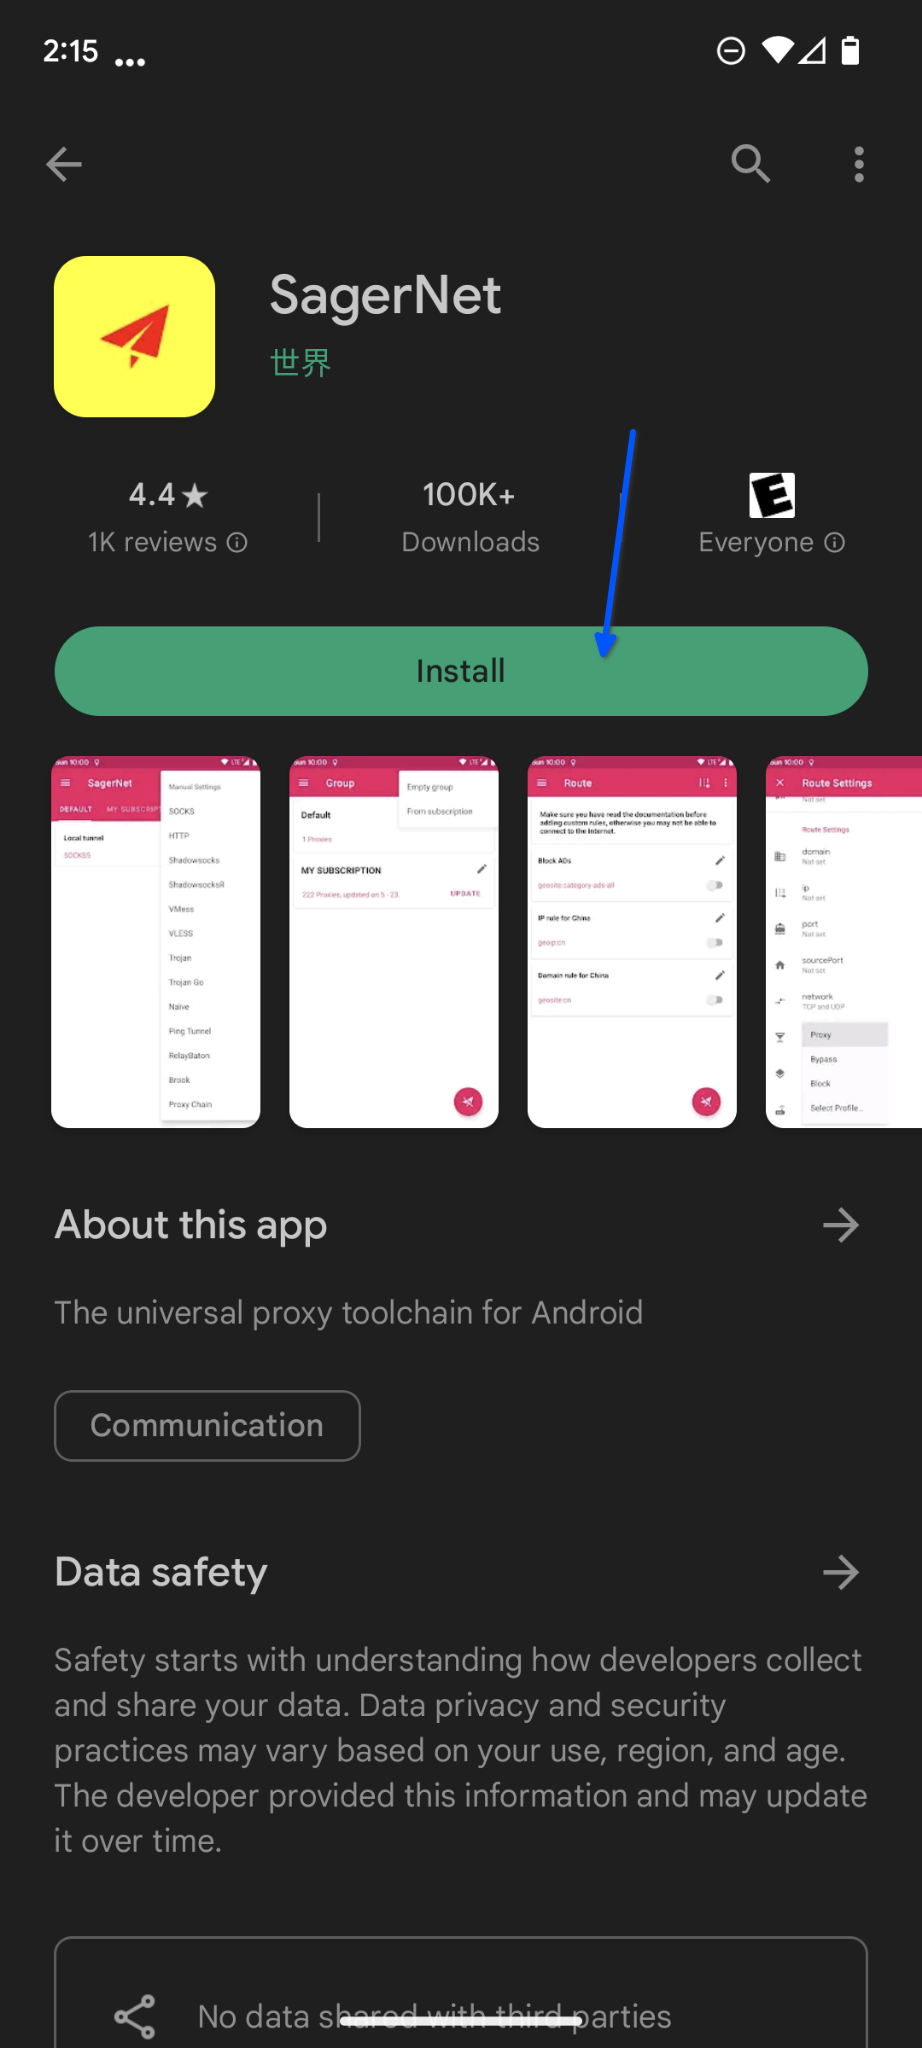
2. Tap the + icon in the top right corner and select HTTP to add a TorGuard SSL proxy location.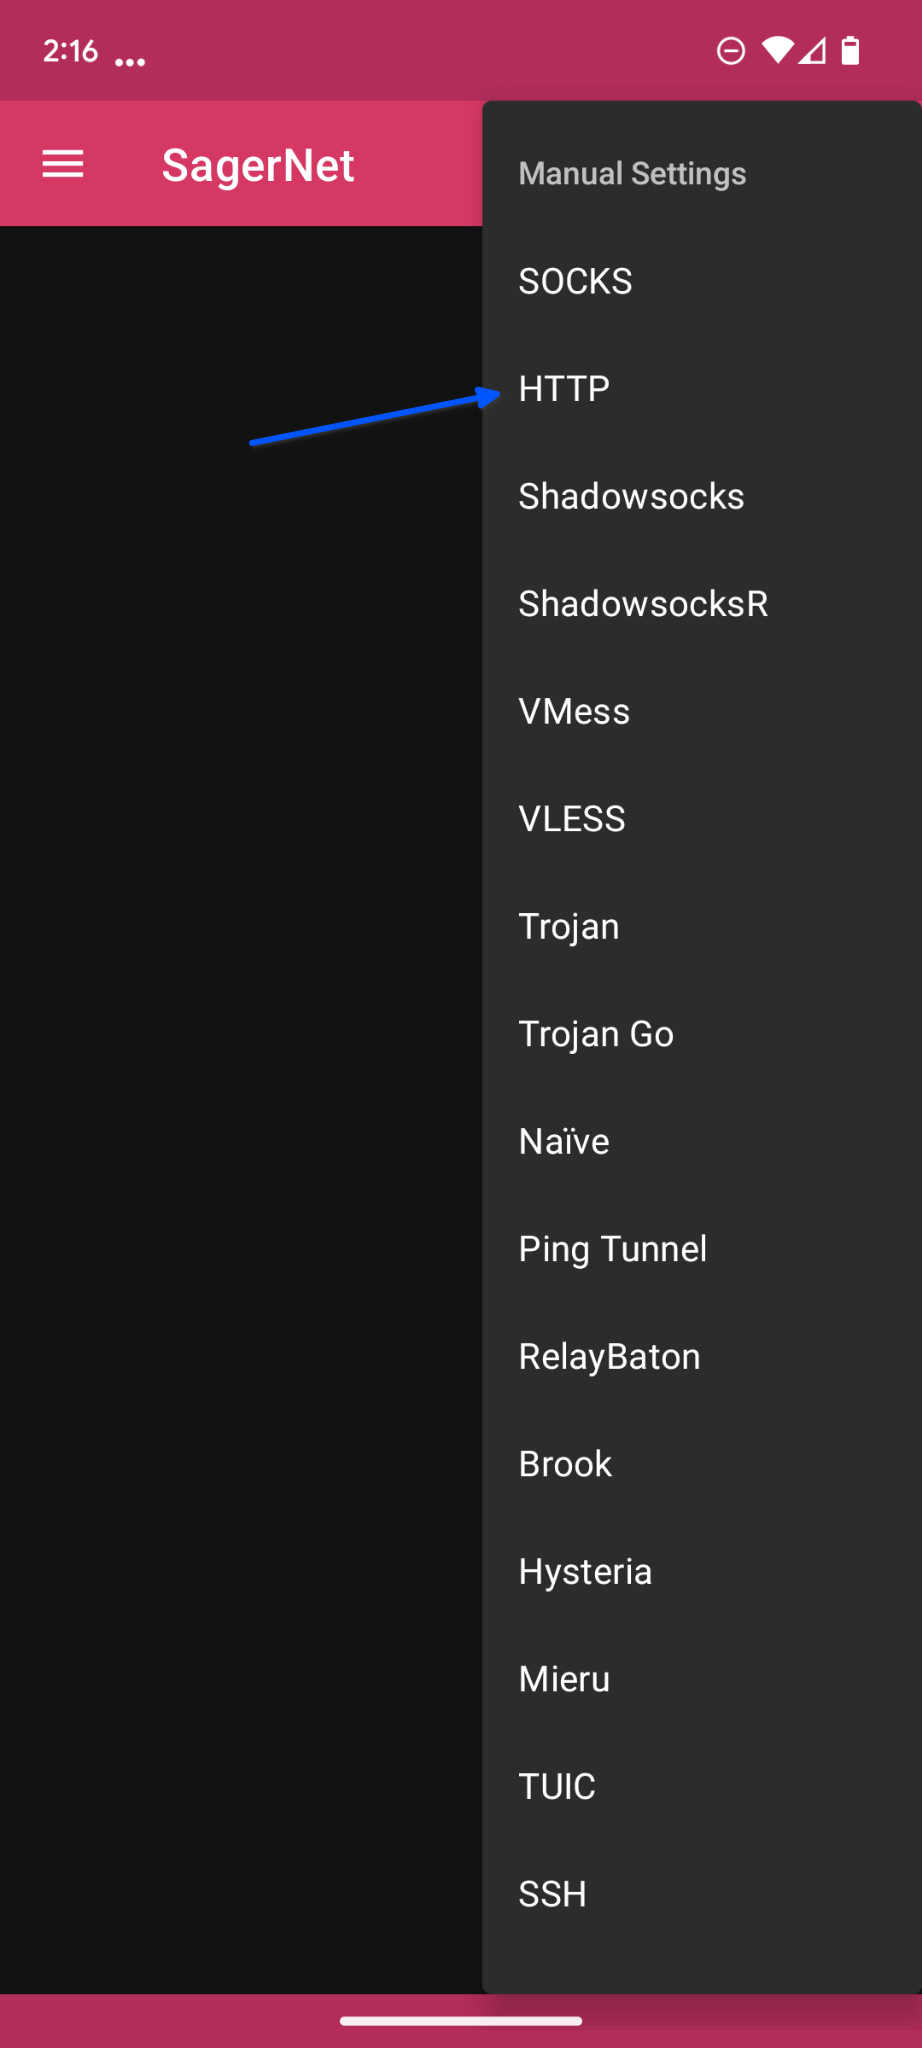
3. For Profile Name enter the TorGuard location you are adding.
- For Anonymous VPN service owners: For Host choose one of the server locations on our server page.
- For Anonymous Premium Proxy service owners: For Host choose one of the server locations on our Premium servers page.
For this tutorial we are connecting to TorGuard's Canada VPN service location: ca.secureconnect.me
For Port enter 7070 or any port from the server page.
Under Username and Password enter your TorGuard service username and password.
Toggle the Use TLS switch on.
Click the checkmark in the top right corner to save this new connection profile.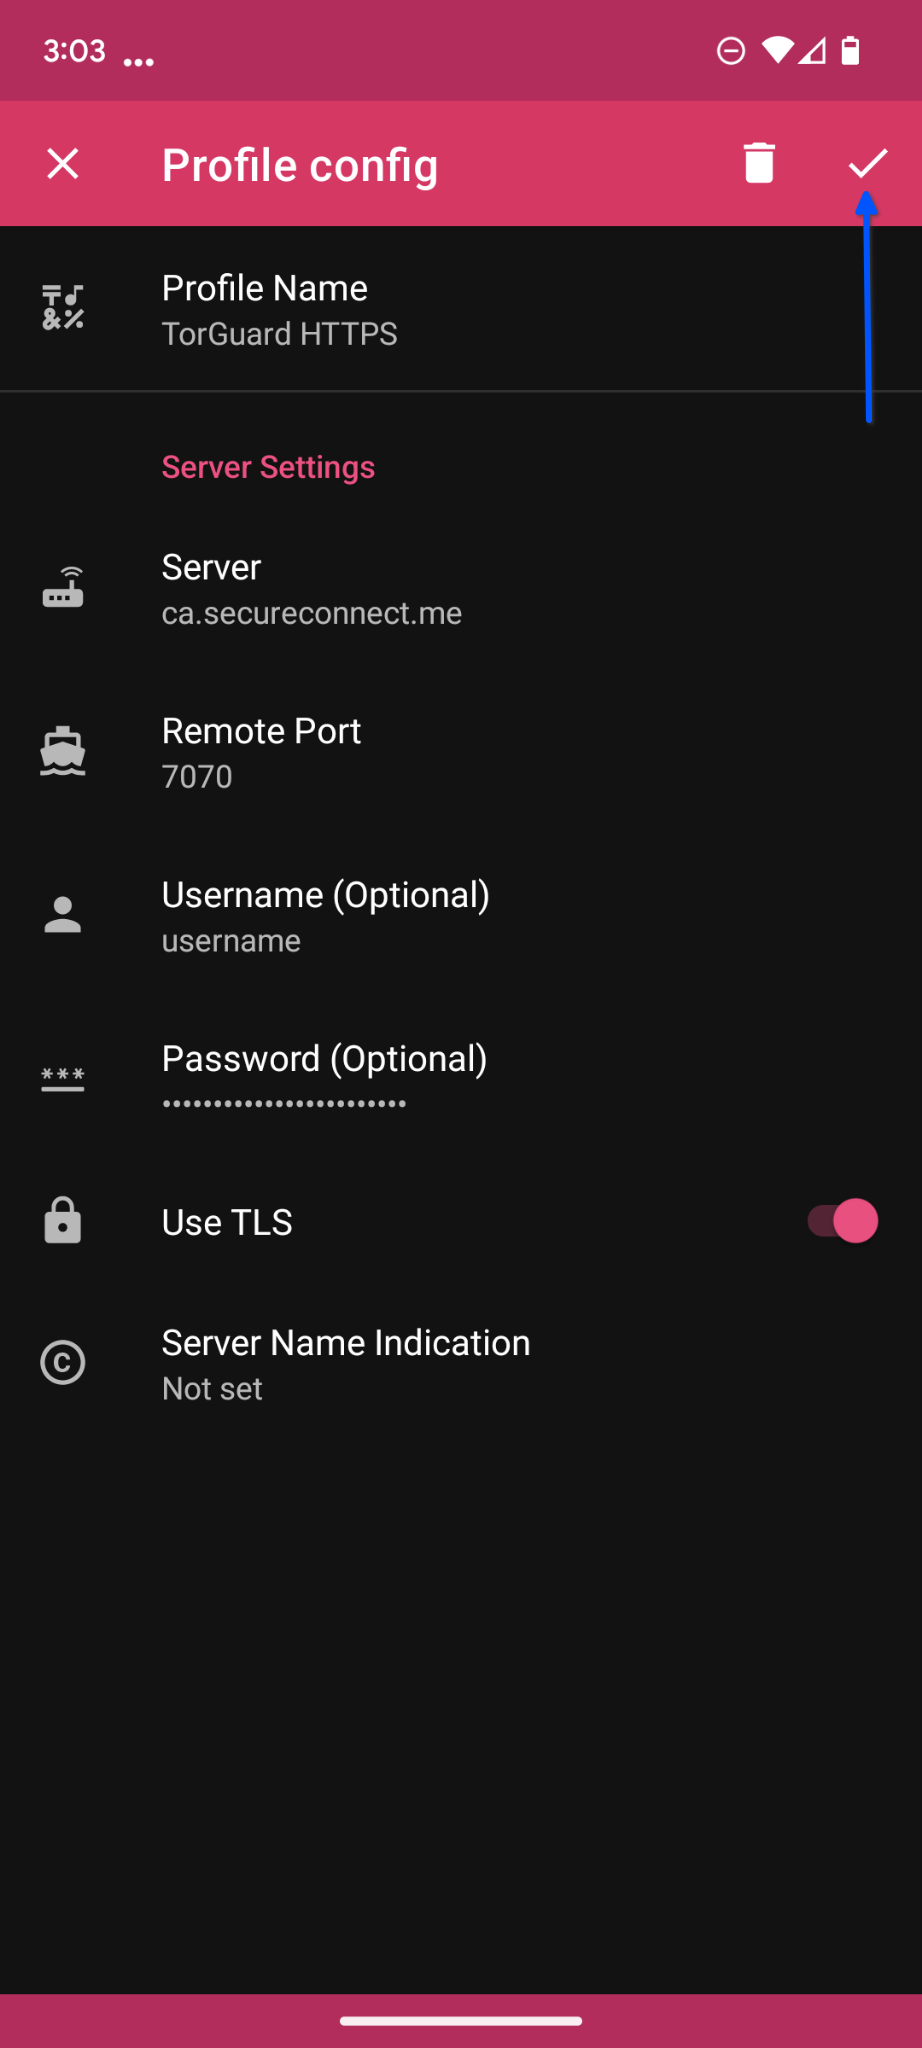
4. Next tap the three lines settings option in the top left corner. Scroll down to DNS Settings and make sure the "Use Local DNS as Direct DNS" switch is toggled off.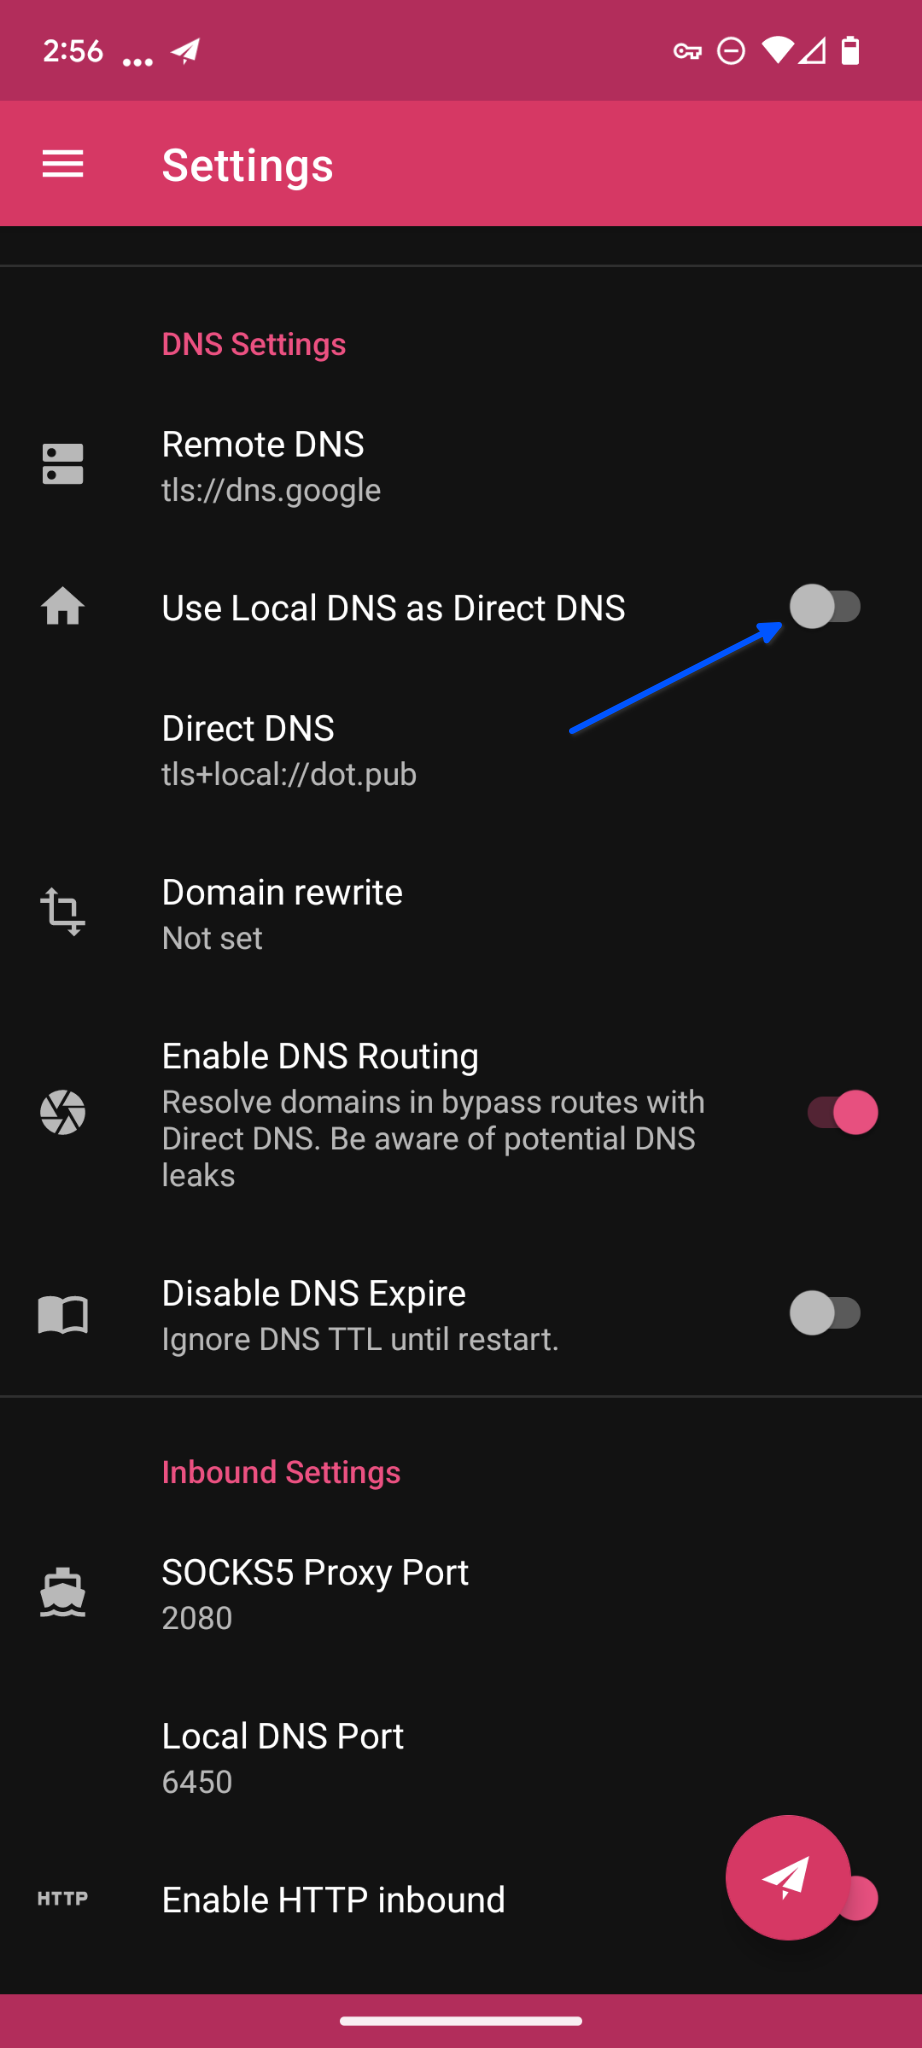
5. To connect to TorGuard's SSL proxy tap the paper airplane icon in the bottom right corner. You should now see inbound and outbound data flowing to show the app is connected.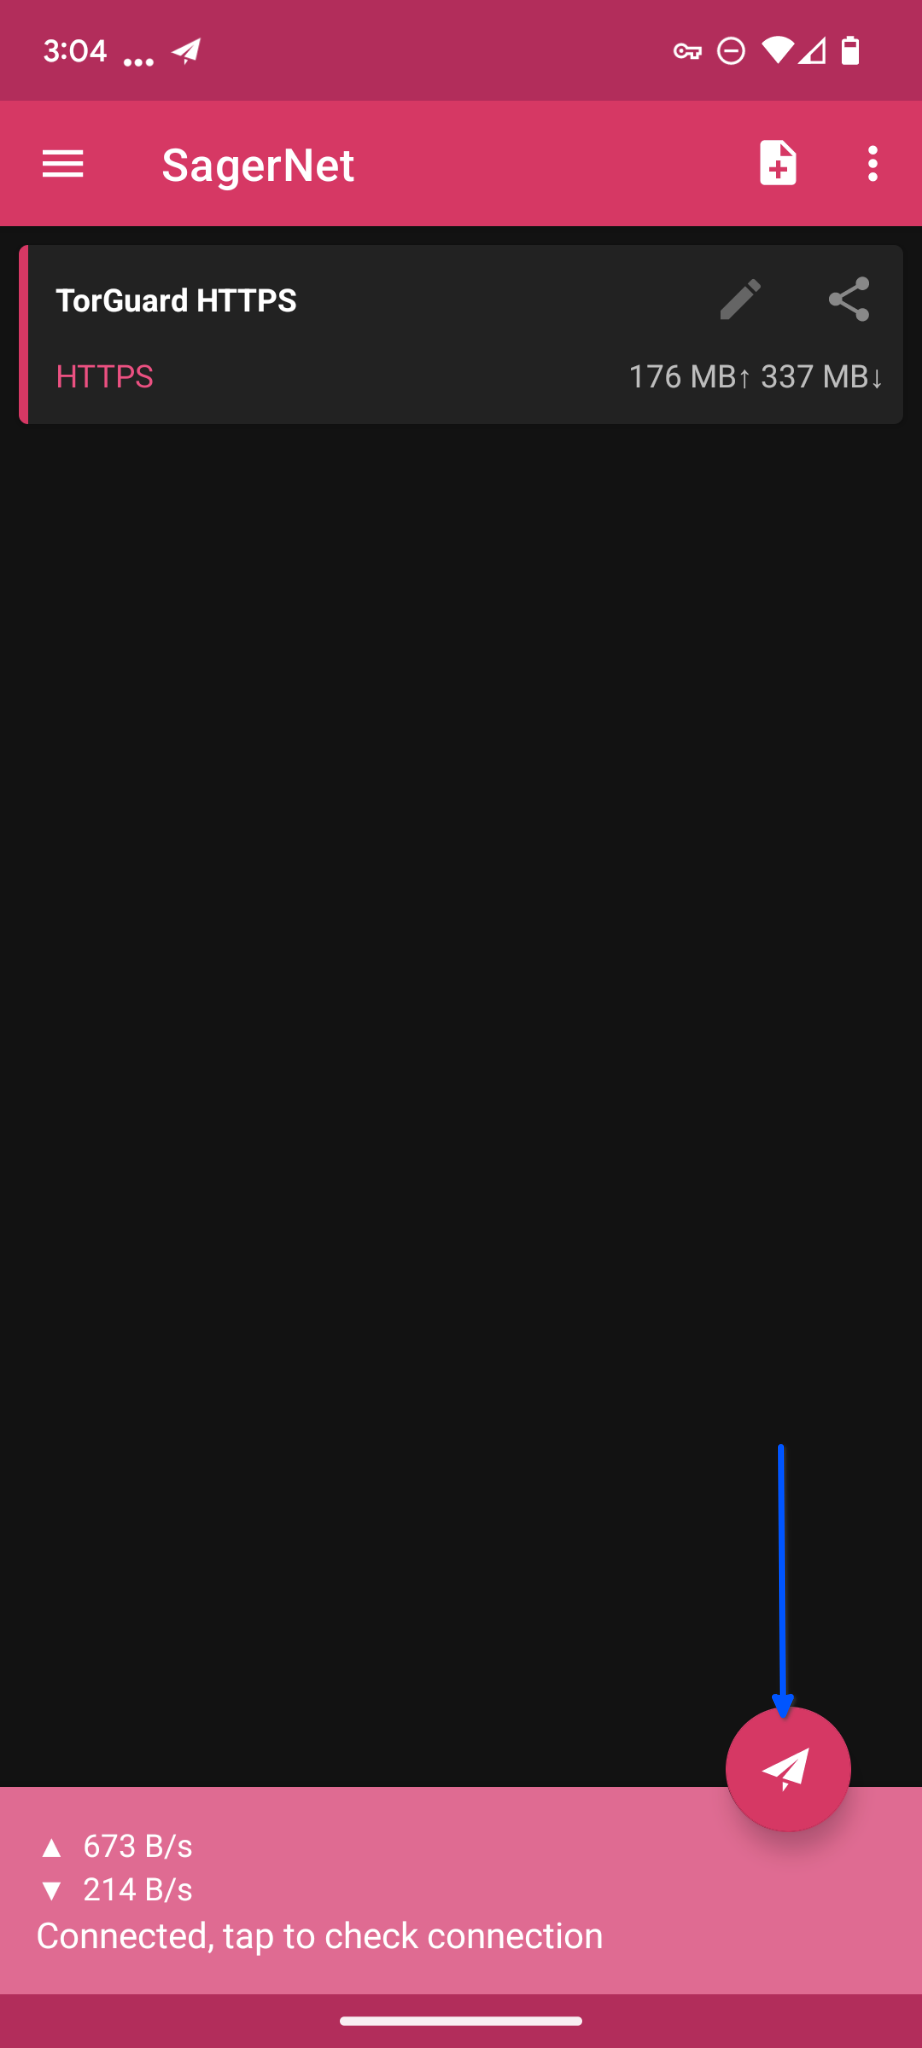
6. To ensure your connection does not leak access the settings menu in Android and search for VPN. Under Network & Internet tap the VPN option.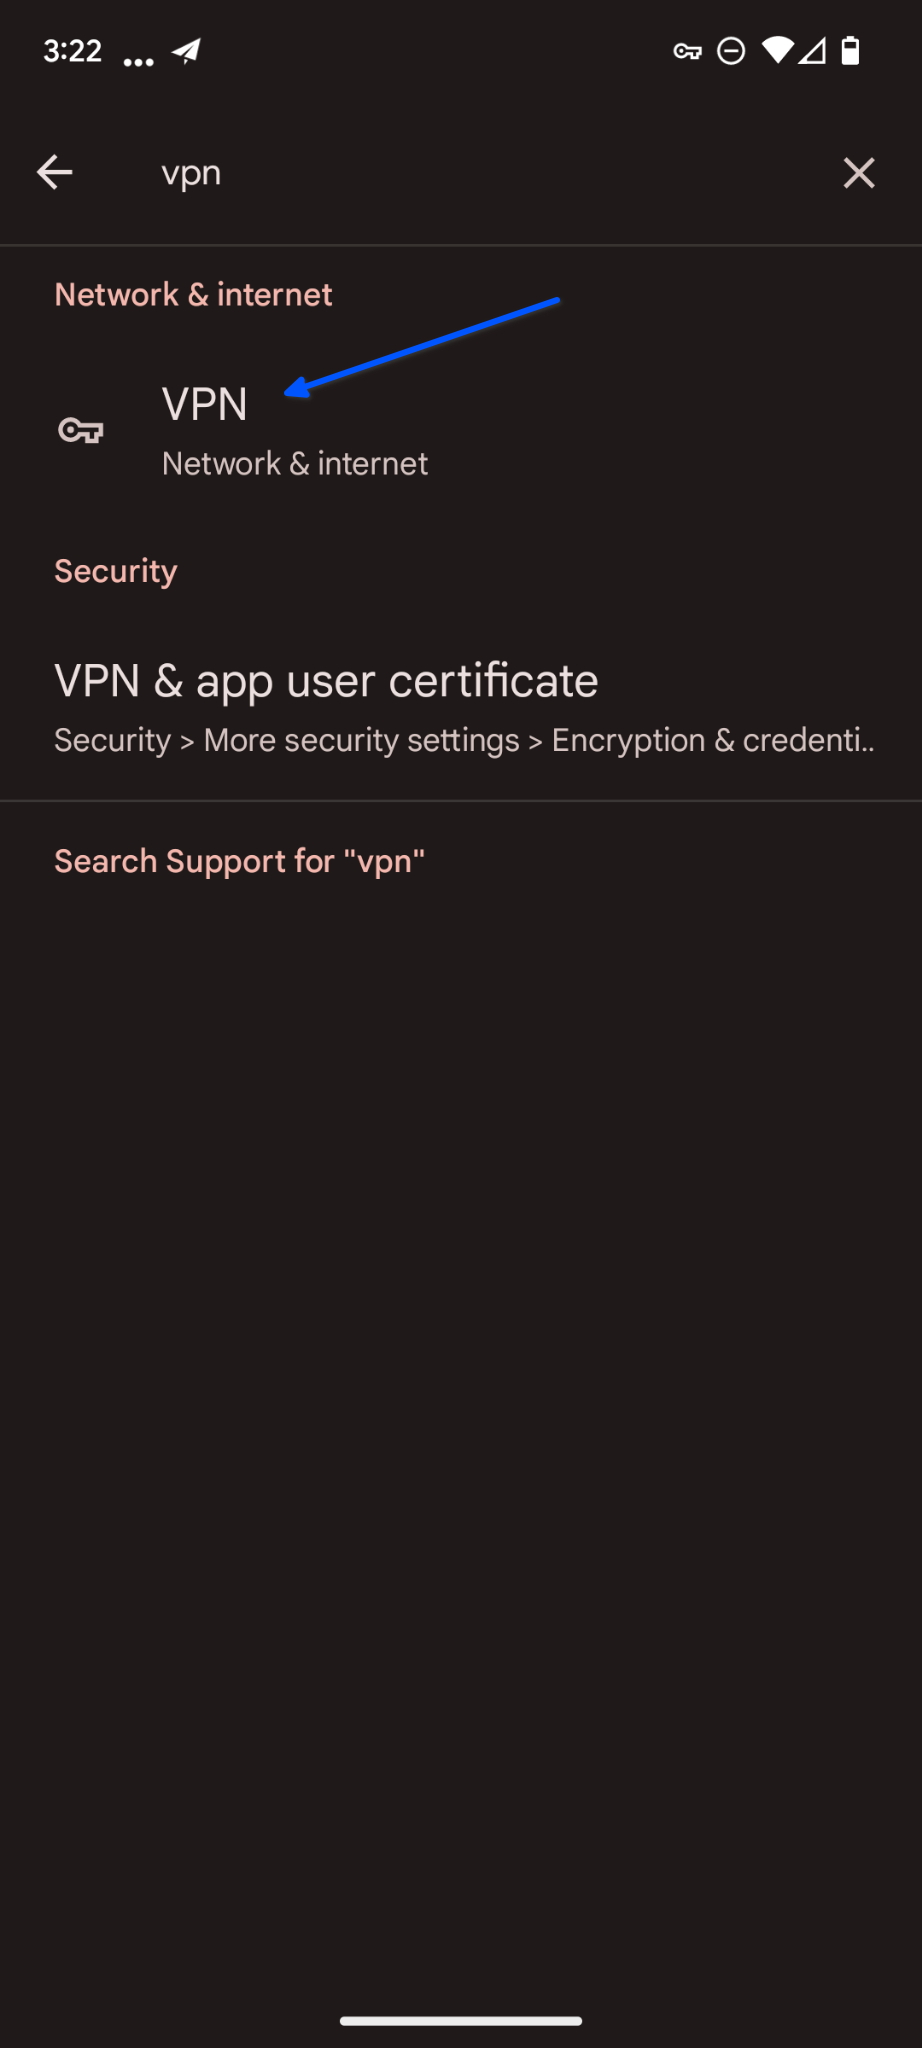
7. In the Network & Internet menu tap the VPN option at the bottom.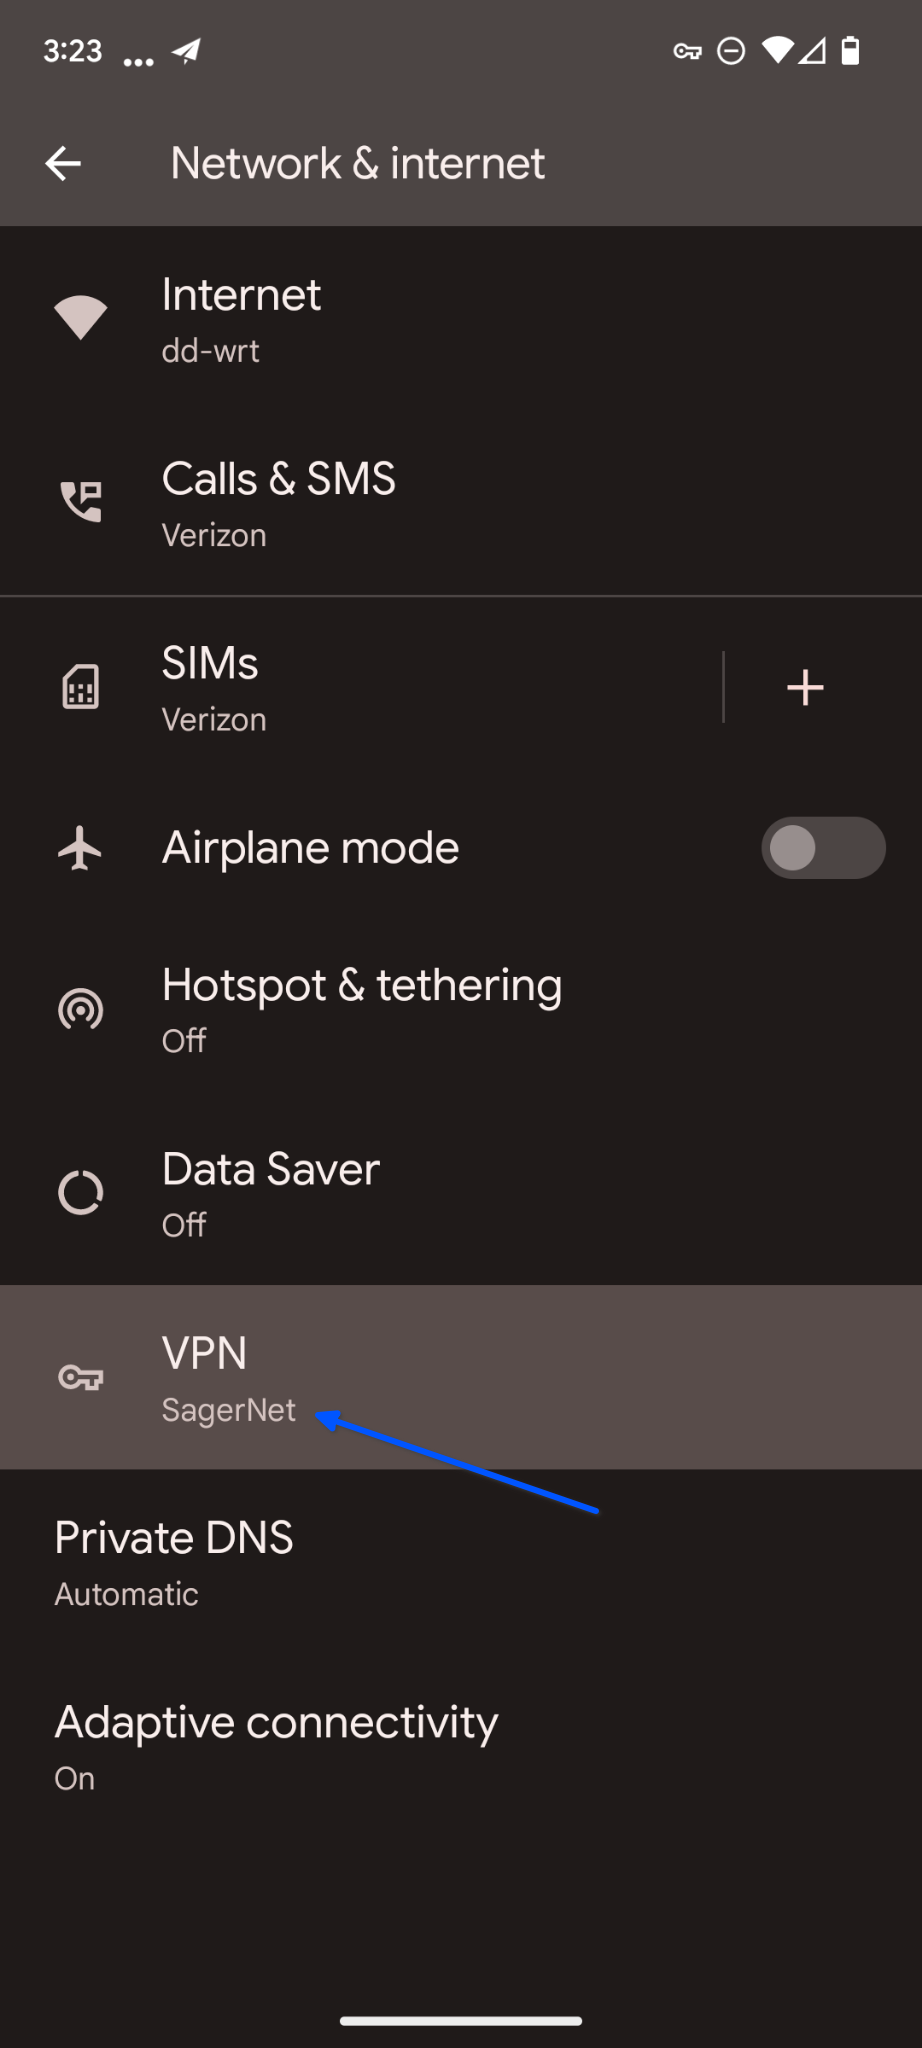
8. In your list of installed VPN apps tap the settings icon next to SagerNet.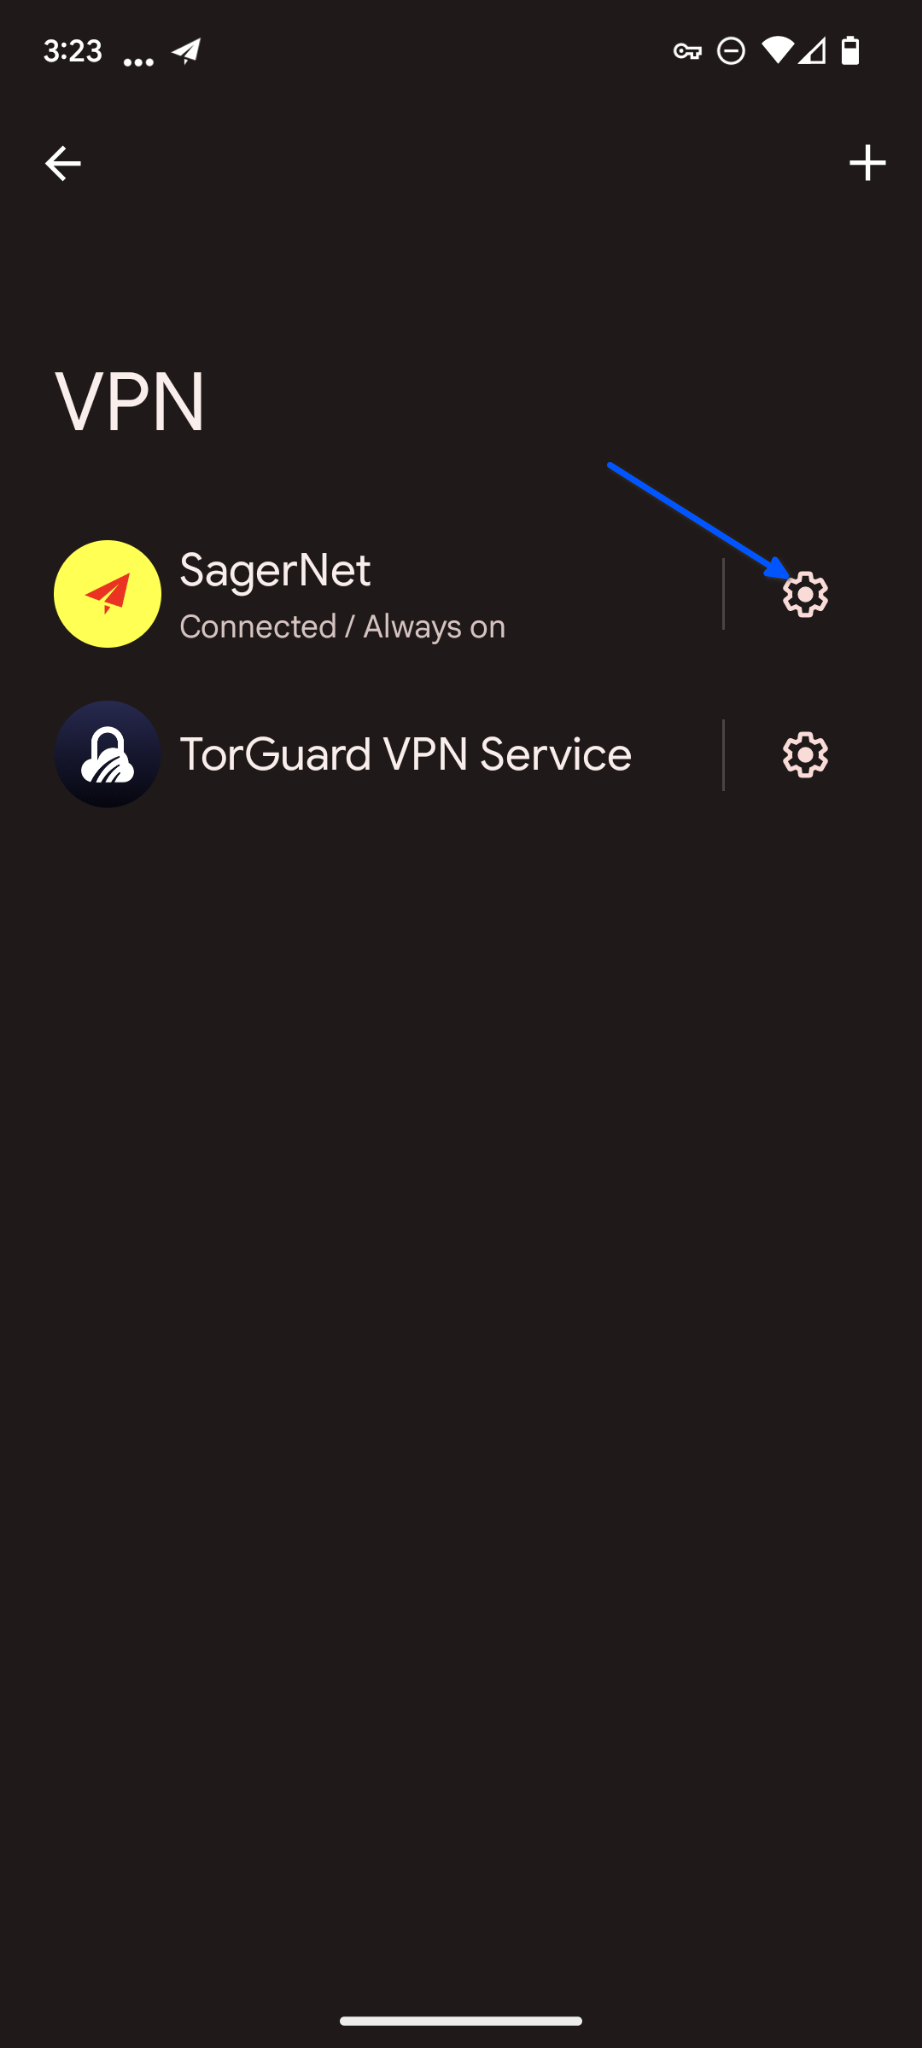
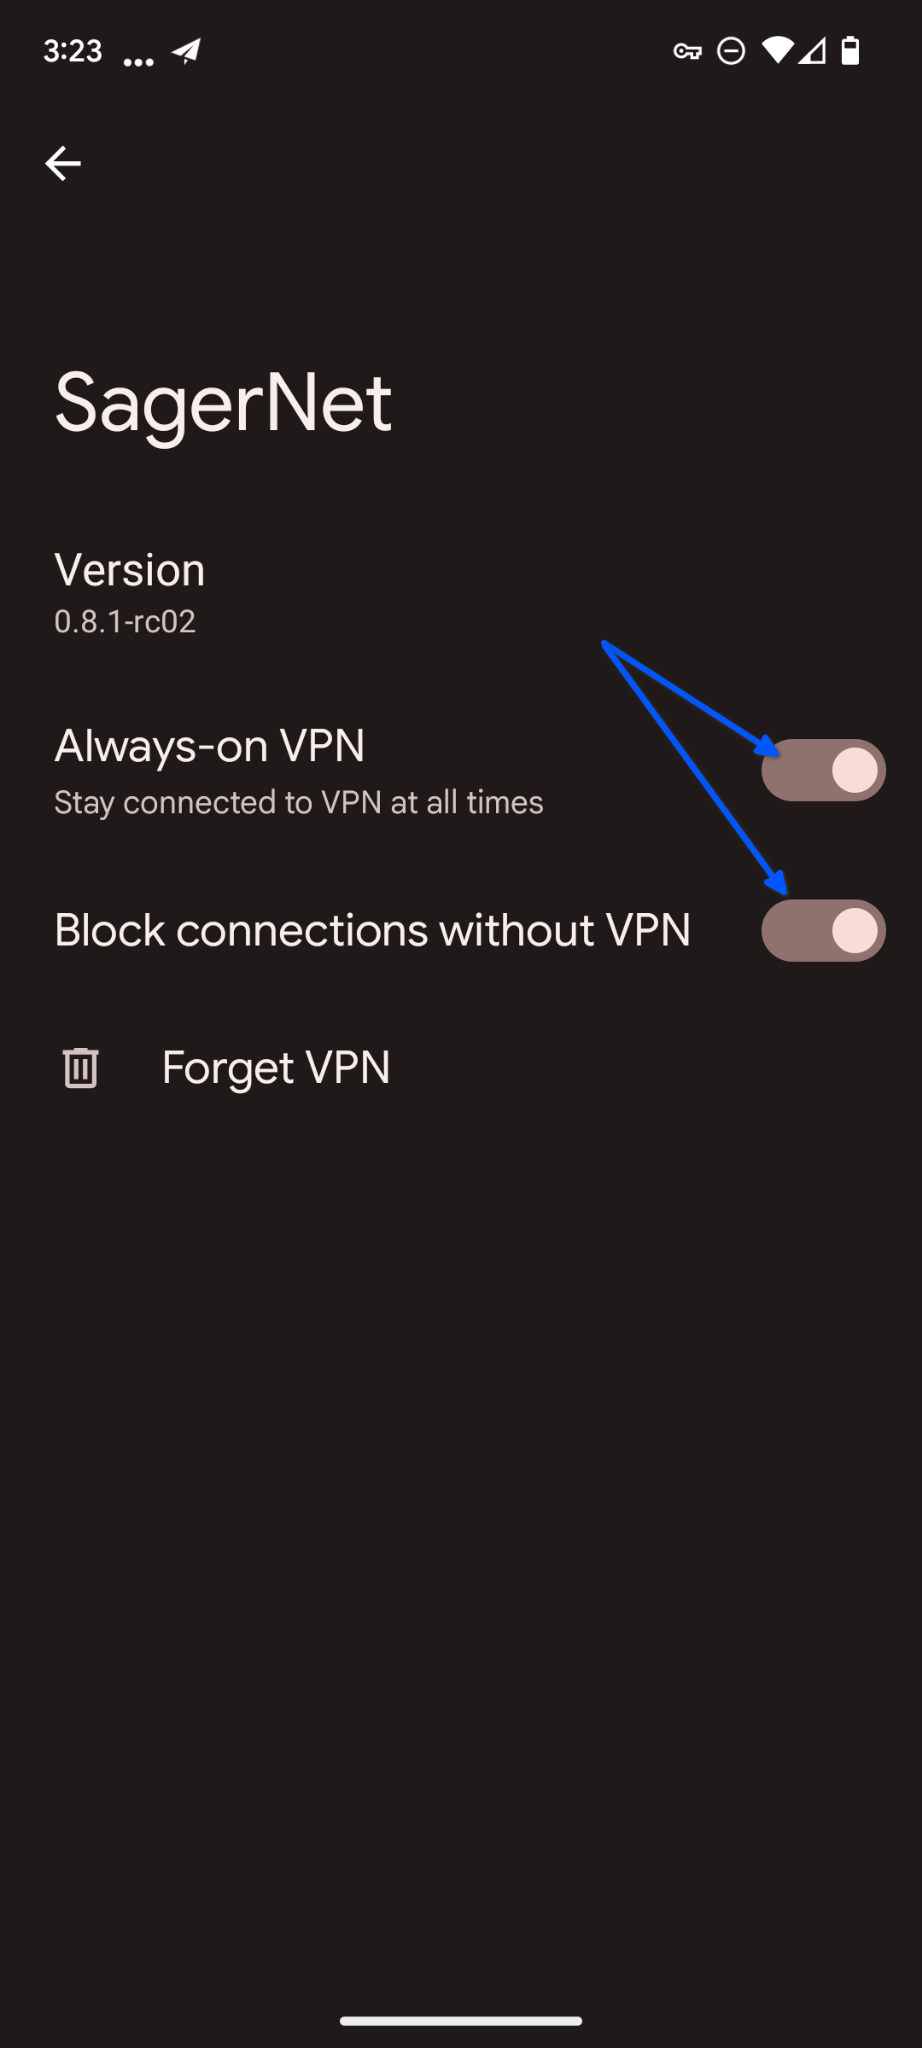
9. Make sure the Always-on VPN and Block connections without VPN switches are toggled ON.
Your entire Android device is now connected through TorGuard's SSL proxy. You can add more TorGuard SSL proxy locations in the SagerNet app.