TorGuard Chrome Extension
Protect your Chrome browsing with TorGuard's premium proxy extension. Switch between multiple proxy types and locations instantly without affecting other applications on your system.
Extension Features Overview
One-Click Connection
Connect to any proxy server with a single click
Multiple Locations
Choose from 50+ server locations worldwide
Protocol Options
HTTP, HTTPS, and SOCKS5 proxy support
Browser-Only Protection
Proxy only Chrome traffic, not your entire system
Why Use a Browser Extension?
Browser Extension vs System Proxy
Browser Extension Benefits
- Quick switching between proxy servers
- Affects only browser traffic
- Easy to enable/disable
- No system configuration needed
- Perfect for selective browsing protection
When to Use System Proxy
- Need all applications protected
- Running torrent clients
- Gaming or streaming apps
- System-wide privacy required
- Multiple browsers need protection
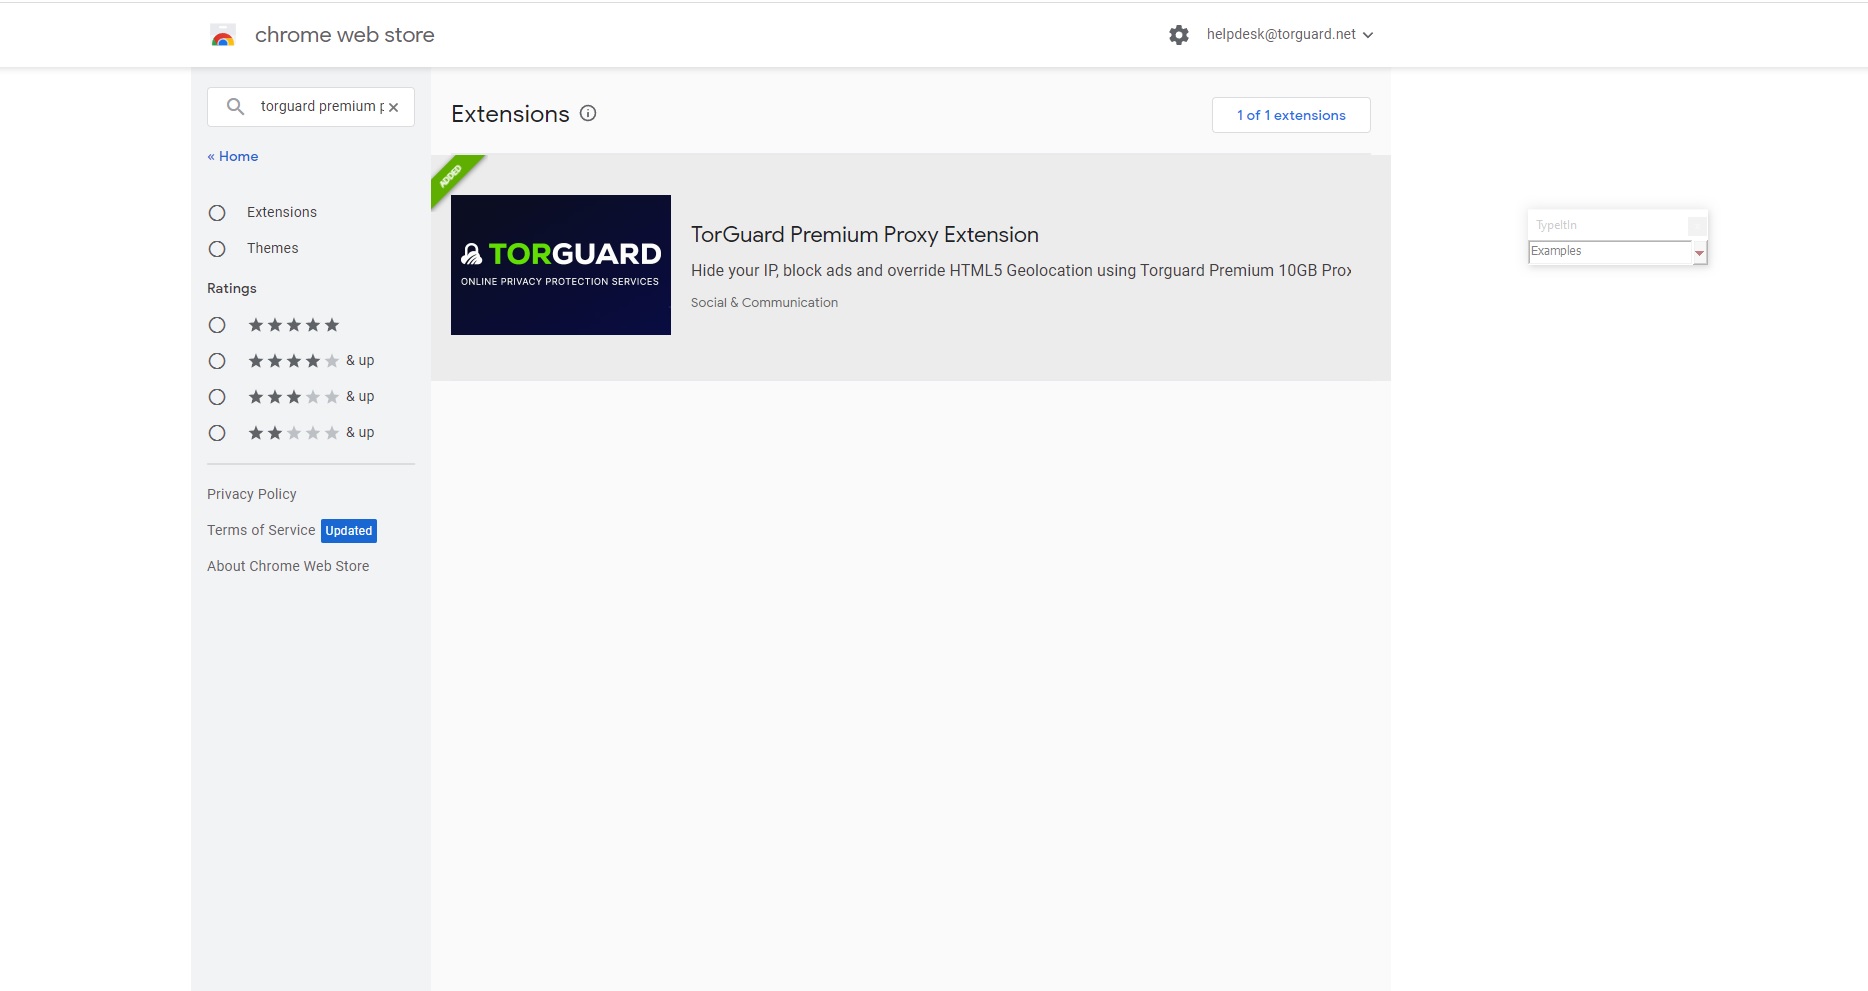
Step 1: Install from Chrome Web Store
Find the Extension
- Open Chrome and visit the Chrome Web Store
- Search for "TorGuard Premium Proxy"
- Click on the TorGuard extension from the search results
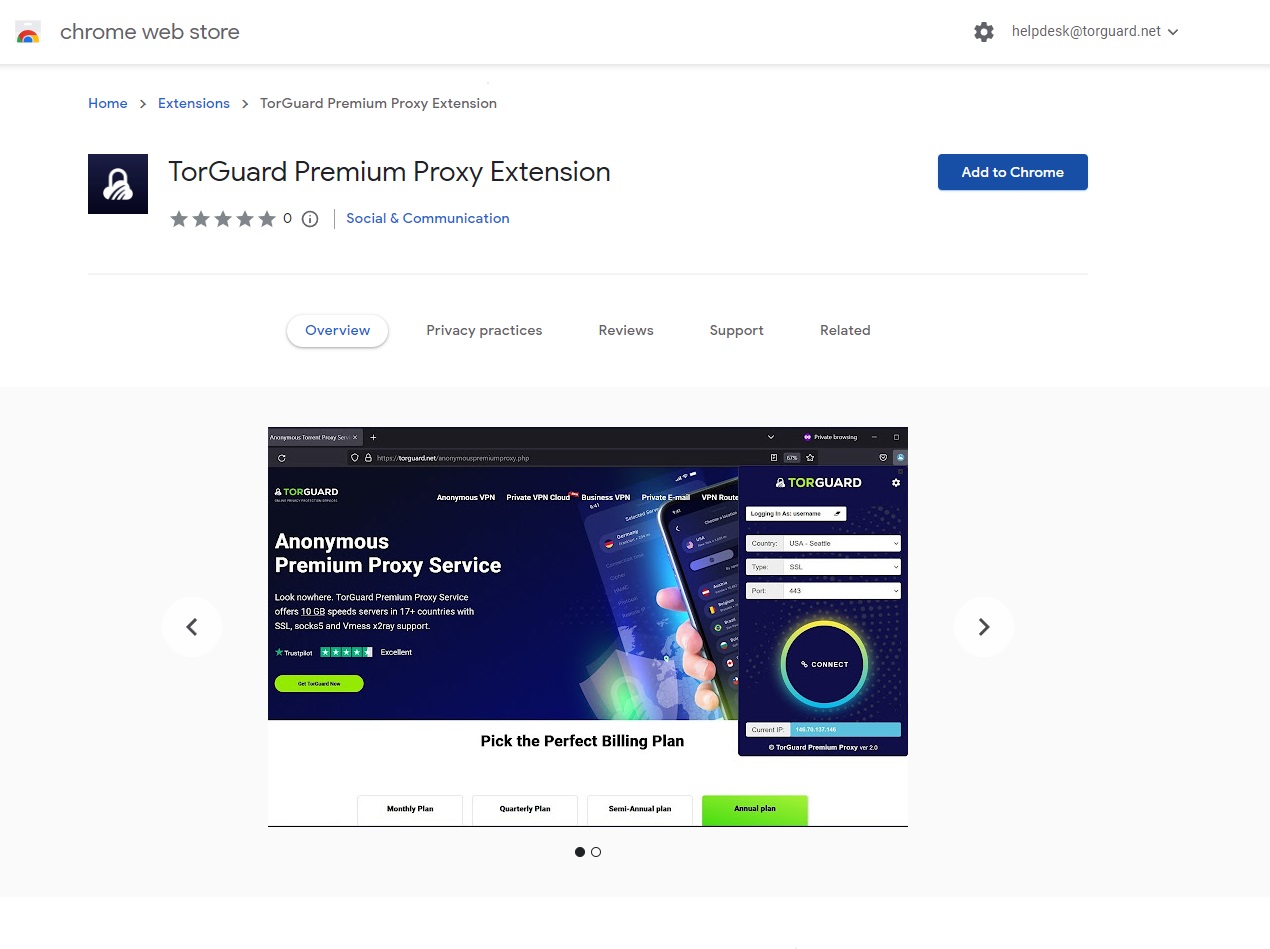
Step 2: Add to Chrome
Install the Extension
Click the "Add to Chrome" button on the extension page.
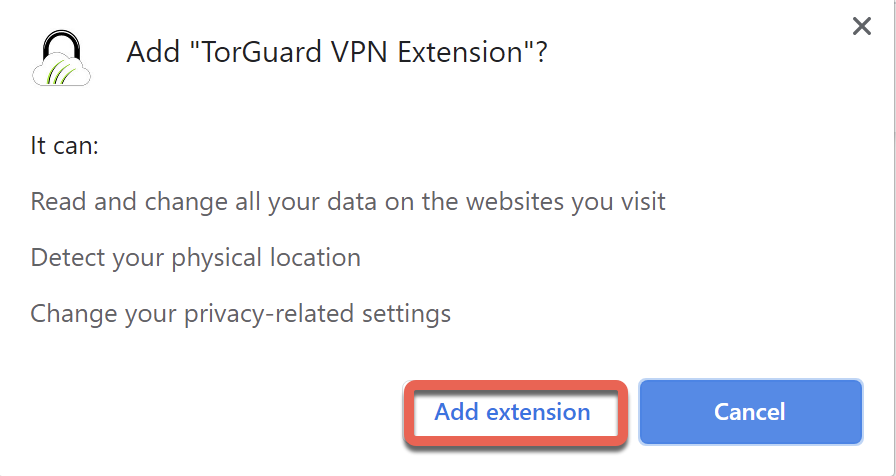
Step 3: Confirm Installation
Grant Permissions
Chrome will show a permissions dialog. Click "Add Extension" to confirm installation.
The extension requires proxy permissions to route your browser traffic through TorGuard servers.
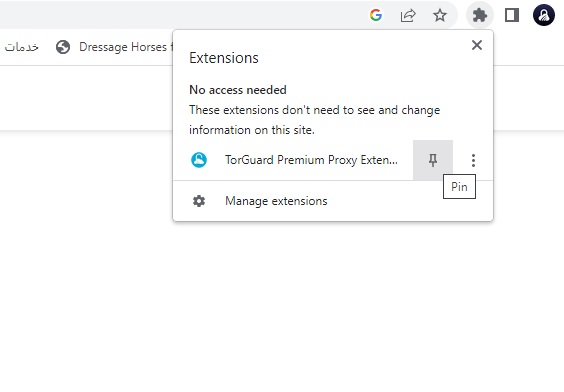
Step 4: Pin to Toolbar
Make Extension Accessible
- Click the puzzle piece icon (Extensions menu) in Chrome toolbar
- Find TorGuard in the list
- Click the pin icon to keep it visible on your toolbar
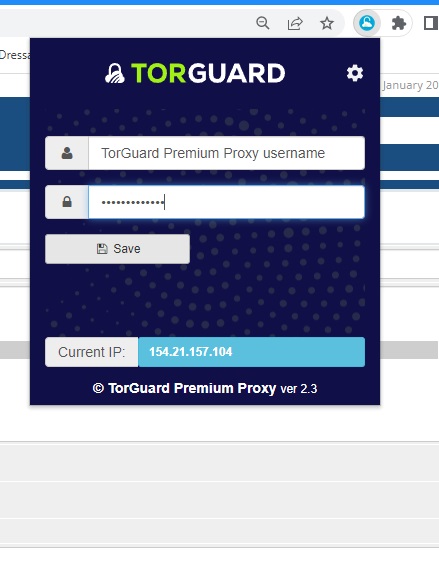
Step 5: Configure Credentials
Enter Login Details
- Click the TorGuard icon in your toolbar
- Enter your TorGuard Premium Proxy username
- Enter your TorGuard Premium Proxy password
- Click Save
Use your Premium Proxy credentials, not your VPN login. Find these in your TorGuard account area.
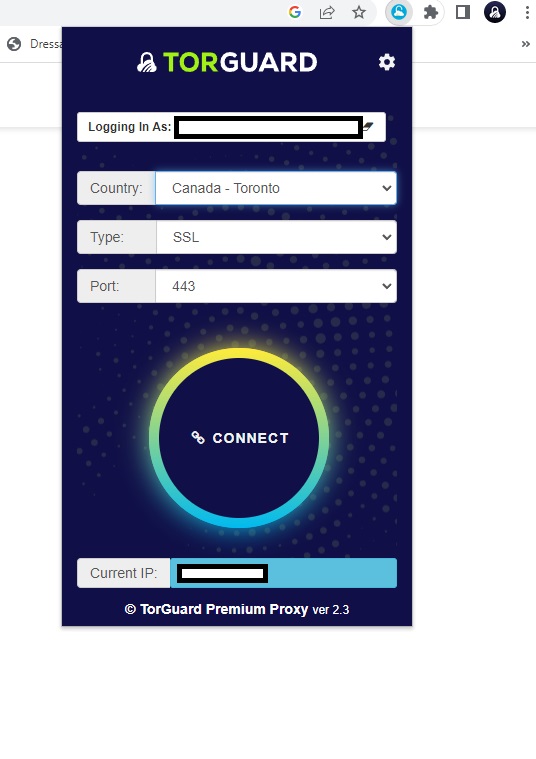
Step 6: Select Server and Connect
Choose Connection Settings
- Location: Select your preferred server location
- Type: Choose proxy protocol:
- HTTP: Basic web browsing (port 8080)
- HTTPS: Encrypted browsing (port 443)
- SOCKS5: Most versatile, supports all traffic types (port 1080)
- Port: Select appropriate port for your chosen protocol
- Click Connect
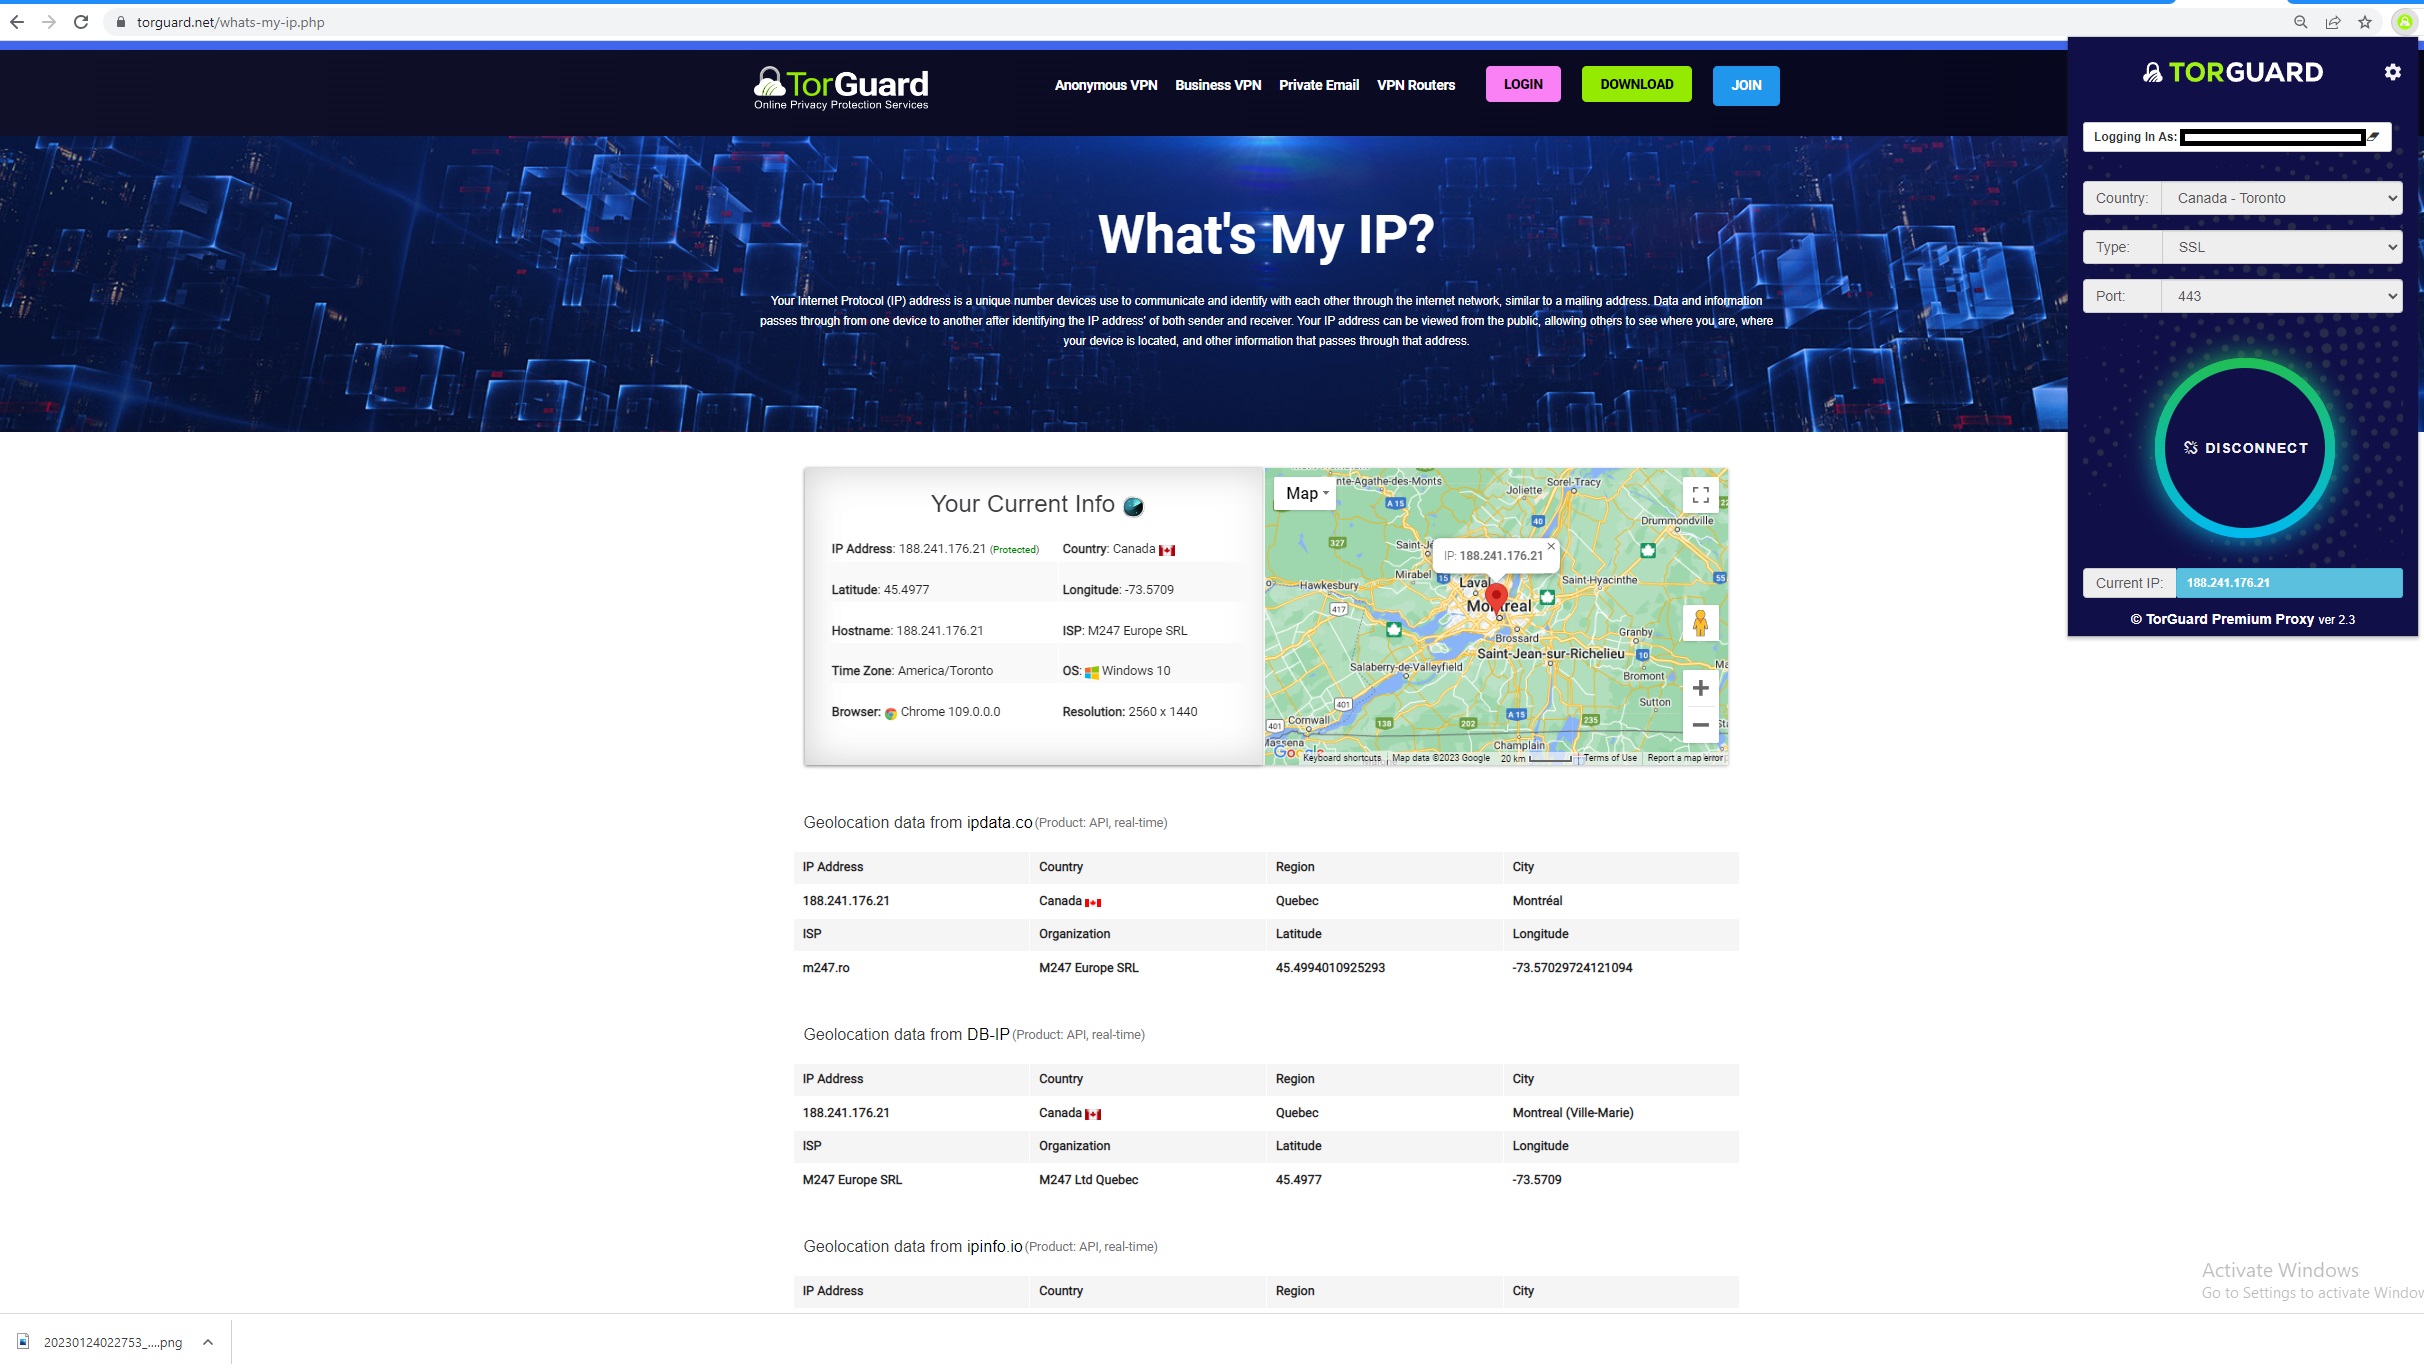
Step 7: Verify Connection
Confirm IP Change
- The Connect button will change to Disconnect when connected
- Visit TorGuard's What's My IP tool
- Verify your IP address has changed to the proxy location
Proxy Protocol Guide
Choosing the Right Protocol
HTTP Proxy (Port 8080)
- Basic web browsing
- Fastest performance
- No encryption
- Good for accessing geo-blocked content
HTTPS Proxy (Port 443)
- Encrypted connection
- Secure browsing
- Slightly slower than HTTP
- Best for sensitive activities
SOCKS5 Proxy (Port 1080)
- Most versatile protocol
- Supports all traffic types
- Can handle non-HTTP traffic
- Best overall compatibility
Advanced Features
Extension Capabilities
- Quick Server Switching: Change locations without disconnecting
- WebRTC Leak Protection: Prevents IP leaks through WebRTC
- DNS Leak Protection: Routes DNS queries through proxy
- Bypass List: Exclude specific sites from proxy (in Chrome settings)
- Auto-reconnect: Maintains connection if interrupted
Troubleshooting Common Issues
Login Failed Error
- Verify you're using Premium Proxy credentials (not VPN login)
- Check credentials in your TorGuard account area
- Ensure no spaces before/after username or password
- Try resetting your proxy password in account settings
Connection Issues
- Disable other proxy/VPN extensions that may conflict
- Clear Chrome's proxy settings (Settings → Advanced → System)
- Try different server locations
- Switch between HTTP/HTTPS/SOCKS5 protocols
Avast Mail Shield Conflict
- Avast Mail Shield blocks some SSL proxy ports
- Disable Mail Shield temporarily or permanently
- Or whitelist TorGuard proxy ports in Avast settings
- Alternative: Use SOCKS5 instead of HTTPS
Extension Conflicts
- Disable other proxy or VPN extensions
- Check for ad blockers that modify proxy settings
- Try in Chrome incognito mode (enable extension for incognito)
- Reset Chrome settings if issues persist
Privacy and Security Tips
Best Practices
- Use HTTPS proxy for sensitive browsing (banking, shopping)
- Enable WebRTC blocking in Chrome settings to prevent leaks
- Clear cookies when switching proxy locations
- Use incognito mode with proxy for maximum privacy
- Verify IP change before accessing sensitive sites
- Disconnect when not needed to preserve bandwidth
Pro Tips
- Keyboard shortcut: Set a Chrome shortcut for quick access
- Multiple profiles: Use different Chrome profiles for different proxy needs
- Bookmark locations: Save frequently used server configurations
- Monitor speed: Test different servers for best performance
- Sync settings: Chrome sync preserves extension settings across devices