TorGuard Edge Extension
Enhance Microsoft Edge with TorGuard's premium proxy extension. Since Edge is Chromium-based, it supports Chrome extensions, giving you the best of both worlds - Microsoft's integration and TorGuard's security.
Why Edge + TorGuard?
Edge Browser Advantages with Proxy
Microsoft Integration
- Seamless Windows integration
- Microsoft account sync
- Enterprise policies support
- Azure AD authentication
Enhanced Security
- Microsoft Defender SmartScreen
- TorGuard proxy encryption
- Tracking prevention + IP masking
- Password monitor protection
Extension Features
Chrome Compatibility
Full support for Chrome extensions via Chrome Web Store
Enterprise Ready
Works with corporate policies and managed devices
Collections Support
Save proxy-protected research in Edge Collections
Cross-Device Sync
Settings sync across all Edge installations
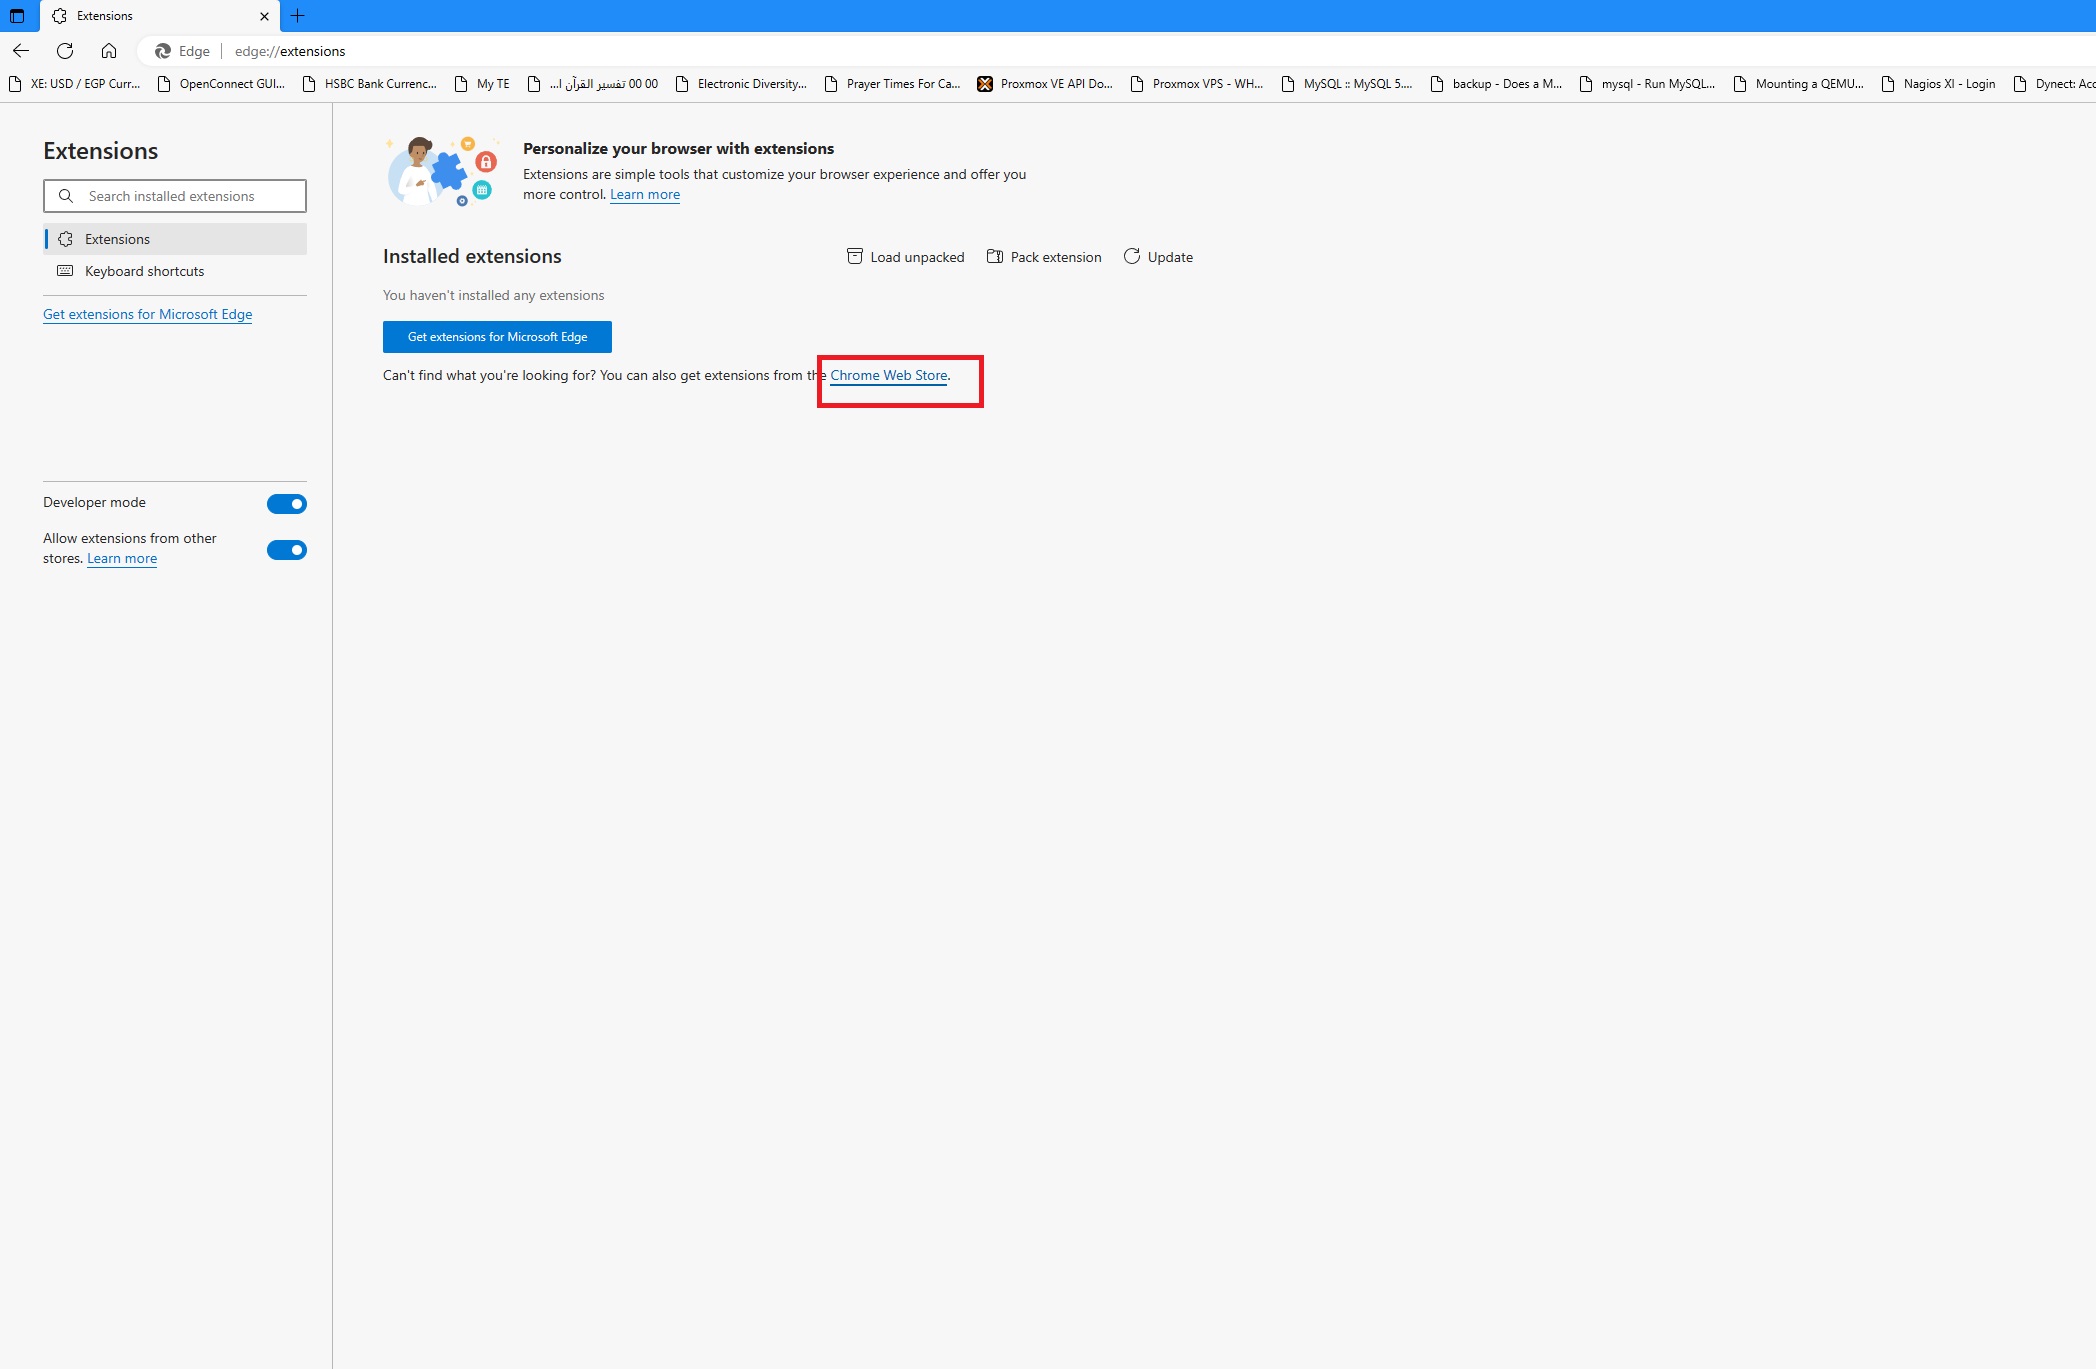
Step 1-A: Access Edge Extensions
Open Extensions Menu
- Open Microsoft Edge browser
- Click the three dots menu (⋯) in top right
- Select Extensions
- Click "Get extensions from Microsoft Edge Add-ons"
- Or click "Allow extensions from other stores" for Chrome Web Store
Edge can install extensions from both Microsoft Store and Chrome Web Store!
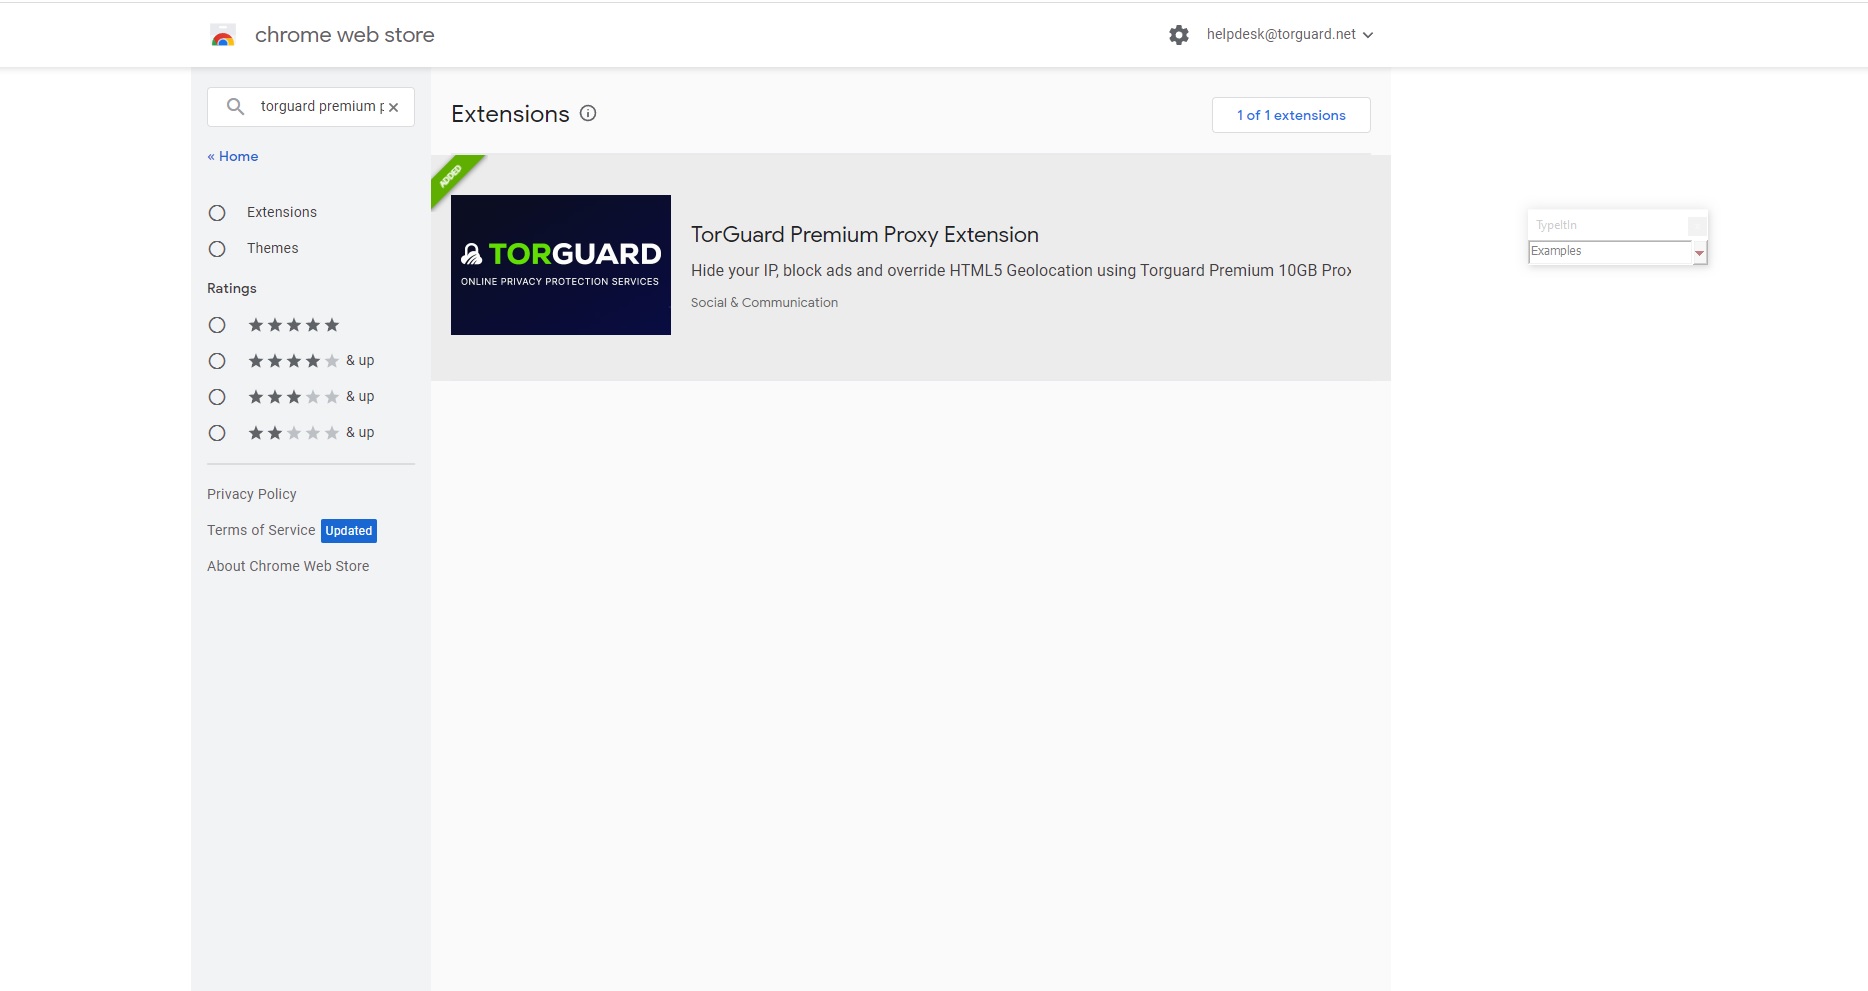
Step 1-B: Find TorGuard Extension
Search in Chrome Web Store
- Once in Chrome Web Store, search for "TorGuard Premium Proxy"
- Click on the TorGuard extension from results
If prompted, click "Allow extensions from other stores" to enable Chrome Web Store in Edge.
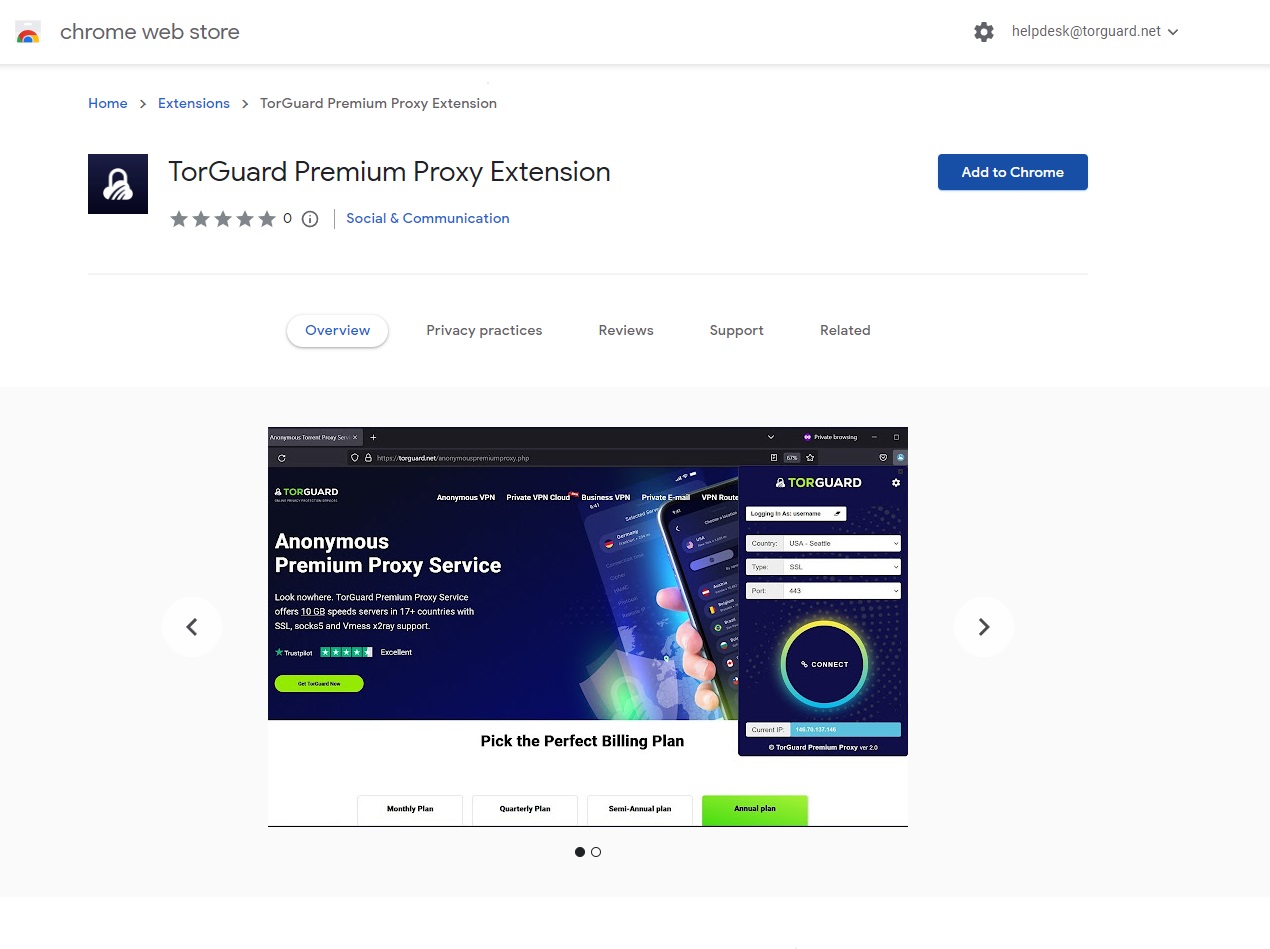
Step 2: Add to Edge
Install the Extension
Click "Add to Chrome" button. Don't worry - it will install in Edge!
Edge automatically translates "Add to Chrome" and installs it as an Edge extension.
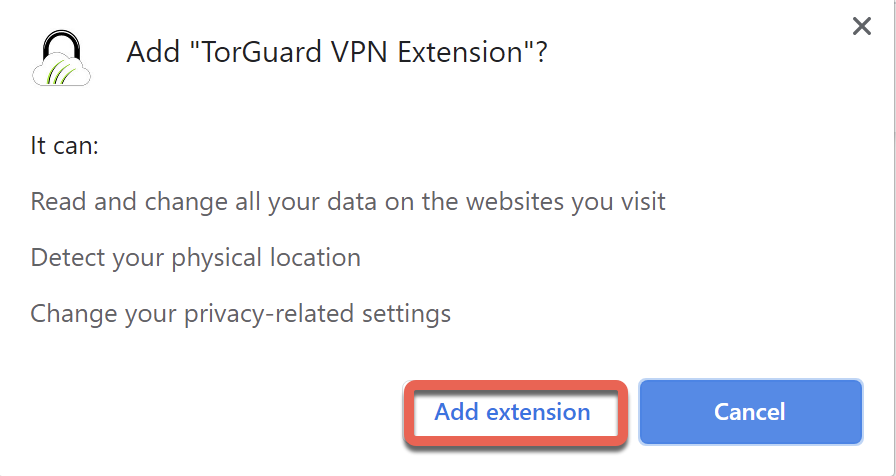
Step 3: Confirm Installation
Grant Permissions
Edge will show a permissions dialog. Click "Add extension" to confirm.
Edge Security Check:
- Edge verifies extension safety
- Microsoft Defender scans for threats
- Permissions are clearly displayed
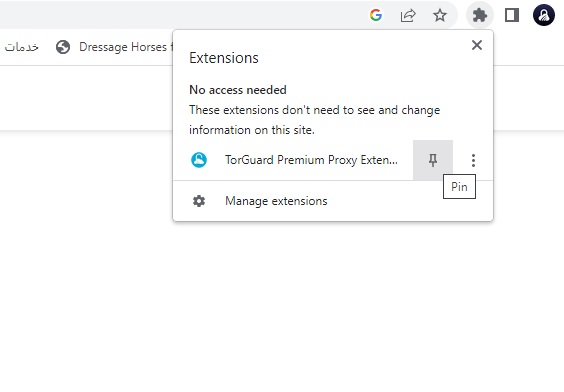
Step 4: Pin to Toolbar
Make Extension Visible
- Click the puzzle piece icon in Edge toolbar
- Find TorGuard in the extensions list
- Click the pin icon to keep it visible
- You can also right-click and select "Show in toolbar"
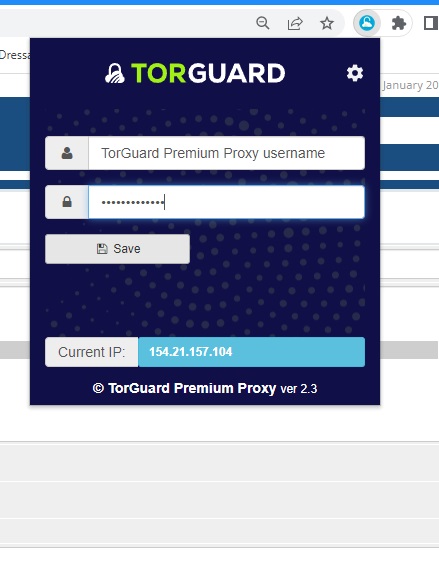
Step 5: Configure Credentials
Enter Login Details
- Click the TorGuard icon in toolbar
- Enter your TorGuard Premium Proxy username
- Enter your TorGuard Premium Proxy password
- Click Save
Use your Premium Proxy credentials, not VPN login. Get these from your TorGuard account.
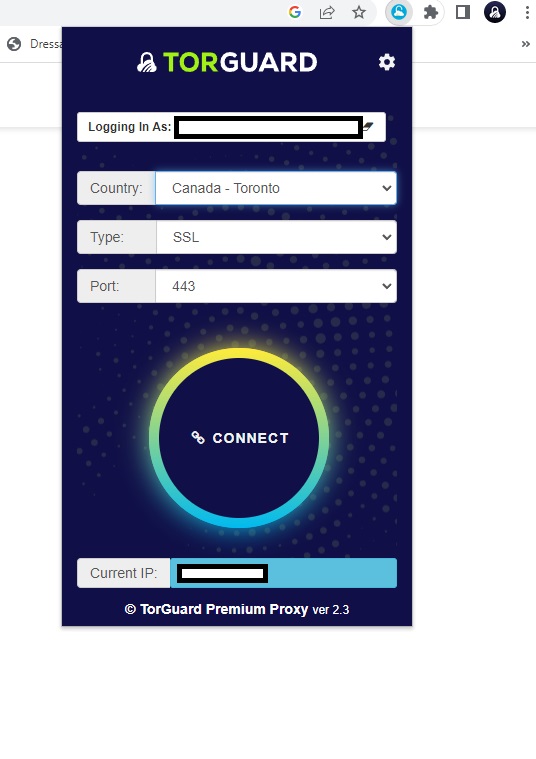
Step 6: Select Server and Connect
Choose Connection Settings
- Location: Select your preferred server
- Type: Choose proxy protocol:
- HTTP: Basic browsing (port 8080)
- HTTPS: Encrypted (port 443)
- SOCKS5: Most versatile (port 1080)
- Port: Select appropriate port
- Click Connect
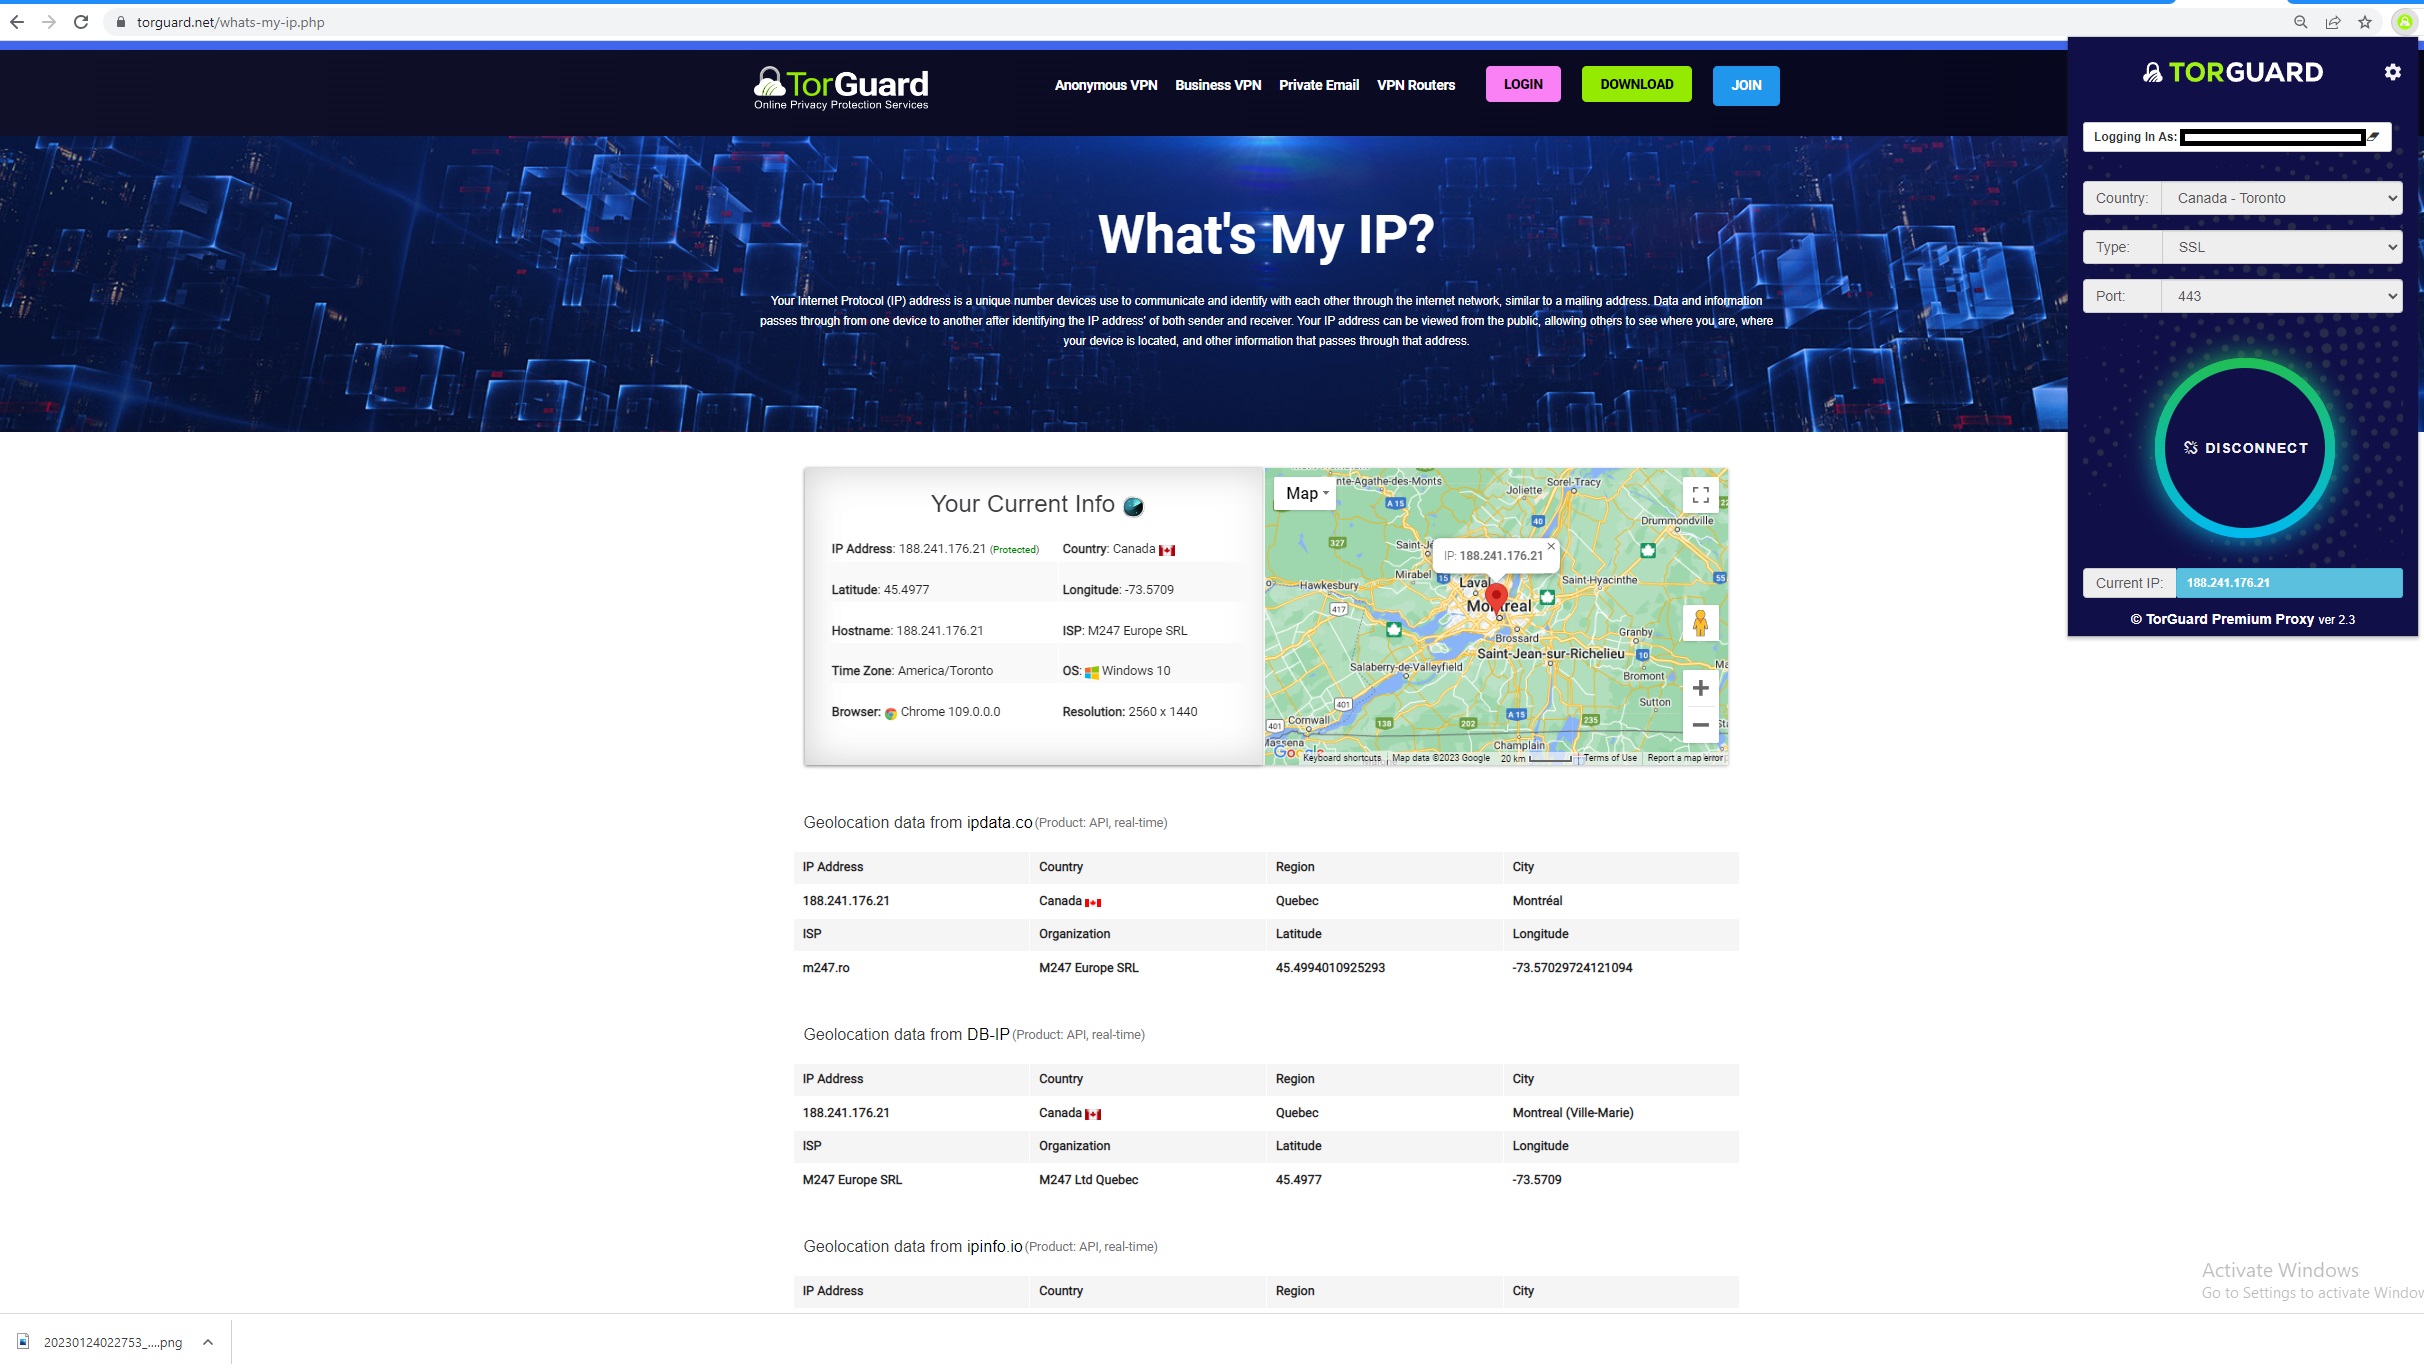
Step 7: Verify Connection
Confirm IP Change
- Connect button changes to Disconnect
- Visit TorGuard's What's My IP
- Verify IP shows proxy location
- Check Edge's security indicators remain green
Edge-Specific Features
Leverage Edge Capabilities
Edge Collections Integration
Use Collections while proxy-protected:
- Research anonymously and save to Collections
- Organize proxy-protected browsing sessions
- Export Collections with privacy maintained
- Share research without exposing IP
Immersive Reader
Edge's reading features work with proxy:
- Read articles without ads or tracking
- Translate content while anonymous
- Text-to-speech with privacy
Enterprise Features
Business benefits:
- Works with Microsoft Endpoint Manager
- Group Policy compatible
- Azure conditional access support
- Microsoft Defender integration
Advanced Configuration
Edge-Specific Settings
Enhanced Security Mode:
- Go to Settings → Privacy, search, and services
- Enable "Enhance your security on the web"
- Works alongside proxy for double protection
Tracking Prevention:
- Set to "Strict" for maximum privacy
- Combines with proxy for better anonymity
- Monitor blocked trackers in privacy dashboard
Sleeping Tabs:
Proxy connections maintained even when tabs sleep for efficiency
Troubleshooting Edge Issues
Extension Not Installing
- Enable "Allow extensions from other stores" in Edge
- Check if managed by organization policies
- Try Microsoft Edge Add-ons store first
- Restart Edge after enabling Chrome store
Corporate Environment Issues
- Check with IT for extension policies
- Verify proxy ports aren't blocked
- Request TorGuard whitelisting
- Use Edge for Business if available
Windows Security Conflicts
- Windows Defender may flag proxy changes
- Add Edge to Windows Firewall exceptions
- Disable Avast Mail Shield for SSL ports
- Check SmartScreen isn't blocking
Edge Pro Tips
- Vertical tabs: Manage multiple proxy sessions easier
- Web capture: Screenshot pages with proxy protection
- Read aloud: Listen to content anonymously
- PDF reader: Open PDFs through proxy
- Shopping features: Price comparison with location spoofing
- Startup boost: Keeps proxy ready even when Edge starts fast