IPSec Xauth PSK on Android
This guide shows you how to configure a pure IPSec tunnel using Android's native VPN client with Extended Authentication (Xauth) and Pre-Shared Key (PSK). No additional apps required.
About IPSec Xauth PSK
Protocol Characteristics:
- Native Support: Built into Android - no apps needed
- Moderate Security: Better than PPTP, not as secure as OpenVPN
- Good Compatibility: Works on most networks
- Battery Efficient: Low overhead compared to OpenVPN
- Simple Setup: Easy configuration process
Security Note: While more secure than PPTP, IPSec Xauth PSK is less secure than OpenVPN or WireGuard. Consider using those protocols for sensitive data.
Prerequisites
Requirements:
- Android device (4.0 or higher)
- TorGuard VPN account with active subscription
- VPN credentials (different from website login)
- Pre-shared key:
torguard
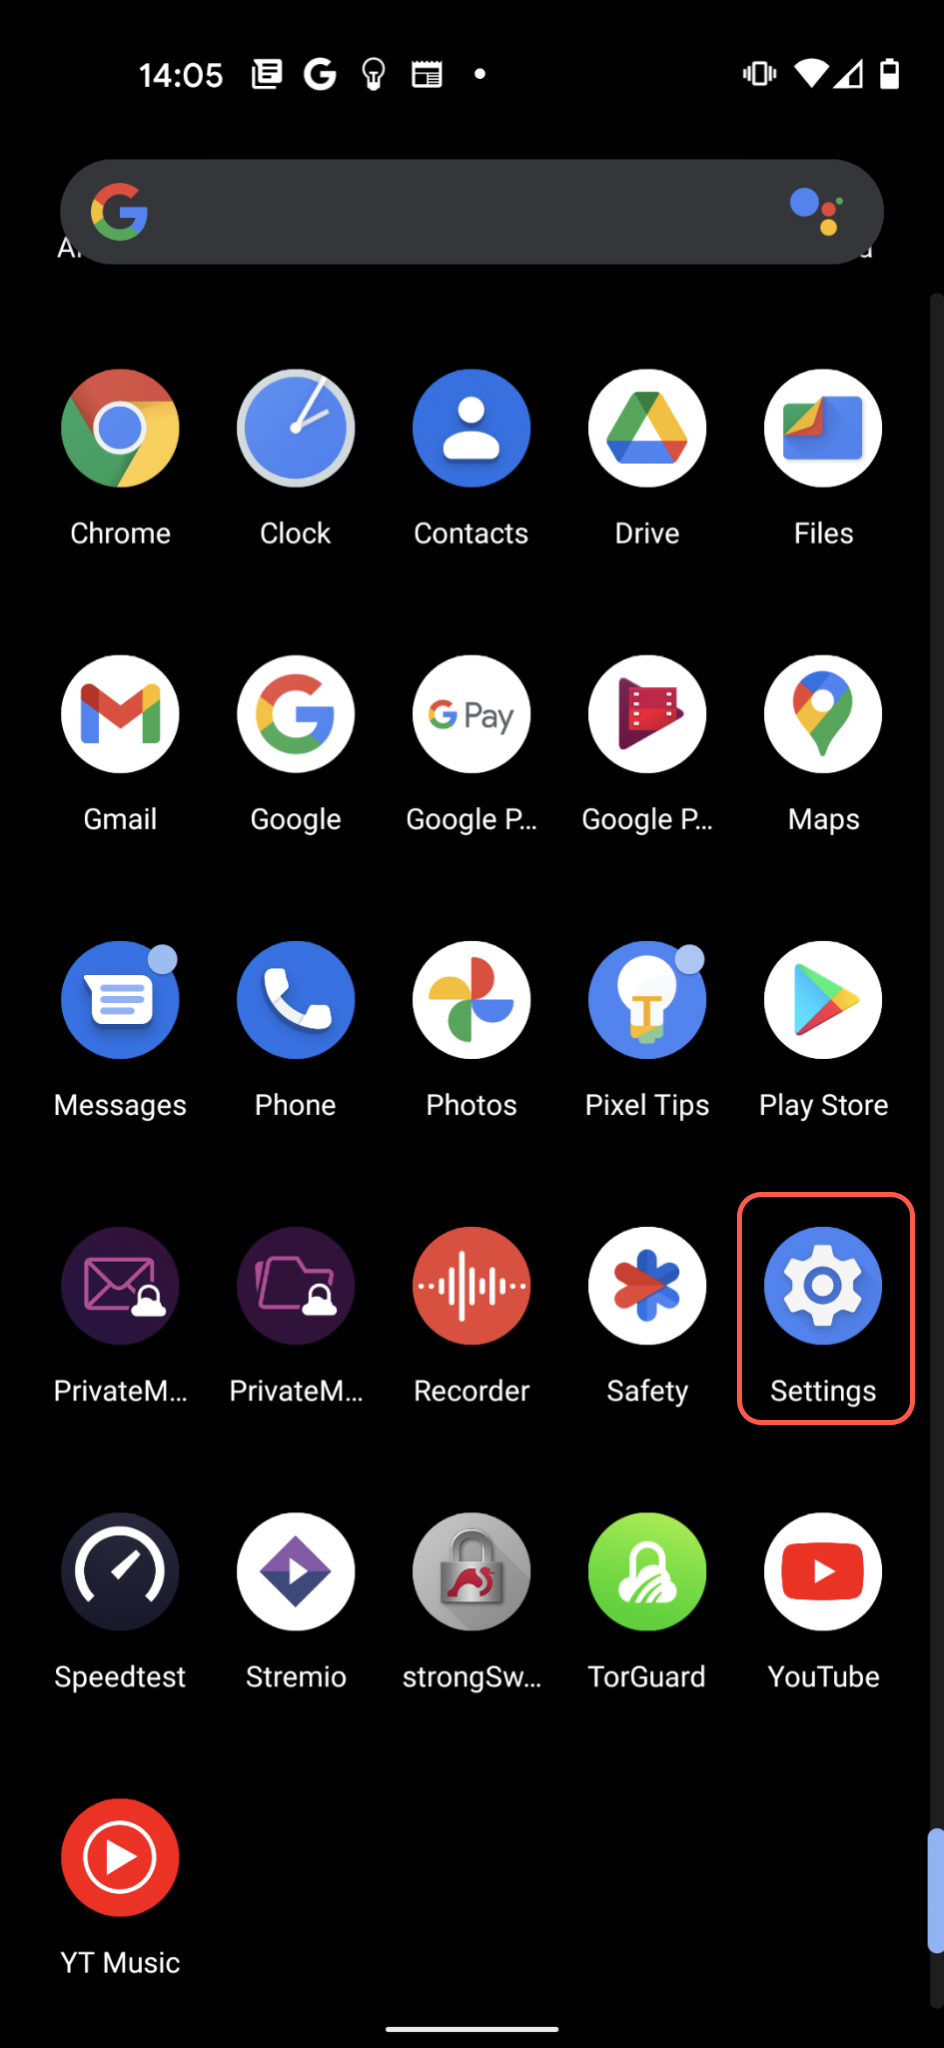
Step 1: Open Settings
Access Android Settings
Swipe up from the bottom of your screen and tap the Settings icon.
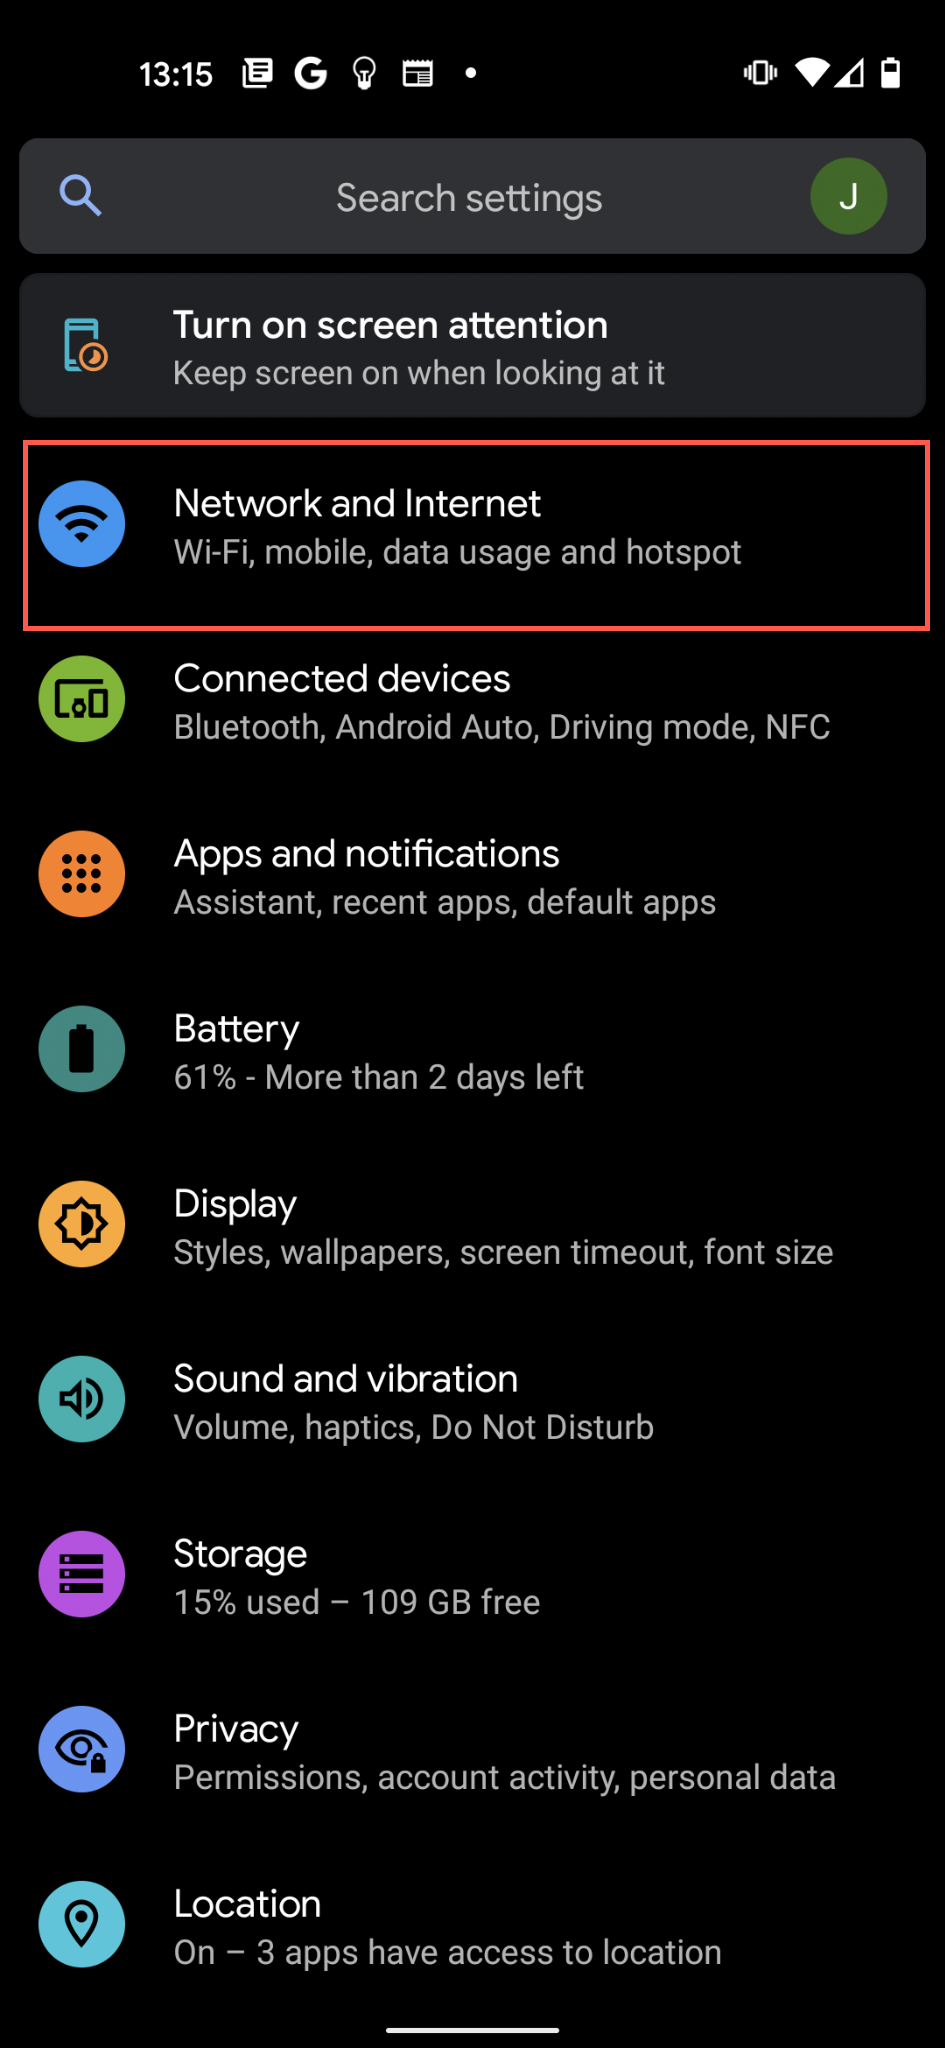
Step 2: Navigate to Network Settings
Find VPN Options
Tap Network & Internet (may vary by Android version).
Android Version Differences:
- Android 11+: Settings → Network & Internet → VPN
- Android 9-10: Settings → Network & Internet → Advanced → VPN
- Android 7-8: Settings → More → VPN
- Samsung: Settings → Connections → More connection settings → VPN
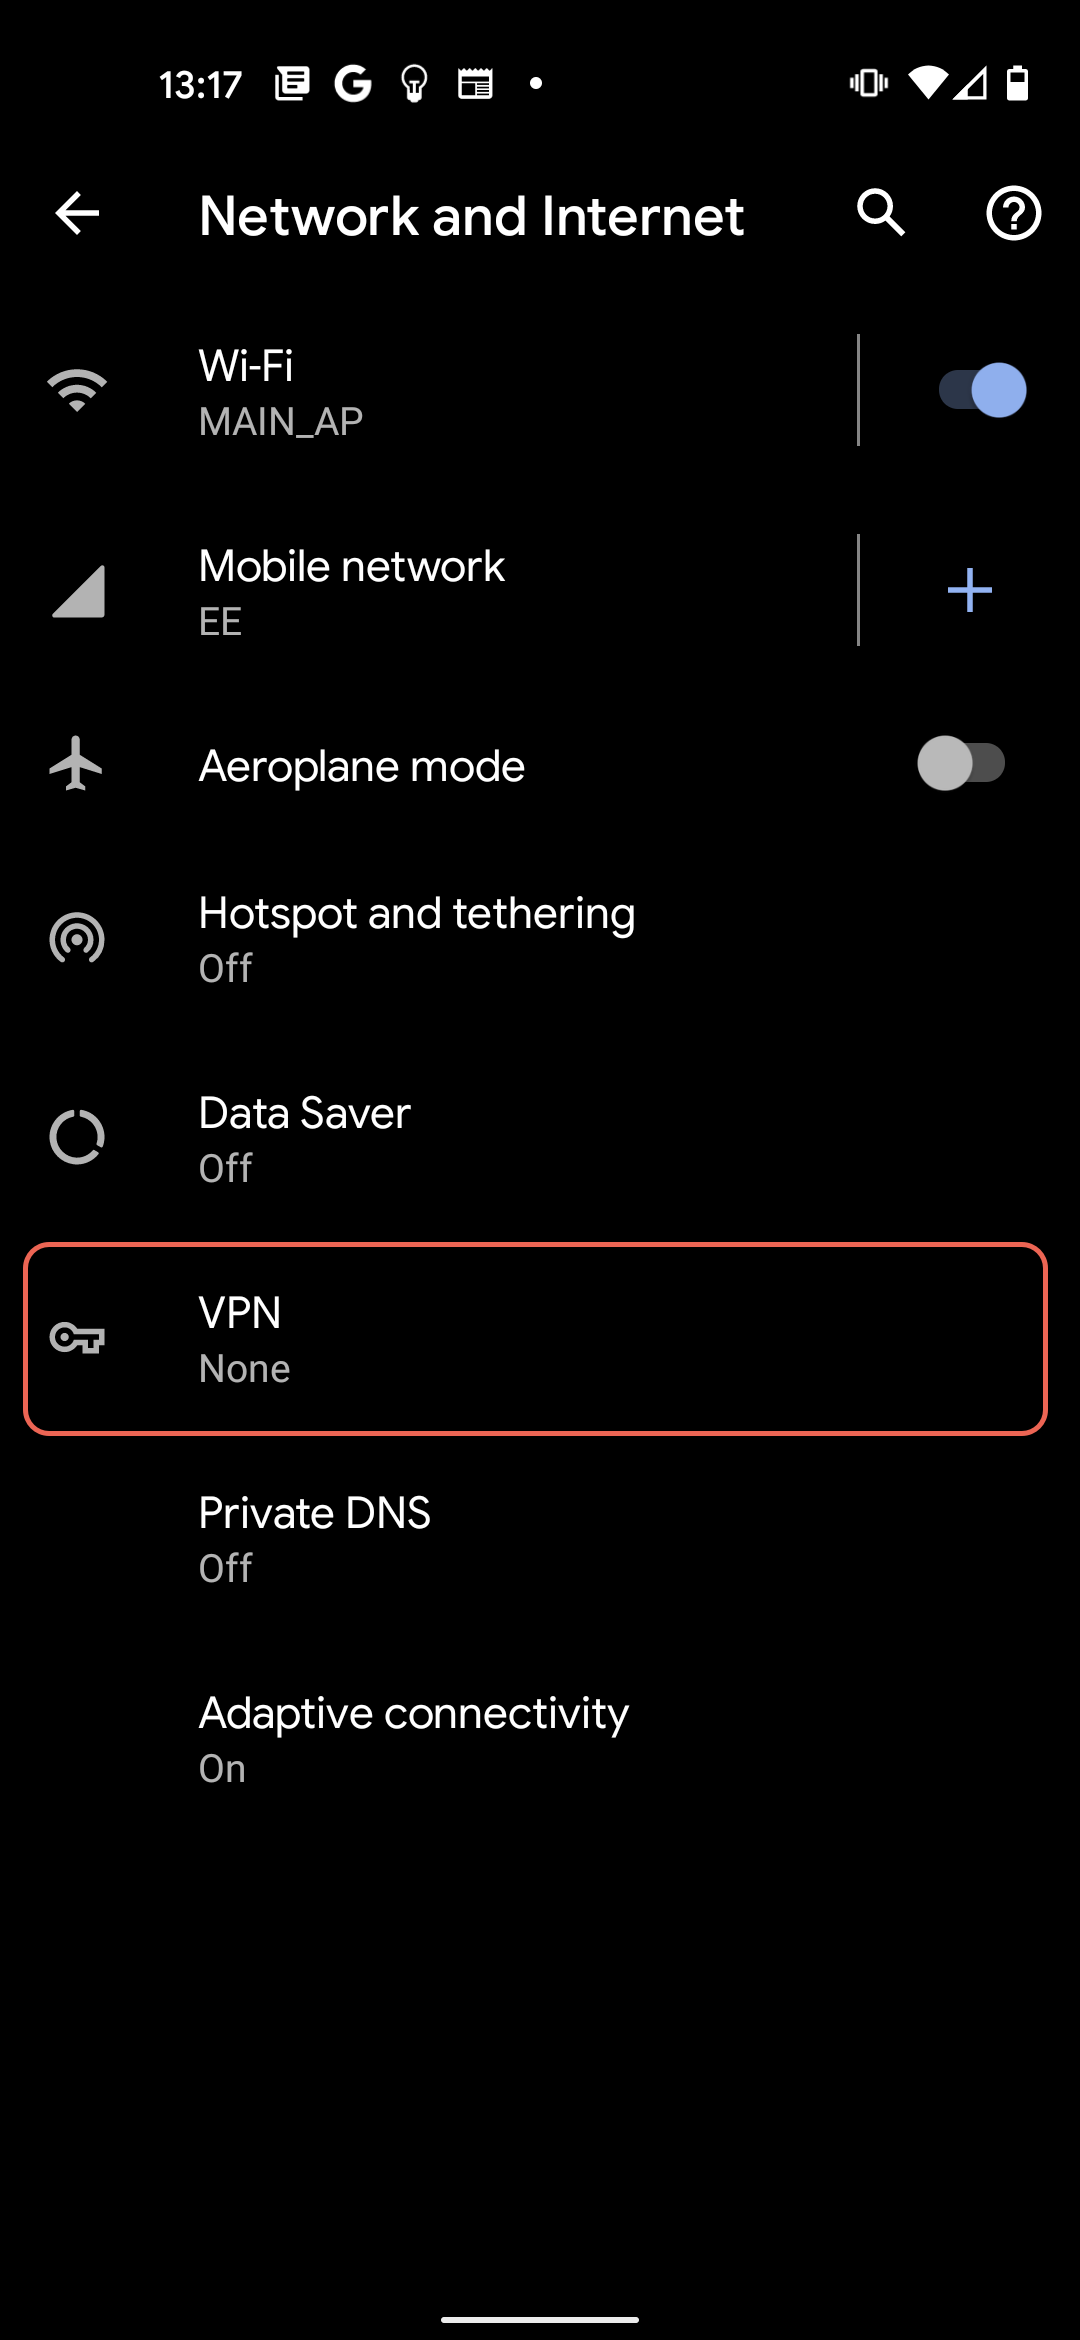
Step 3: Access VPN Settings
Show Advanced Options
- Tap the down arrow next to Advanced (if present)
- Tap VPN from the expanded menu
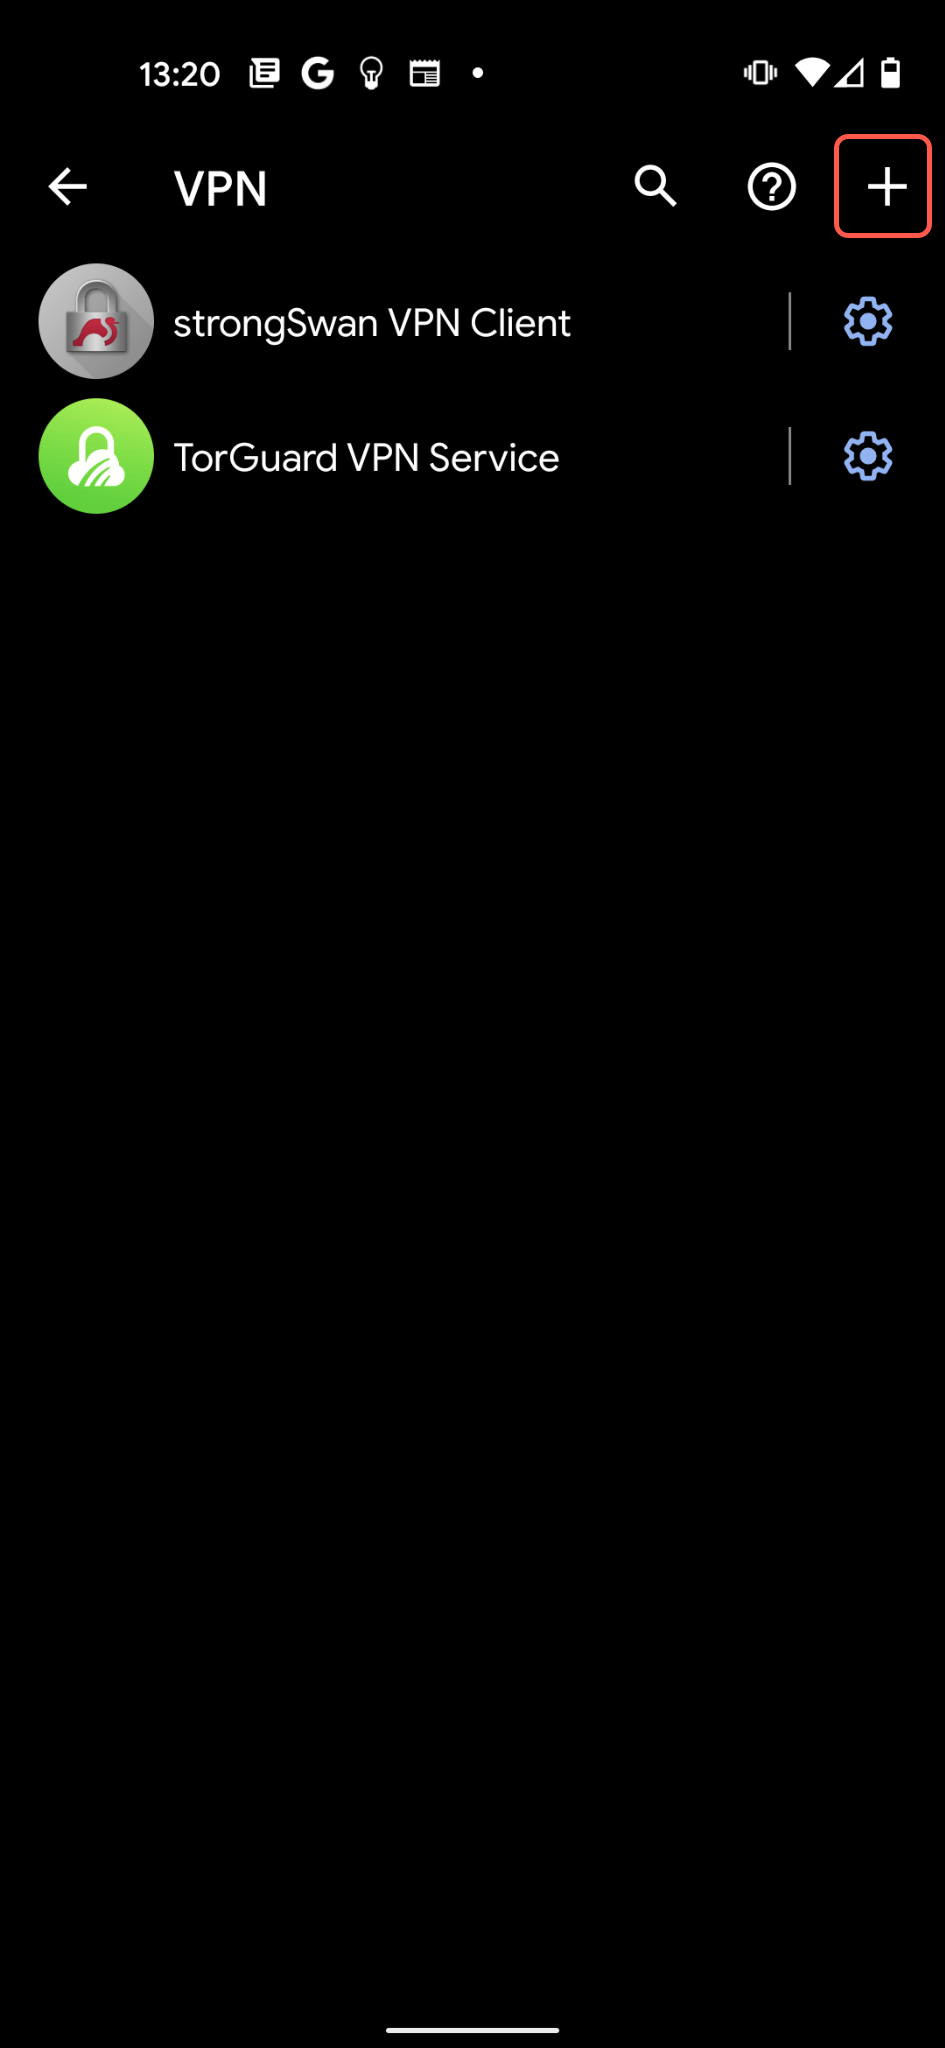
Step 4: Add VPN Profile
Create New Profile
Tap the + button in the top right corner to add a new VPN profile.
Step 5: Configure IPSec Settings
Enter Connection Details
| Name: | TorGuard VPN (or any name you prefer) |
| Type: | IPSec Xauth PSK |
| Server address: | Enter server hostname (e.g., uk.torguard.com) See full server list |
| IPSec pre-shared key: | torguard (lowercase, no quotes) |
| Username: | Your VPN username |
| Password: | Your VPN password |
After entering all details, tap Save.
Tip: The pre-shared key is always "torguard" for all TorGuard servers.

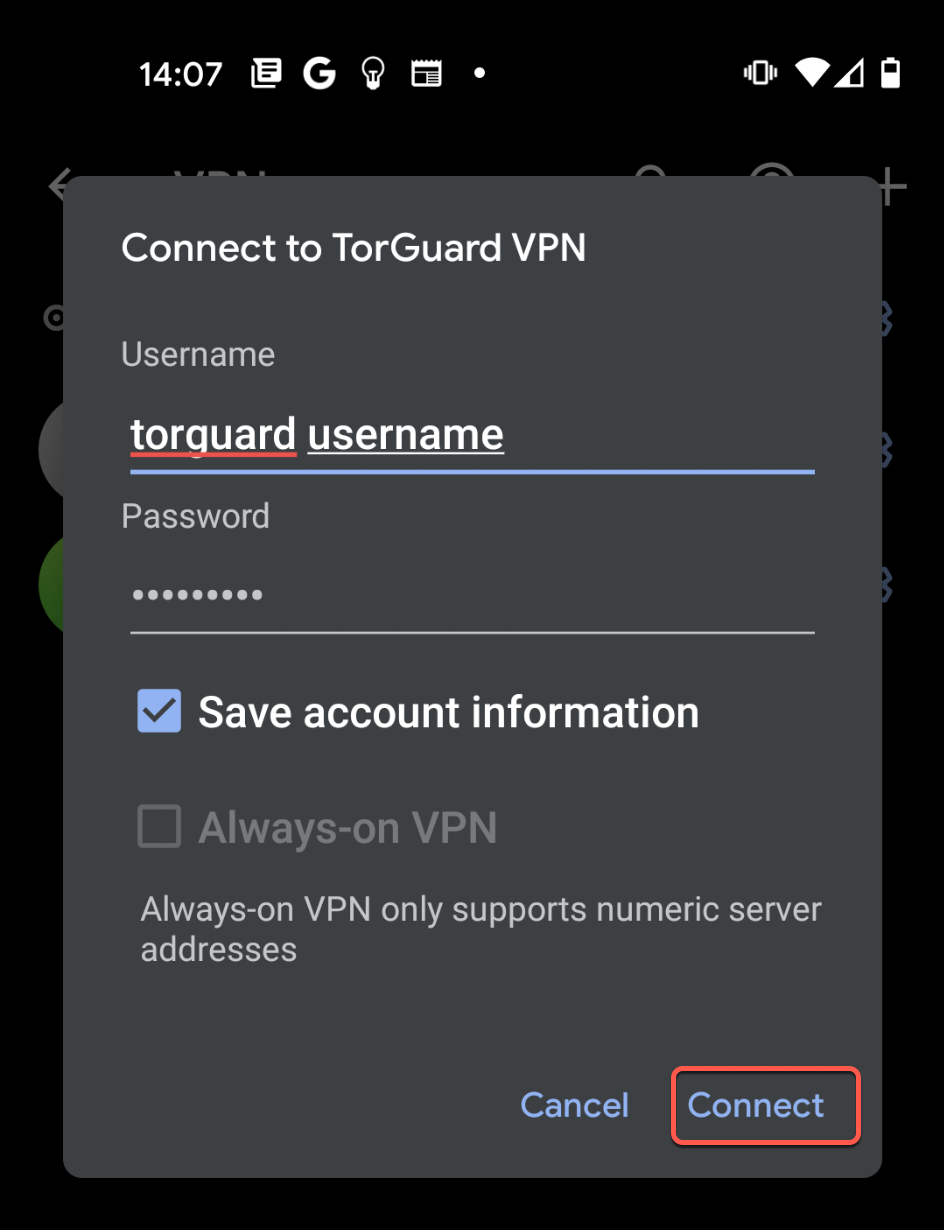
Step 6: Connect to VPN
Establish Connection
- Return to the VPN list
- Tap your TorGuard VPN profile
- Tap Connect when prompted
First Connection:
On first connection, Android may ask to:
- Create a VPN connection (tap OK)
- Trust this application (tap OK)
- Set up screen lock if not configured
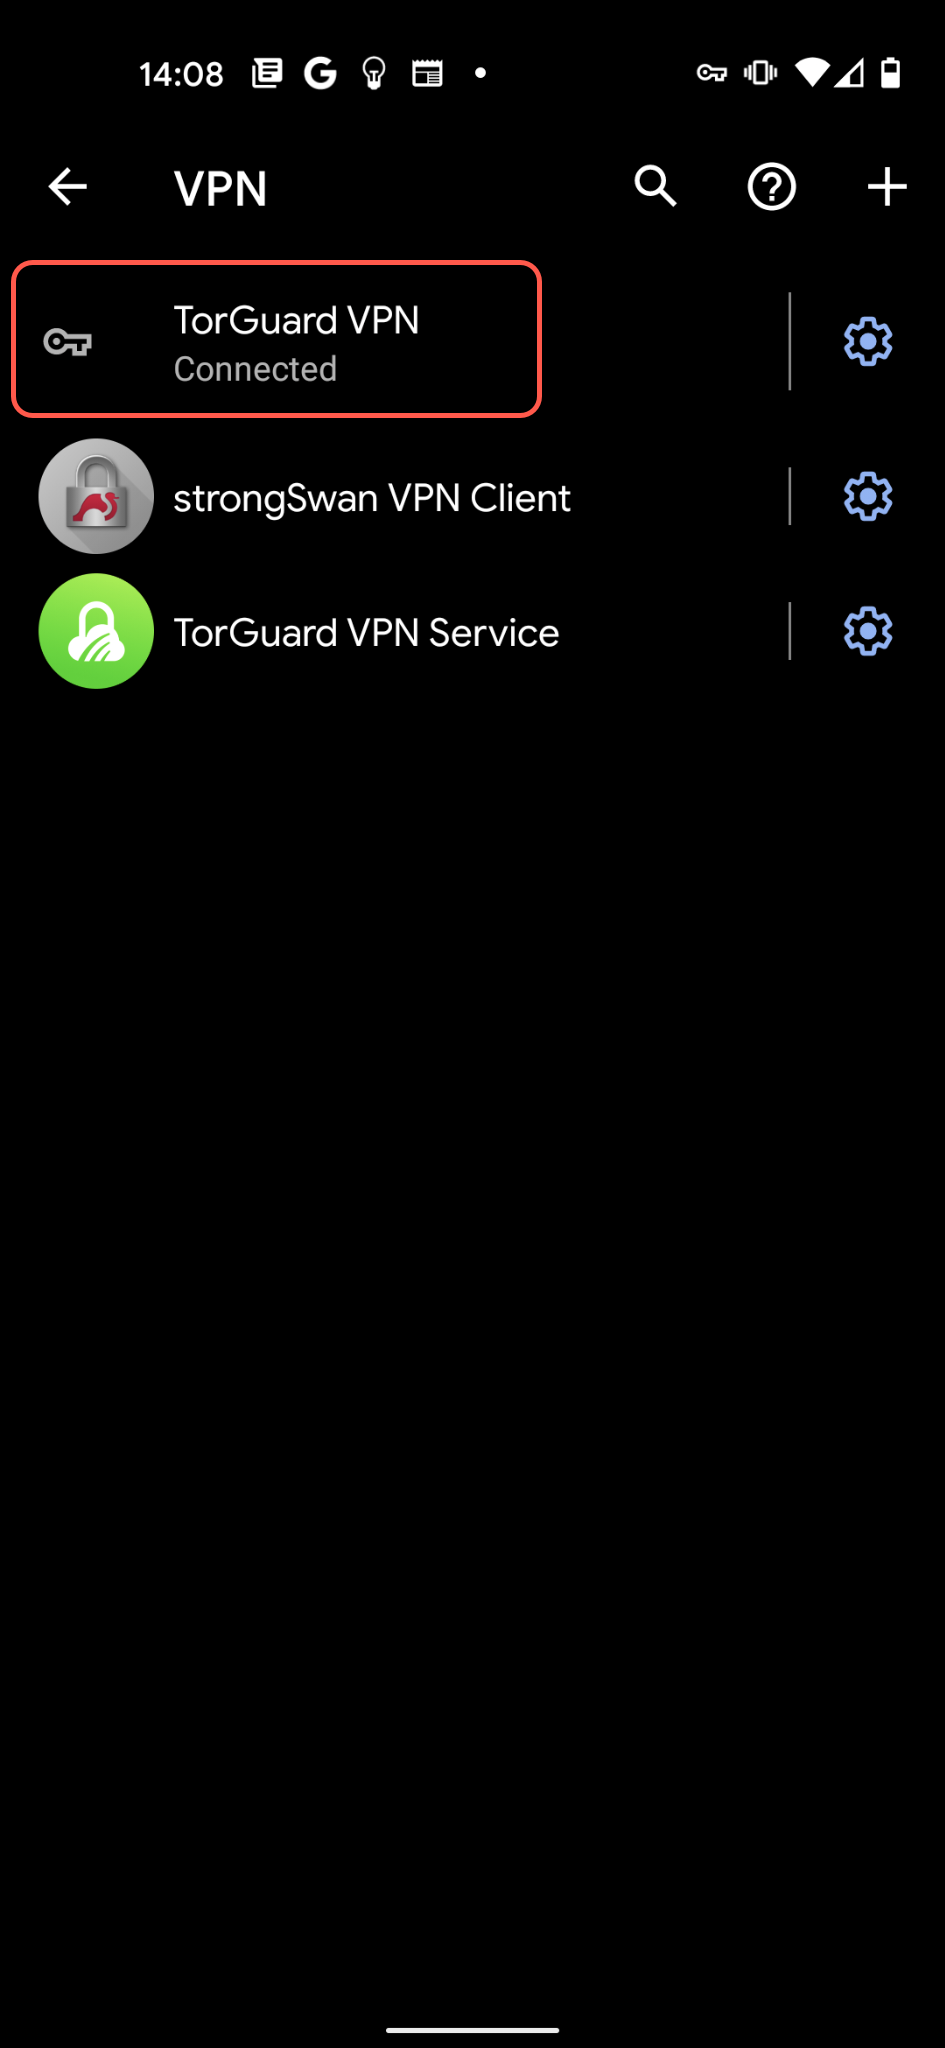
Step 7: Verify Connection
Connection Status
Once connected, you'll see:
- VPN key icon in status bar
- "Connected" status in VPN settings
- Connection duration timer
Verify your IP has changed at TorGuard IP Check
Managing Your Connection
Connection Controls
Quick Actions:
- Quick Toggle: Swipe down → tap VPN notification
- Disconnect: Tap profile → Disconnect
- Always-on VPN: Long press profile → gear icon → Always-on VPN
- Block connections without VPN: Enable for kill switch functionality
Profile Management:
- Edit: Long press profile → Edit
- Delete: Long press profile → Delete
- Multiple Profiles: Add different server locations
Advanced Settings
Optional Configurations
1. Always-on VPN
- Long press your VPN profile
- Tap the gear icon
- Enable "Always-on VPN"
- Optional: Enable "Block connections without VPN" for kill switch
2. Split Tunneling (Android 5.0+)
Some devices support per-app VPN settings:
- Go to VPN profile settings
- Look for "Allowed apps" or "Disallowed apps"
- Select which apps use VPN
3. DNS Settings
To use custom DNS servers:
- Some devices allow DNS configuration in VPN settings
- Otherwise, use Private DNS in Network settings
Troubleshooting
Connection Failed
- Verify server address is correct
- Check username/password (use VPN credentials)
- Ensure pre-shared key is exactly:
torguard - Try a different server location
- Check if IPSec is blocked on your network
No Internet After Connecting
- Disconnect and reconnect VPN
- Try a different server
- Check mobile data/WiFi is working
- Clear app cache for VPN service
- Reset network settings if needed
Battery Drain
- IPSec is generally battery efficient
- Disable "Always-on VPN" when not needed
- Use WiFi instead of mobile data when possible
- Consider WireGuard for better battery life
Authentication Error
- Double-check VPN credentials (not website login)
- Verify pre-shared key is lowercase "torguard"
- Reset VPN password if needed
- Try removing and recreating profile
IPSec vs Other Protocols
Protocol Comparison
| Feature | IPSec Xauth | OpenVPN | WireGuard |
|---|---|---|---|
| Security | ⭐⭐⭐ | ⭐⭐⭐⭐⭐ | ⭐⭐⭐⭐⭐ |
| Speed | ⭐⭐⭐⭐ | ⭐⭐⭐ | ⭐⭐⭐⭐⭐ |
| Battery Life | ⭐⭐⭐⭐ | ⭐⭐ | ⭐⭐⭐⭐⭐ |
| Setup Ease | ⭐⭐⭐⭐⭐ | ⭐⭐⭐ | ⭐⭐⭐⭐ |
| Network Compatibility | ⭐⭐⭐⭐ | ⭐⭐⭐⭐⭐ | ⭐⭐⭐ |