🚀 About WireGuard
WireGuard is a modern VPN protocol offering exceptional speed, security, and simplicity. This guide covers setup using the official WireGuard app, though we recommend the TorGuard app for easier management and additional features.
TorGuard App vs Official WireGuard App
✅ TorGuard App (Recommended)
- Automatic config management
- Built-in server selection
- No manual config files needed
- Kill switch included
- Stealth VPN options
- Integrated support
- Auto-reconnect features
📦 Official WireGuard App
- Lightweight and minimal
- Open source
- Manual config management
- Basic functionality only
- No built-in kill switch
- Good for advanced users
- Requires config renewal
Feature Comparison
| Feature | TorGuard App | Official WireGuard |
|---|---|---|
| Server Selection | ✅ Built-in | ❌ Manual config |
| Config Management | ✅ Automatic | ❌ Manual |
| Kill Switch | ✅ Included | ❌ Not available |
| Multiple Protocols | ✅ Yes | ❌ WireGuard only |
| Config Expiration | ✅ Auto-renewal | ⚠️ Manual renewal |
| System Tray | ✅ Full controls | ✅ Basic controls |
| Resource Usage | Moderate | Minimal |
System Requirements
Windows Requirements
- Operating System: Windows 7, 8.1, 10, 11 (64-bit recommended)
- Administrator Rights: Required for installation
- Network Adapter: TAP driver will be installed
- RAM: 512MB minimum
- Disk Space: 100MB for app
WireGuard Benefits
Why Choose WireGuard?
- Speed: Up to 4x faster than OpenVPN
- Battery Life: Lower power consumption on laptops
- Security: Modern cryptography (ChaCha20, Curve25519)
- Simplicity: Minimal codebase, easier to audit
- Quick Reconnects: Seamless network transitions
- Lower Latency: Better for gaming and streaming
Step-by-Step Setup Guide
1Download Official WireGuard App
Visit the official WireGuard website and download the Windows installer:

Download from wireguard.com/install
⚠️ Download Source
Always download from the official WireGuard website or TorGuard to ensure authenticity and avoid malware.
2Generate WireGuard Config
Log into TorGuard and generate your WireGuard configuration file:

Use TorGuard's config generator with your VPN credentials
⚠️ Config Expiration Warning
Important: WireGuard configs expire after 12-24 hours for security. You'll need to regenerate configs periodically when using the official app. The TorGuard app handles this automatically.
3Import Configuration File
Import your downloaded .conf file into WireGuard:

Click "Import tunnel(s) from file"
Navigate to your Downloads folder and select the config file:

4Activate VPN Connection
Click the "Activate" button to connect:

Connection will show as Active with data transfer stats
5Verify Your IP Address
Confirm your VPN connection by checking your IP:
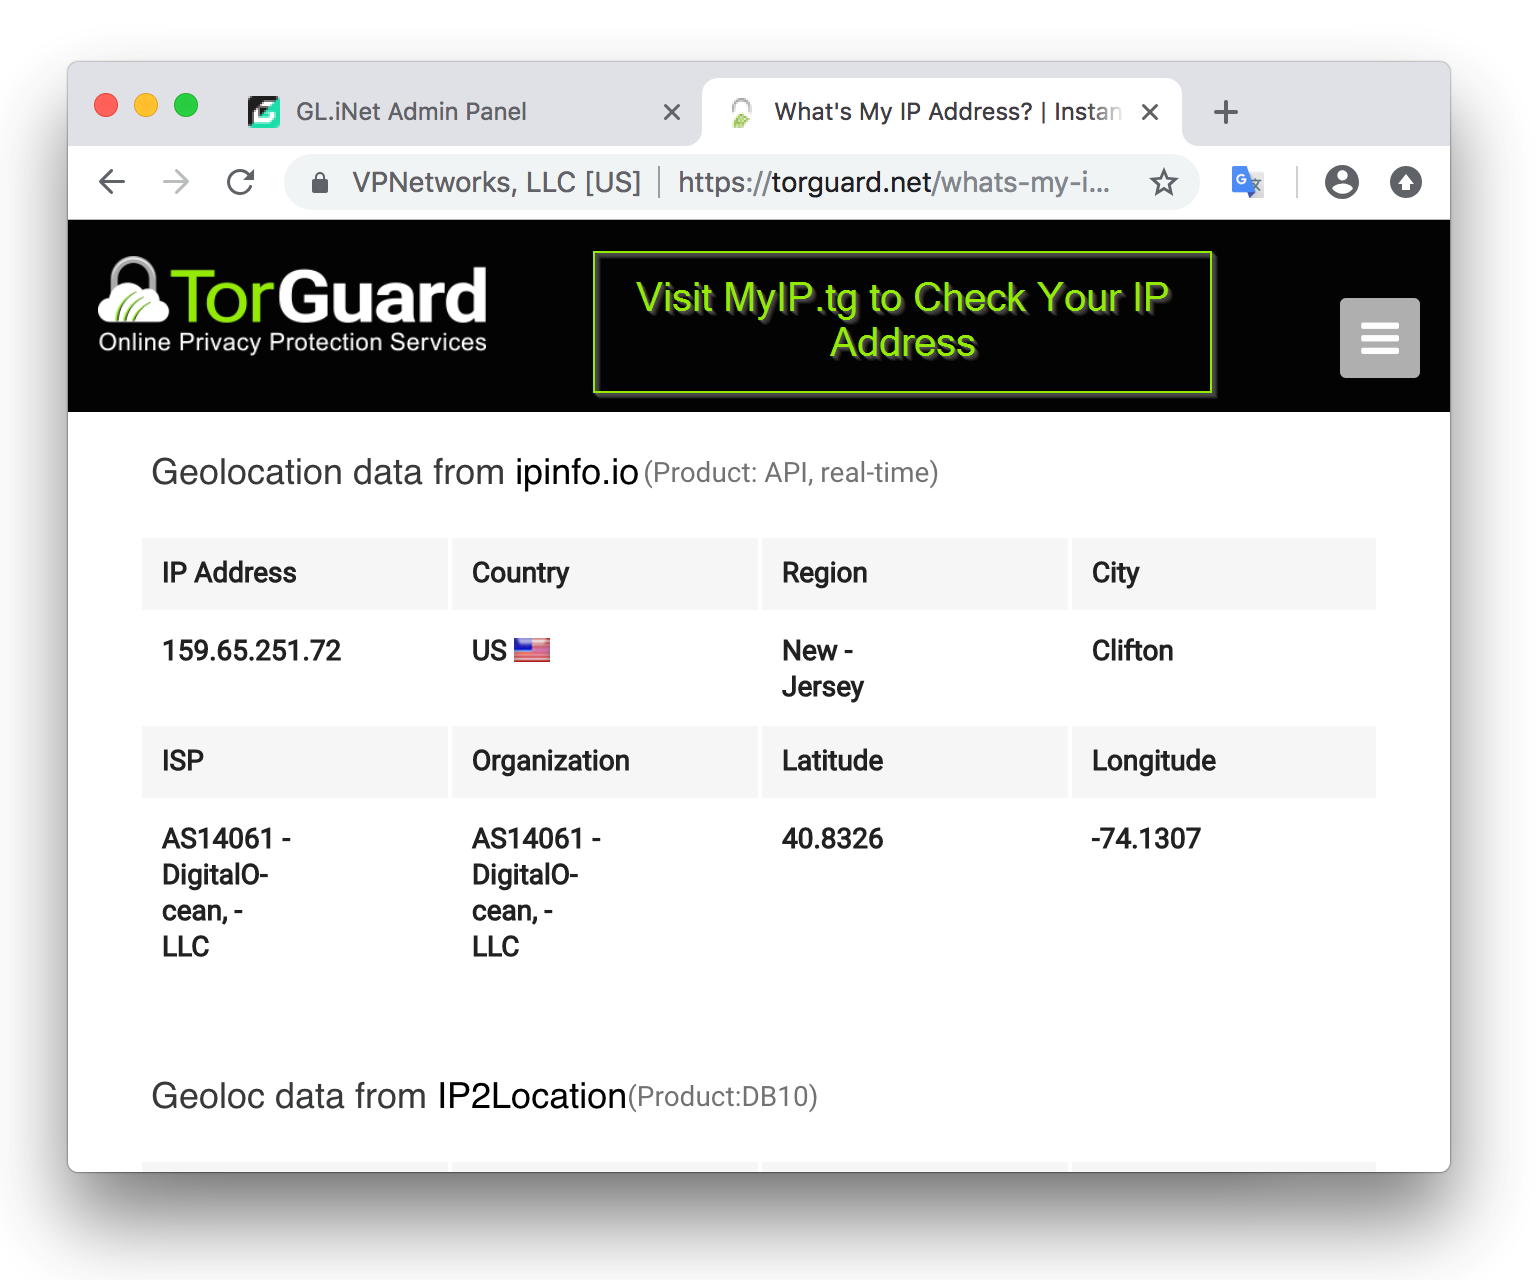
Visit torguard.net/whats-my-ip.php
Configuration Management
📁 Managing Multiple Configs
Organizing Servers
- Name configs descriptively: "TorGuard-USA-NY.conf"
- Create folders for different regions
- Keep backup configs for failover
- Delete expired configs regularly
Quick Server Switching
- Deactivate current tunnel
- Import new server config
- Activate new tunnel
- Verify new IP location
Bulk Import
You can import multiple configs at once:
- Select multiple .conf files
- All appear in tunnel list
- Switch between them easily
- Only one active at a time
Advanced Features
🔧 Advanced Configuration
System Tray Options
- Right-click for quick access
- Show/hide main window
- Quick connect/disconnect
- View active tunnel
Startup Options
Configure WireGuard to start with Windows:
- Open WireGuard
- Right-click tunnel name
- Select "Start on startup"
- Can set auto-connect on launch
Log Viewing
For troubleshooting:
- Click "View Log" for active tunnel
- Shows handshake status
- Displays error messages
- Useful for support tickets
Edit Configuration
Advanced users can edit configs directly:
- Right-click tunnel → Edit
- Modify endpoints, DNS, etc.
- Add custom routes
- Change MTU values
Performance Optimization
🚀 Speed Optimization
MTU Settings
Add to [Interface] section for better performance:
MTU = 1420  # Default
MTU = 1380  # For problematic networks
MTU = 1280  # Maximum compatibility
DNS Configuration
Optimize DNS in config:
DNS = 1.1.1.1, 1.0.0.1  # Cloudflare
DNS = 8.8.8.8, 8.8.4.4  # Google
DNS = 10.8.0.1  # TorGuard DNS
Persistent Keepalive
For NAT/firewall traversal:
PersistentKeepalive = 25Quick Toggle Methods
⚡ Fast Connection Toggle
- Keyboard Shortcut: Set custom hotkeys in Windows
- System Tray: Single-click toggle option
- Command Line:
wireguard /installtunnelservice "tunnel-name" - PowerShell: Create connection scripts
Troubleshooting
Config Expired Error
- Regenerate config from TorGuard
- Delete old config
- Import fresh config
- Consider TorGuard app instead
No Internet Access
- Check config hasn't expired
- Verify correct server selected
- Try different DNS servers
- Check Windows Firewall
Slow Speeds
- Try closer server location
- Adjust MTU settings
- Disable Windows updates
- Check background apps
Security Considerations
🔒 Security Best Practices
- Config Files: Store securely, contains private keys
- No Kill Switch: Official app lacks kill switch - use firewall rules
- DNS Leaks: Ensure DNS is set in config
- IPv6 Leaks: Disable IPv6 if not routed through VPN
- Regular Updates: Keep WireGuard app updated
Creating a Kill Switch
Since the official app lacks a kill switch, create one with Windows Firewall:
- Open Windows Defender Firewall with Advanced Security
- Create outbound rules to block all traffic
- Add exception rules for WireGuard tunnel interface
- Enable when using VPN, disable when not needed
Or use the TorGuard app which includes an automatic kill switch!
When to Use Each App
Use TorGuard App When:
- You want automatic config management
- You need a kill switch
- You switch servers frequently
- You prefer integrated features
- You're a casual VPN user
Use Official WireGuard When:
- You need minimal resource usage
- You manage few connections
- You're comfortable with manual config
- You need open-source solution
- You're an advanced user
Config File Structure
Understanding the WireGuard config file:
[Interface]
PrivateKey = your_private_key_here
Address = 10.x.x.x/32
DNS = 10.8.0.1

[Peer]
PublicKey = server_public_key_here
PresharedKey = optional_psk_here
AllowedIPs = 0.0.0.0/0
Endpoint = server_ip:51820
Need Help?
If you're having issues with WireGuard setup:
Include your config (remove private key) and any error messages