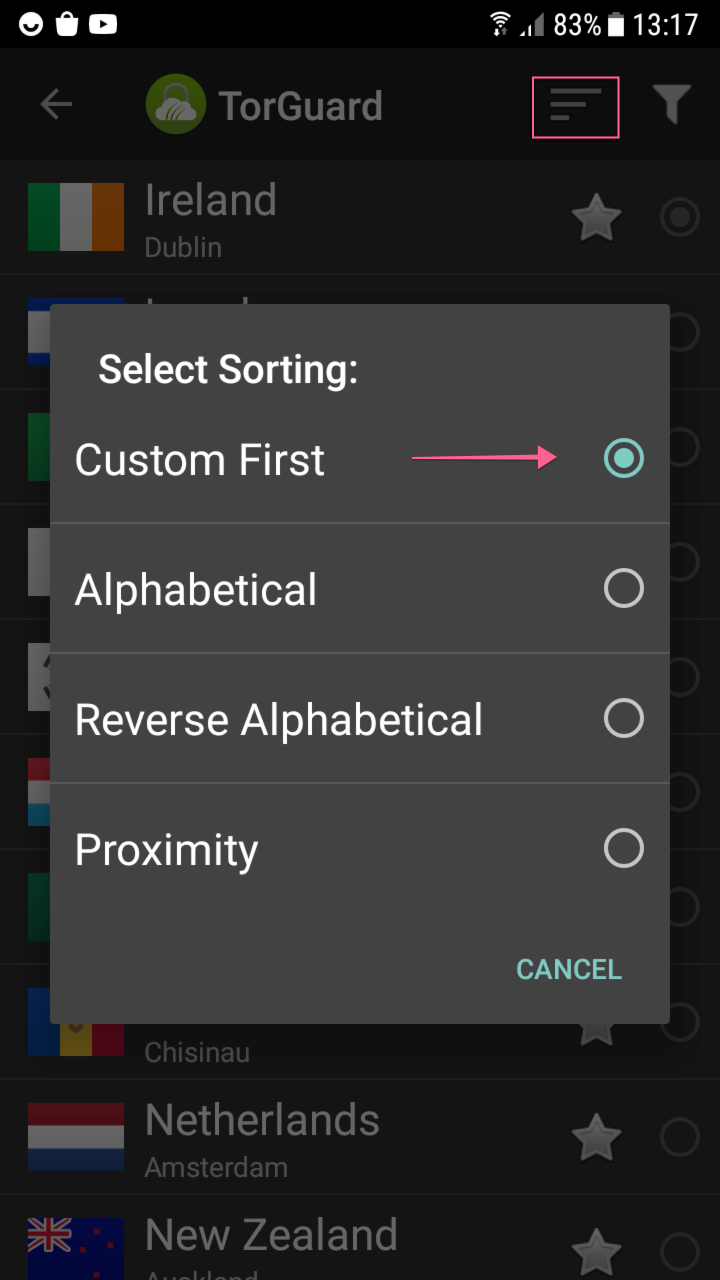
If somehow you cannot see your IP in the list then you can add it manually as per the below steps:
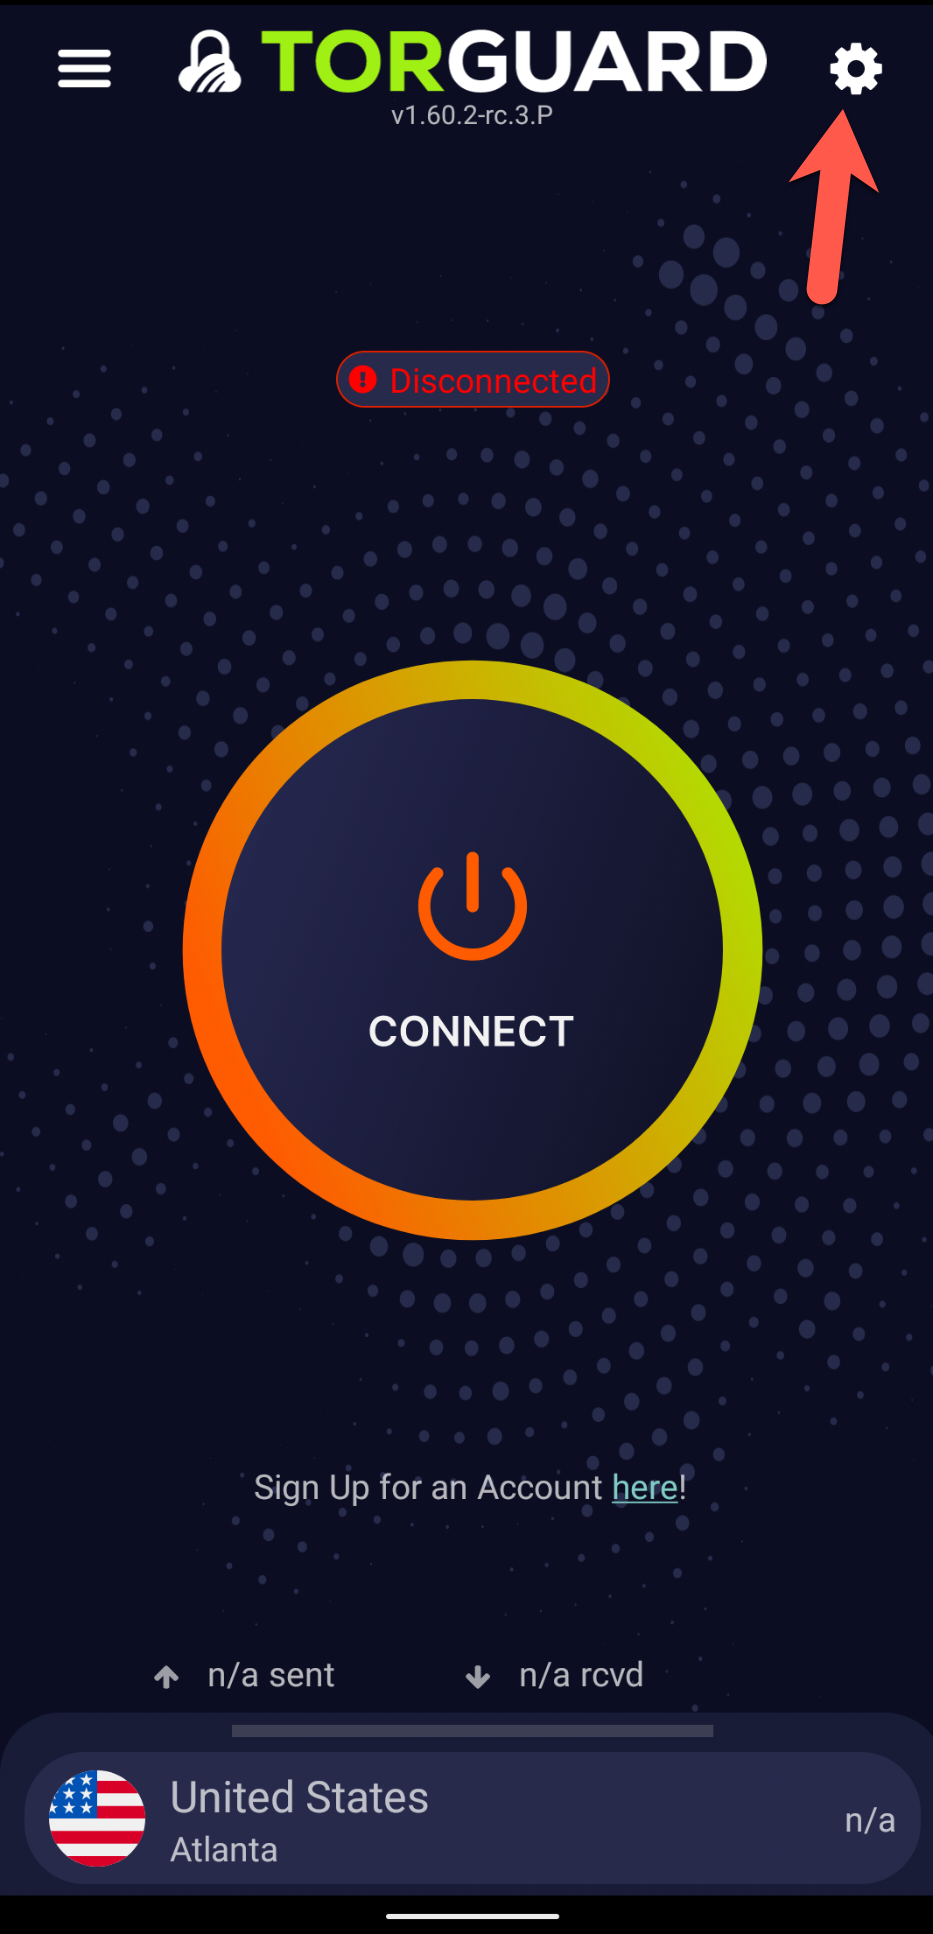
STEP 1) On the TorGuard Android app main screen tap the settings cog on the top right.
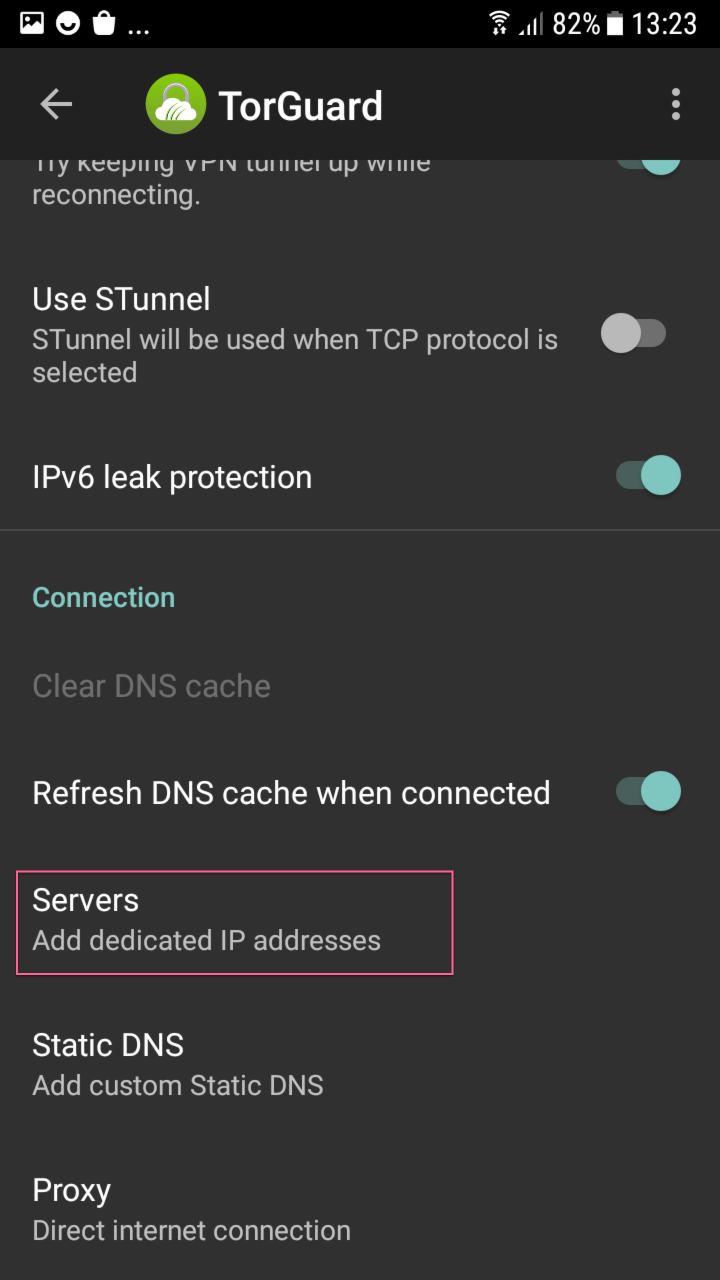
STEP 2) Scroll all the way down and tap "Servers - Add dedicated IP addresses"
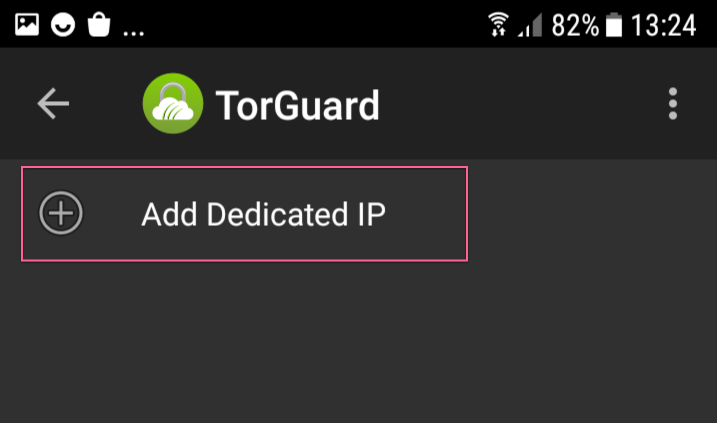
STEP 3) Then tap "Add Dedicated IP"
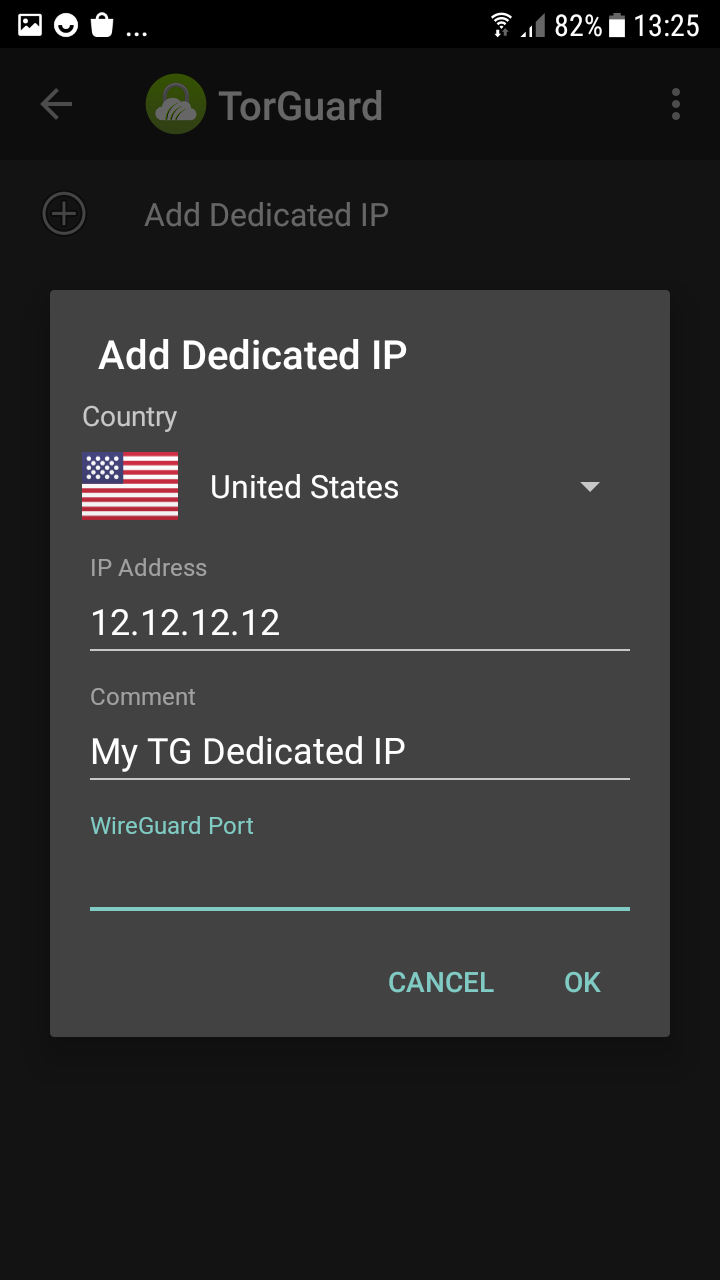
STEP 4) Follow below to add your Dedicated IP:
First, make sure your IP is set to connect via the VPN protocol you wish to use on the website under Services --> My Fixed IP's
a) Select your IP country.
b) Add your Dedicated IP mentioned in your activation email in the IP Address field - you can also locate this IP on the website under Services --> My Fixed IP's
c) Under Comment, enter a name for your connection i.e My USA IP
d) If your IP is set to connect via WireGuard enter the port 1443 - if its set to connect via OpenVPN leave this port section blank and tap ok.
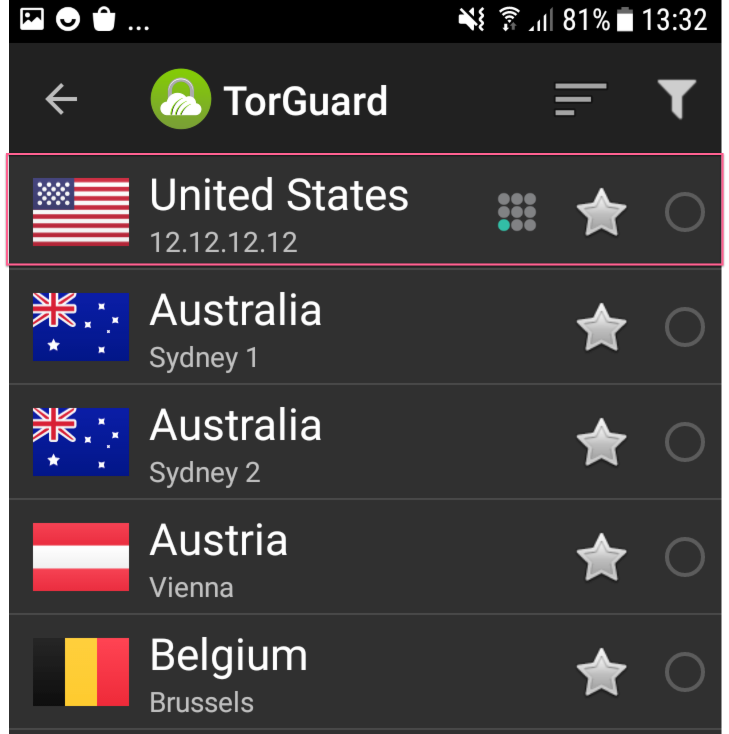
STEP 5) Once you have added your IP navigate back to the server list and you will see your IP at the very top of this list - simply tap it to connect.
If for any reason you have any trouble adding your IP please don't hesitate to contact us on our support desk
