1. From the TorGuard application click the settings cog on the top right hand corner.

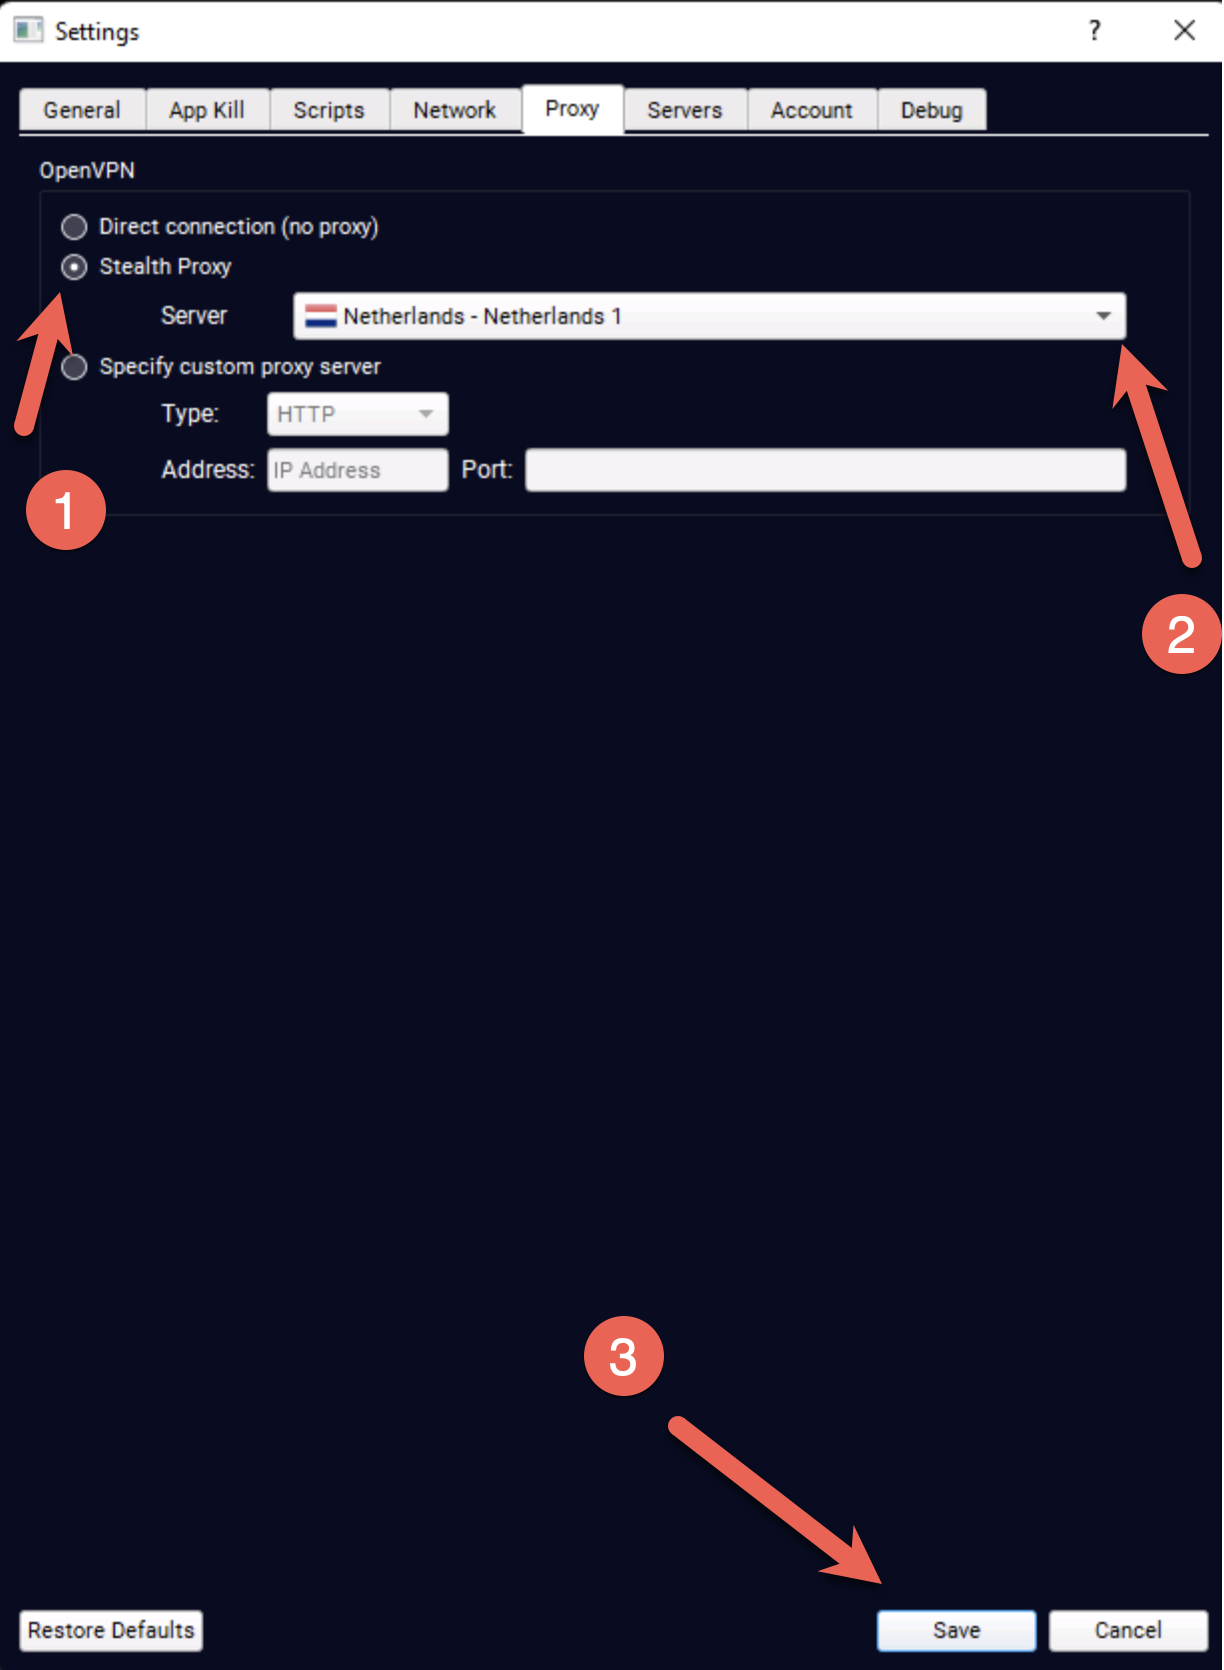
2. Select the Proxy tab and check the "Stealth Proxy" checkbox, select a Stealth Proxy location and then click Save.
3. Back on the main connect screen click the burger menu on the top left.

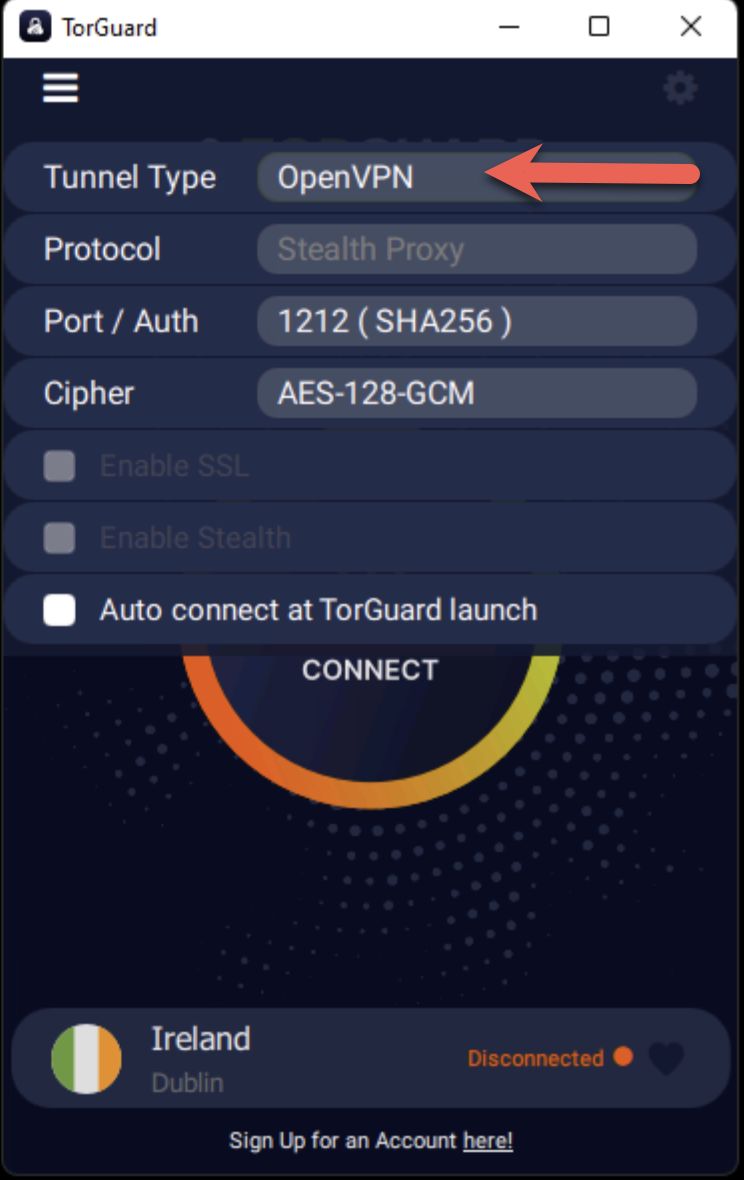
4. Make sure the tunnel type is set to OpenVPN and change the port if required. You can cycle through ports to see what works best for you.
5. Now simply connect to the VPN - if you still have problems, please don't hesitate to contact our support desk.
Note: When connected via stealth proxy, rather than say "verified", it will show the IP of the VPN server you are tunnelled through.