OpenVPN Connect is the official full-featured iPhone/iPad VPN client and is developed by OpenVPN Technologies, Inc
STEP 1:
The first thing you need to do is install the official OpenVPN Connect app on your iOS device, you can install it at this URL: https://apps.apple.com/gb/app/openvpn-connect/id590379981..
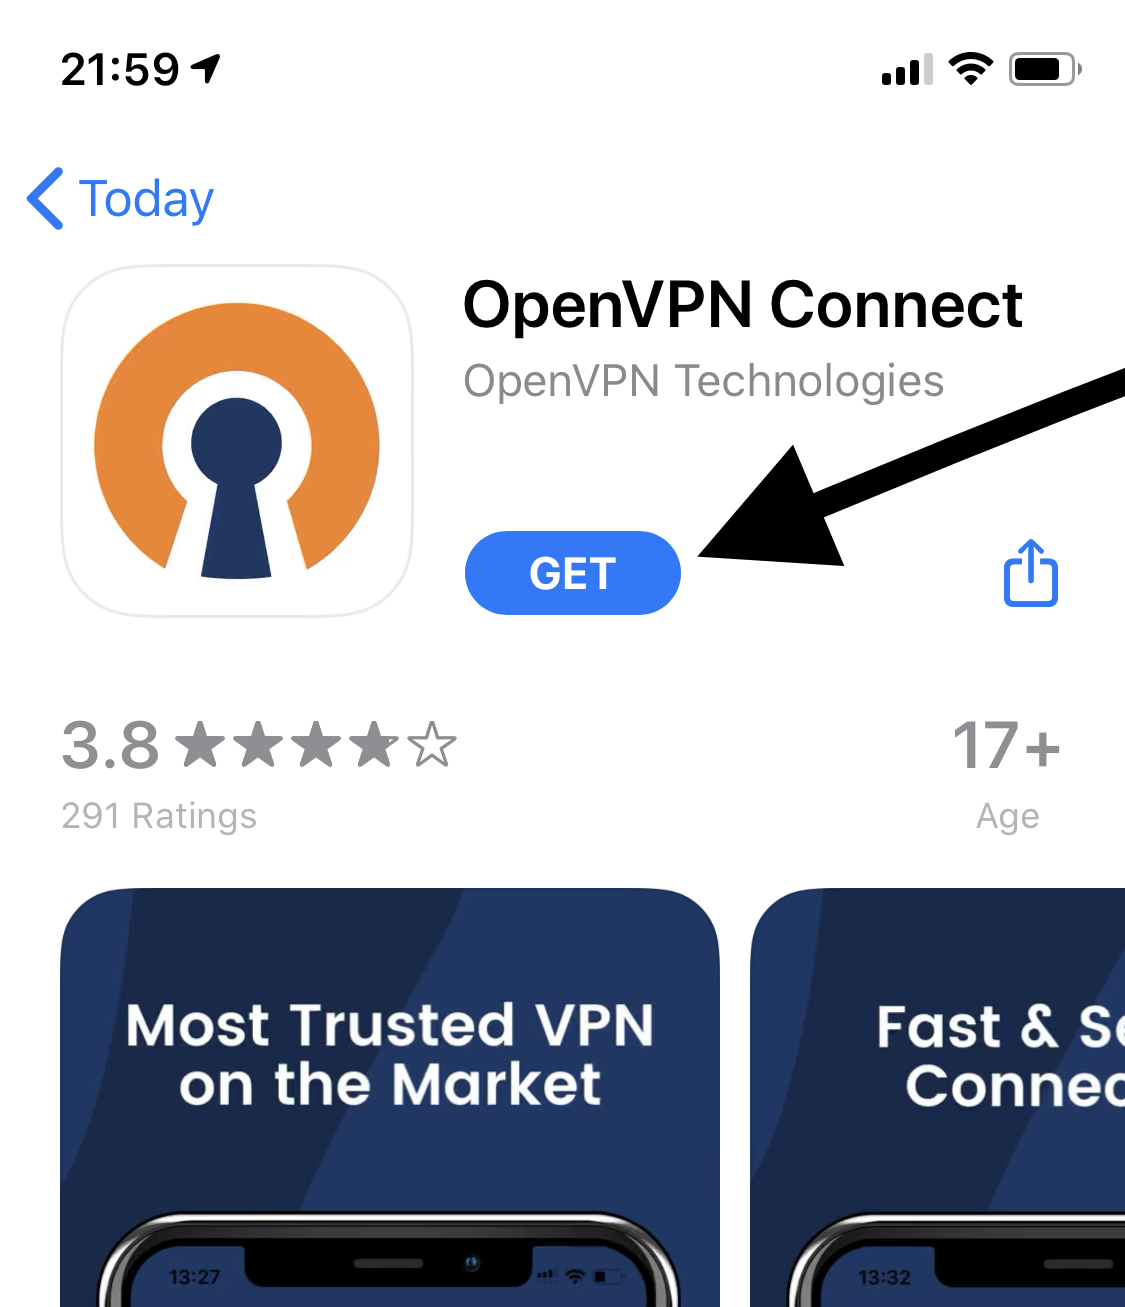
Tap Get to install the app onto your device.
STEP 2:
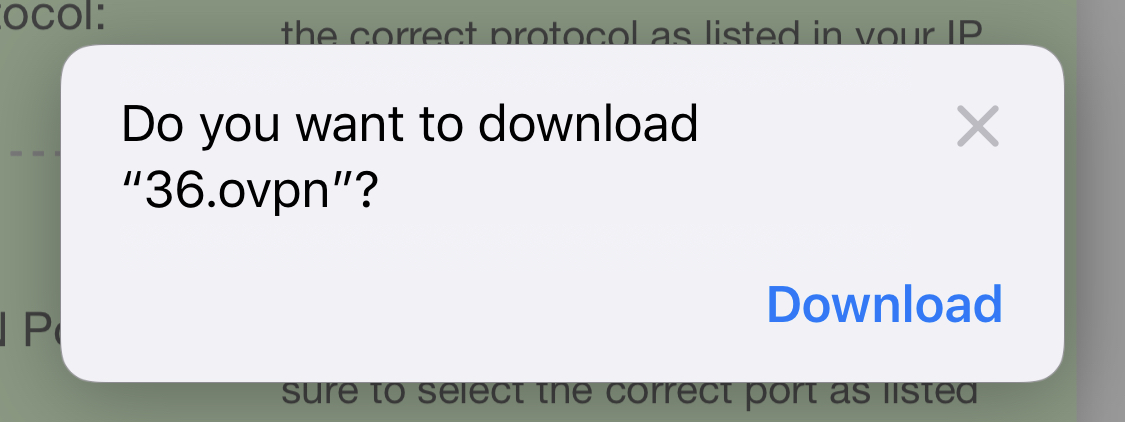
Once that's installed head over to our config generator here using the Safari browser on your iOS device and select the iOS device icon, fill out the rest of the fields as needed and hit generate, you will be displayed with a popup asking you to download your config, tap download.
STEP 3:
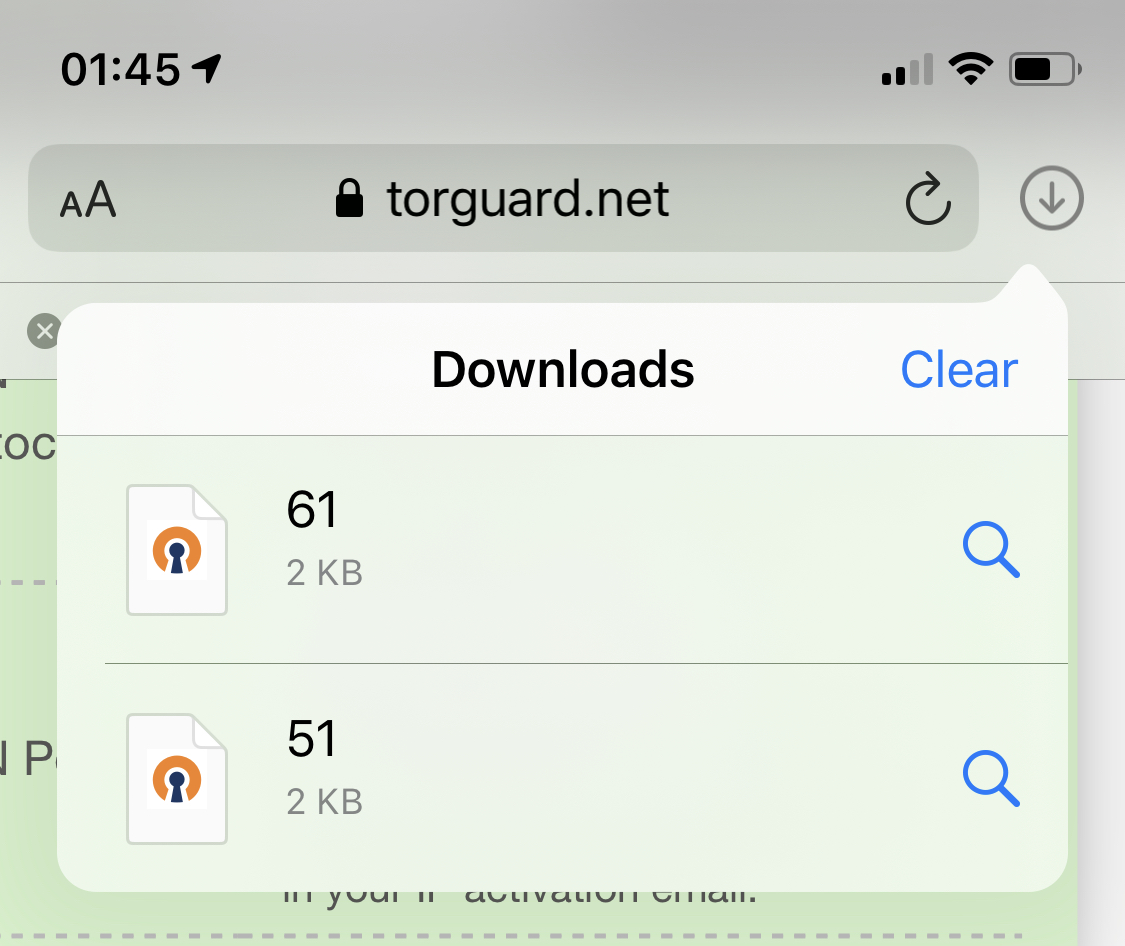
Now tap the little icon to the right of your address bar that is basically a circle with an arrow pointing down, this will display the config you just downloaded, tap it to open the config.
STEP 4:
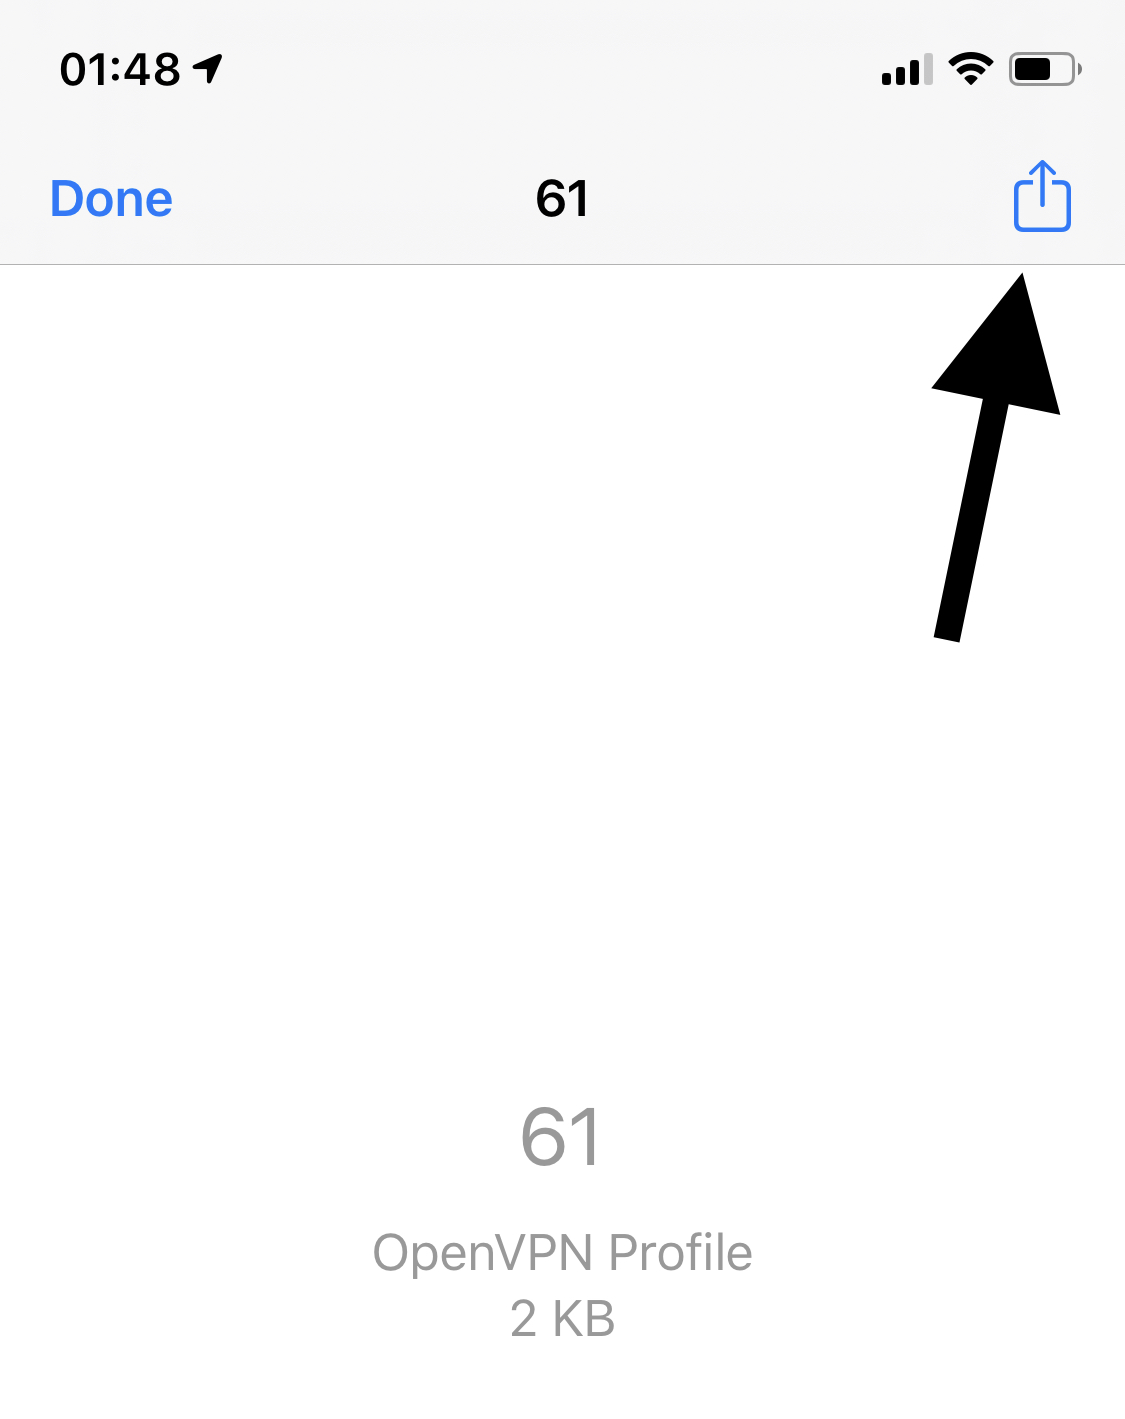
Now tap the share icon on the top right-hand side of your address bar.
STEP 5:
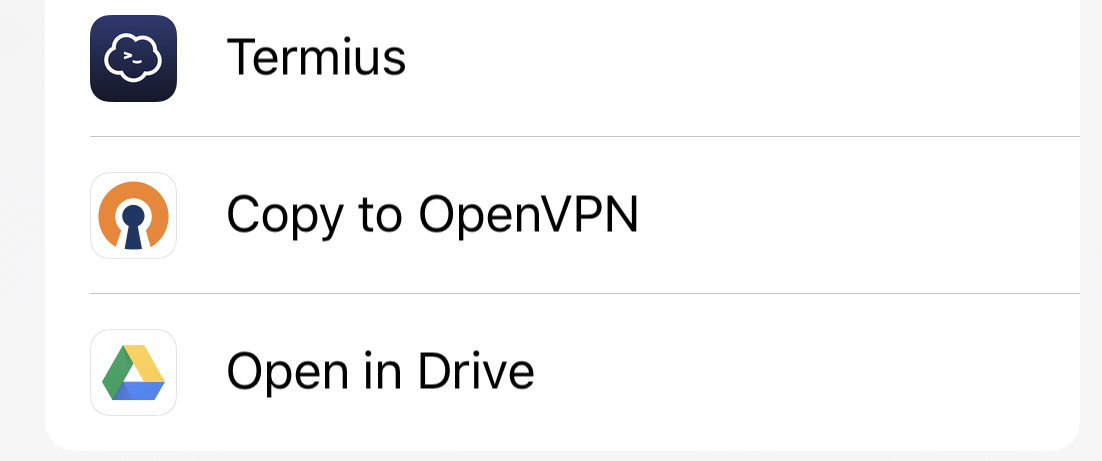
This will open up the sharing actions - look for "Copy to OpenVPN" by swiping left on the screen over the App selection row - if you don't see it swipe to the very end and tap More. it will display more apps you can share with, scroll down until you see "Copy to OpenVPN" and tap it.
STEP 6:
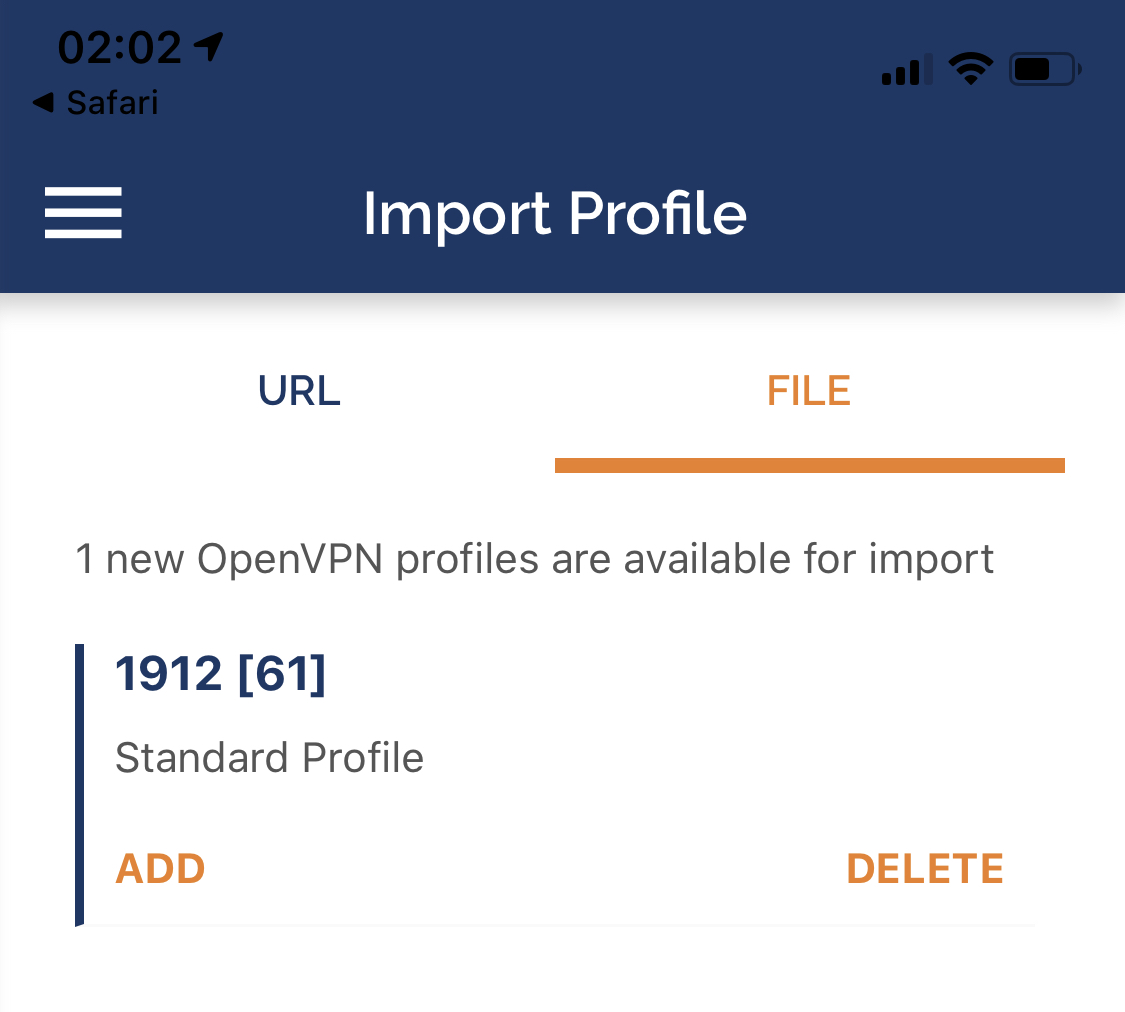
You will be displayed with the following screen, tap Add.
STEP 7:
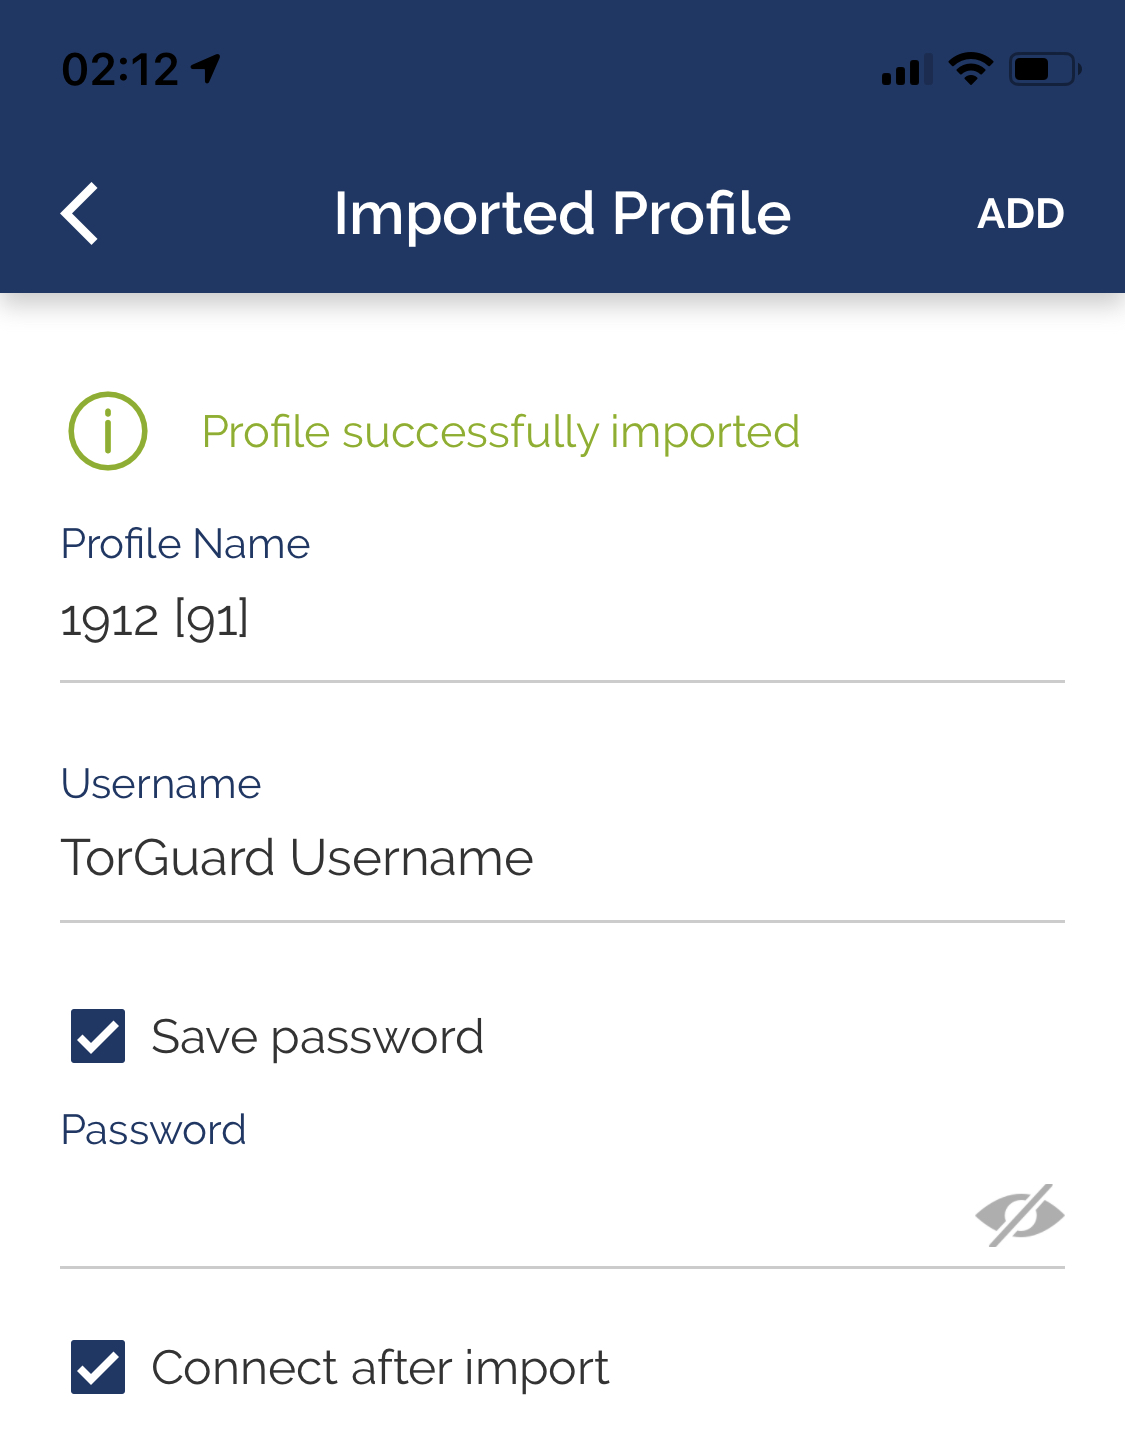
It should now show successfully imported - enter your TorGuard VPN username, Tap to check "Save Password" and enter your TorGuard VPN Password, if you want it to connect after import check "Connect after import" and then tap "Add" on the top right-hand corner to finish importing the profile.
It will prompt you to allow OpenVPN to add configurations, Tap Allow and enter your iPhone passcode, it should now connect and show the VPN as connected.
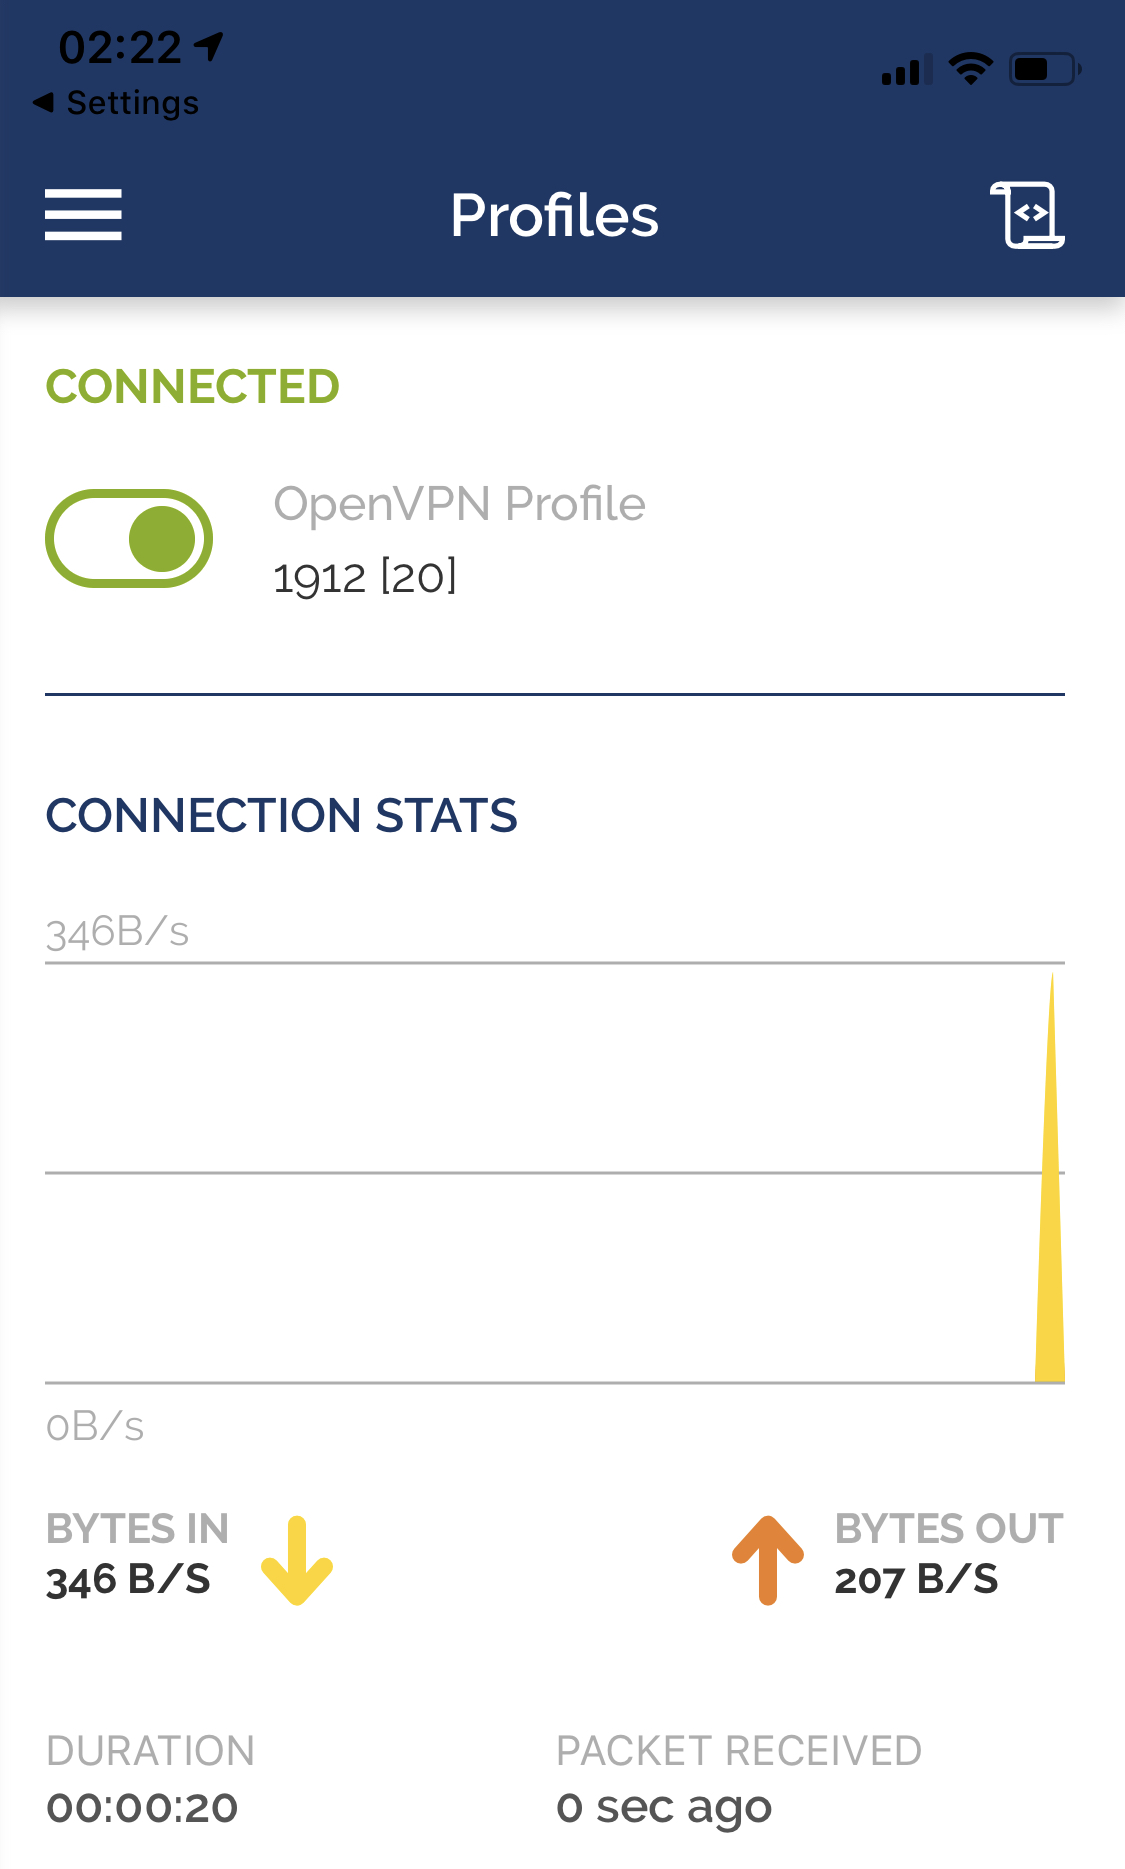
If so - your good to go!
Notes:
If for any reason you do not import the config file immediately it may report that it cannot open the config, you need to go through the process again above.
