Check if your Windows PC can support creating a virtual router
Before we begin, let’s find out if your computer can support creating a virtual router. Type Windows + S to launch the search bar, then type cmd to bring up Command Prompt. Right-click Command Prompt and select Run as administrator.
For Windows 8: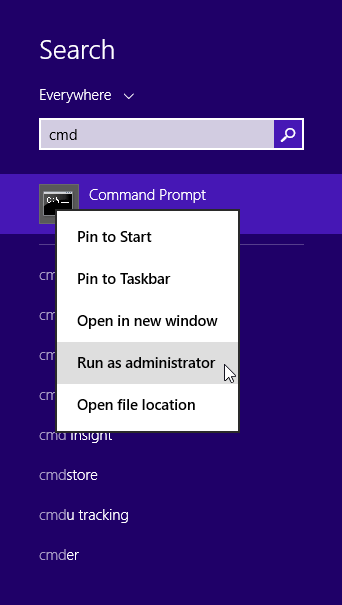
For earlier versions of Windows: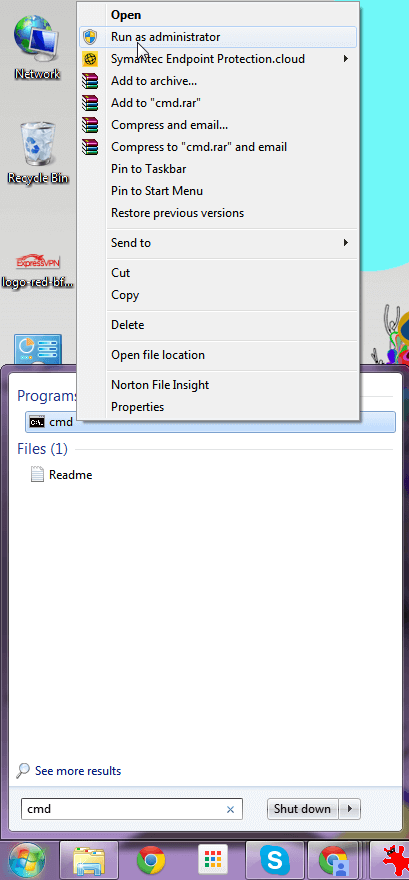
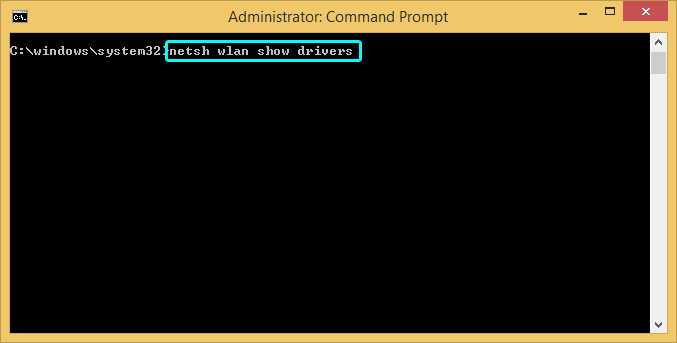
In the command prompt, type the following:
netsh wlan show drivers
Hit Enter.
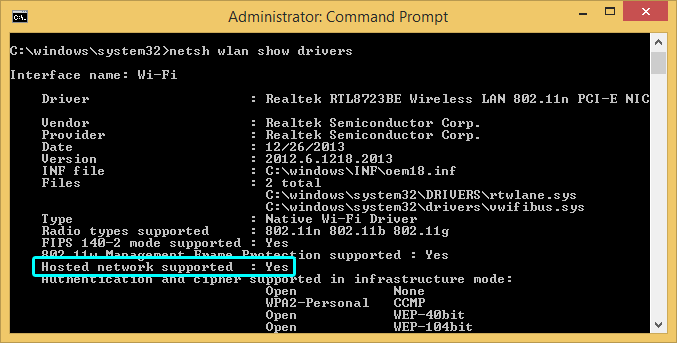
If you see “Hosted network supported : Yes”, then your network adapter can create a virtual router.
If you don’t see this message, then you may need to update your network adapter drivers.
Connect to TorGuard VPN
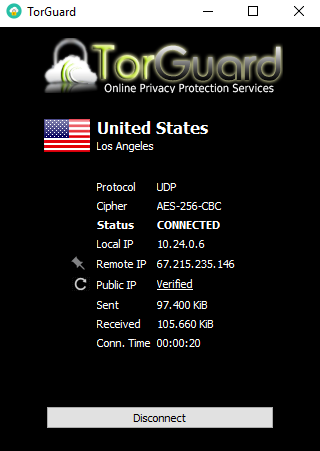
Launch the Torguard Client app and connect to the server of your choice.
Create your virtual router
In the command prompt, type the following:
netsh wlan set hostednetwork mode=allow ssid=NETWORKNAME key=PASSWORD
Name your virtual router by setting the following values:
ssid=[choose a name for your network]
key=[choose a password for your network]
Hit Enter.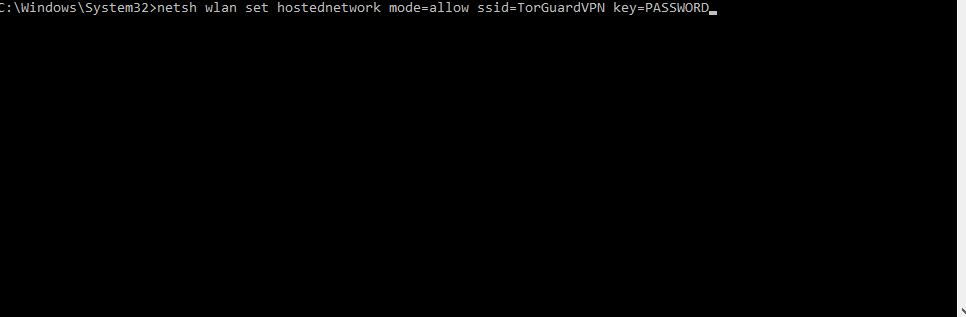
You will then see the following message:
The hosted network mode has been set to allow.
The SSID of the hosted network has been successfully changed.
The user key passphrase of the hosted network has been successfully changed.
Congratulations! You have successfully created a virtual router.
Start your virtual router
To start your virtual router, type the following in the command prompt:
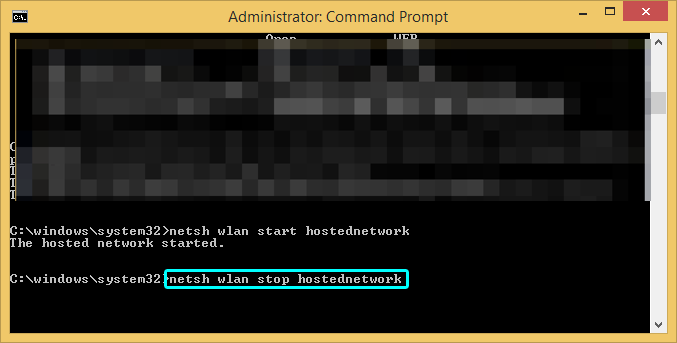
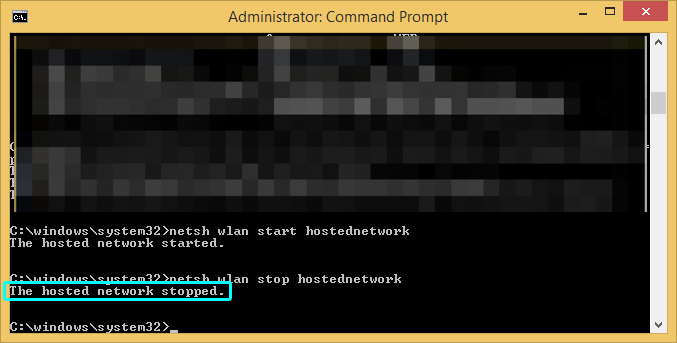
netsh wlan start hostednetwork
Hit Enter.
If the virtual router starts successfully, you will see a message that says, “The hosted network started.”
If you get a message saying the hosted network could not be started, please update your network adapter drivers.
Share your virtual router
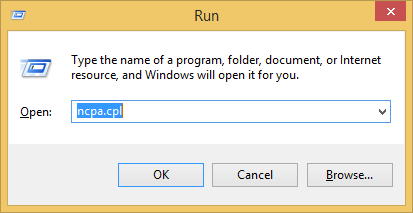
In order to share your virtual router, you need to identify the name of the connection. Open the “Run” prompt by pressing Windows + R, or by clicking the Start button. Type “ncpa.cpl“, then hit Enter or OK.
In the Network Connections window, you should now see your new Wi-Fi connection in your list of network adapters. The description will show the ssid name that you assigned earlier. Note the name of the connection. You will need this later.
Now look for a network connection with the description “TorGuard Virtual Adapter V9”.
Right-click on it and select Properties.

In the Properties window, click the Sharing tab and check the box for Allow other network users to connect through this computer’s Internet connection.
Under “Home networking connection”, select your newly created virtual router from the drop-down menu. (This is the one you identified earlier.) Then click OK.

Congratulations! Your Windows PC is now a virtual router.
Now you can connect any Wi-Fi-enabled device to your new virtual router and share your VPN connection.
Disable your virtual router
To disable your virtual router, return to the command prompt and type the following:
netsh wlan stop hostednetwork
You will see a message that says, “The hosted network stopped.”
This will stop and disable your virtual router. If your virtual router is no longer in the Network Connections window, then you have successfully disabled it.