Here we'll show you how to manually assign DNS (Domain Name Service) servers for your Internet connection using Windows 7.
1) Go to the Start Menu and click Control Panel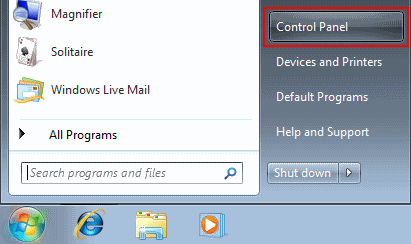
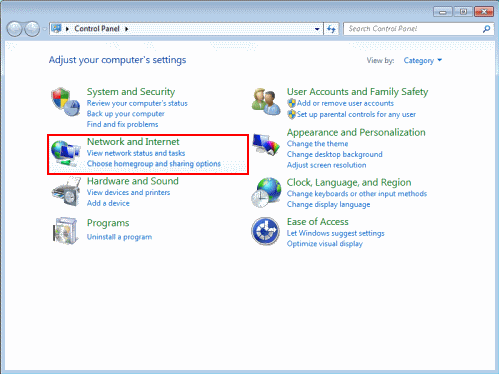
2) In the Windows Control Panel, under Network and Internet, click View network status and tasks.
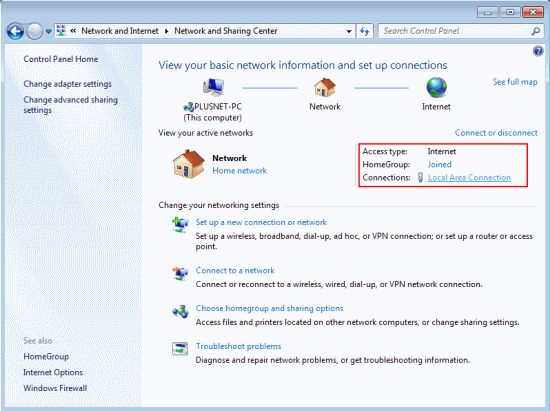
3) Click the link next to Connections on the right. In this screenshot, we're using a wired connection so the link is called Local Area Connection. If you're using Wireless the link will be named differently.
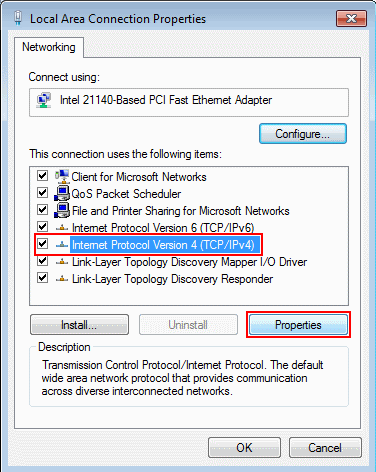
4) You'll see a connection status window, click Properties.

5) Select the Internet Protocol Version 4 (TCP/IPv4) item, and click the Properties button.
6) Select Use the following DNS server addresses, and enter:Preferred DNS server: 208.67.222.222 Alternate DNS server: 208.67.220.220
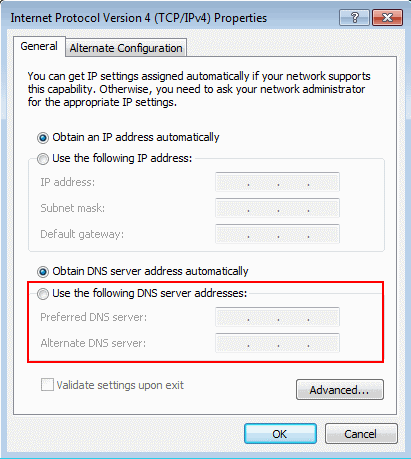
7) Finally, click the OK in this and the previous windows to save your changes.