This guide will show you how to setup OpenVPN using CLI quickly and easily
STEP 1) Open your terminal window and install the OpenVPN package:
sudo apt install openvpn
STEP 2) Now change to the OpenVPN directory and download the config files:
cd /etc/openvpn
sudo wget https://torguard.net/downloads/OpenVPN-TCP-Linux.zip
STEP 3) Unzip the downloaded config files:
sudo unzip OpenVPN-TCP-Linux.zip
STEP 4) Move all files to /etc/openvpn/
sudo cp /etc/openvpn/OpenVPN-TCP/* /etc/openvpn/
STEP 5) Re-name the .ovpn config files to .conf, Example: server.ovpn to server.conf, run the bellow command to rename them all to .conf.
sudo rename -v 's/\.ovpn/\.conf/' *.ovpn
You may need to install the rename package, you can do that doing the following:
sudo apt install rename
STEP 6) Conenct to OpenVPN by running the below command on the config you wish to connect with:
sudo openvpn server.conf
This will prompt you to enter your TorGuard VPN Username and your TorGuard VPN Password - if you wish to save those to save you entering these each time, please check this guide here
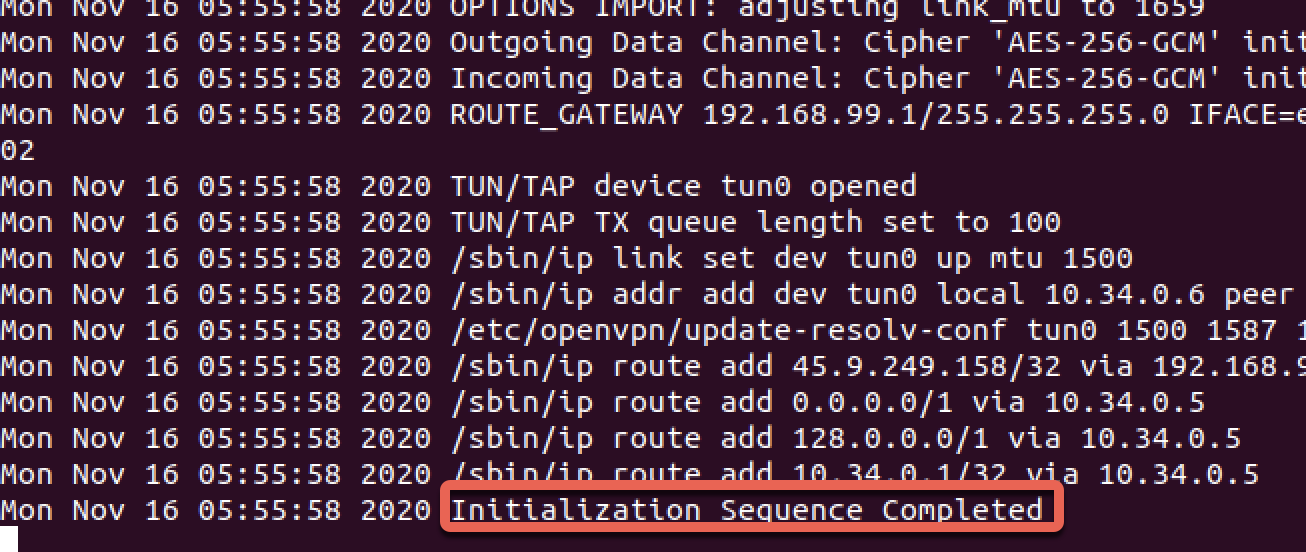
The following image shows a successful connection:

