GLI Mini VPN routers are portable powerhouses, perfect for the digital nomad or working professional. Now available in the TorGuard VPN router store this pocket-sized and highly portable VPN router fully supports TorGuard OpenVPN service.
In this tutorial, we will show how to configure your GLI Mini VPN router.
Step 1.)
First, connect to your GLI's Wifi or hook it up to your PC, open your favourite browser and enter 192.168.8.1 or 192.168.18.1 into the address bar, once on the router login page proceed to login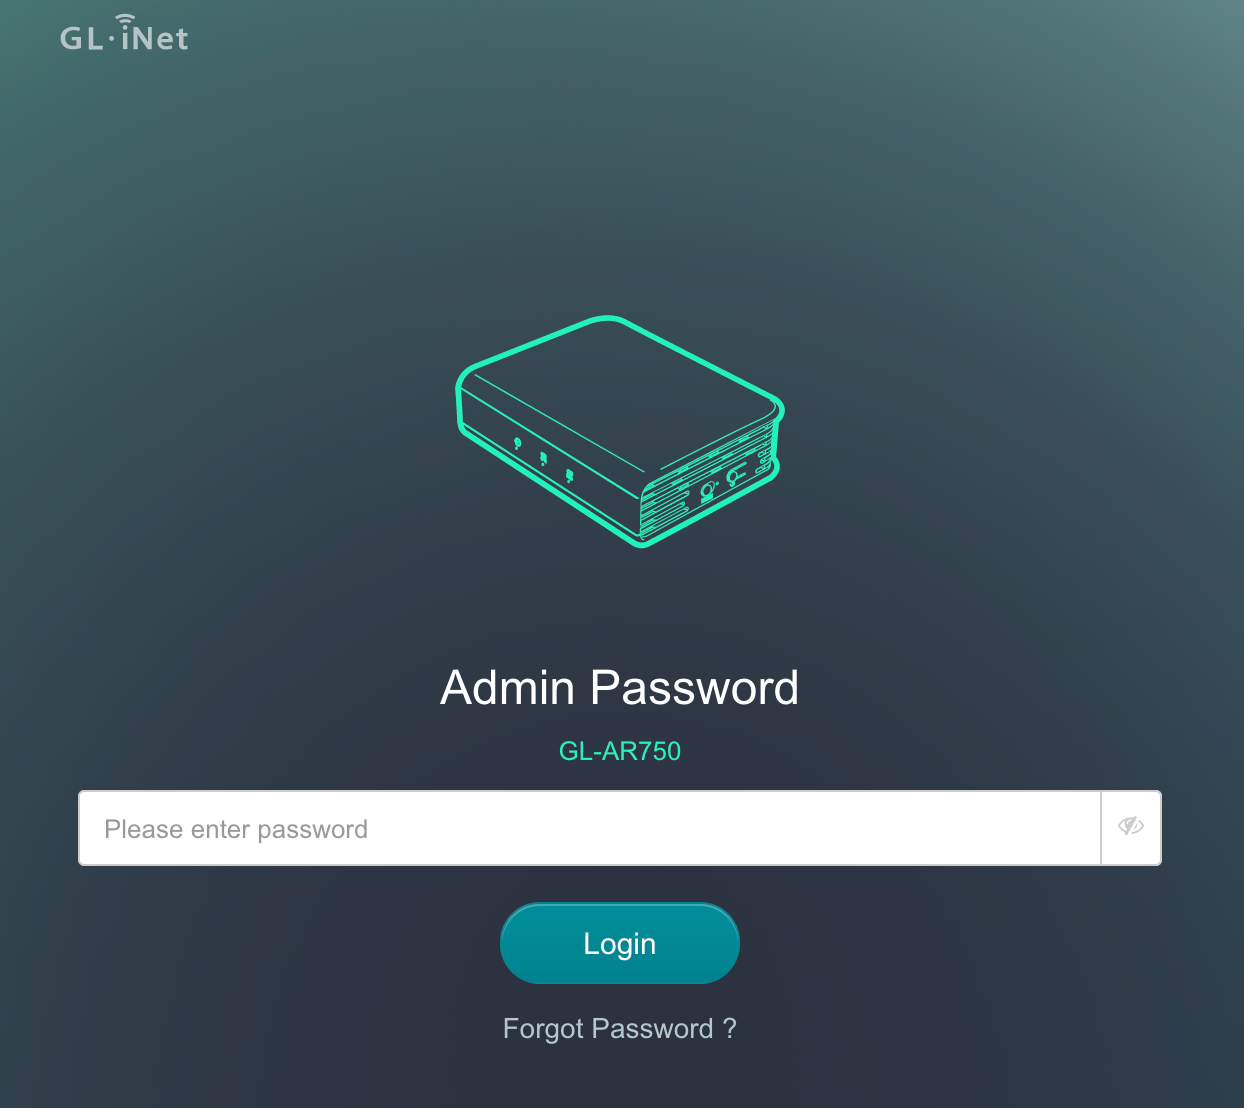
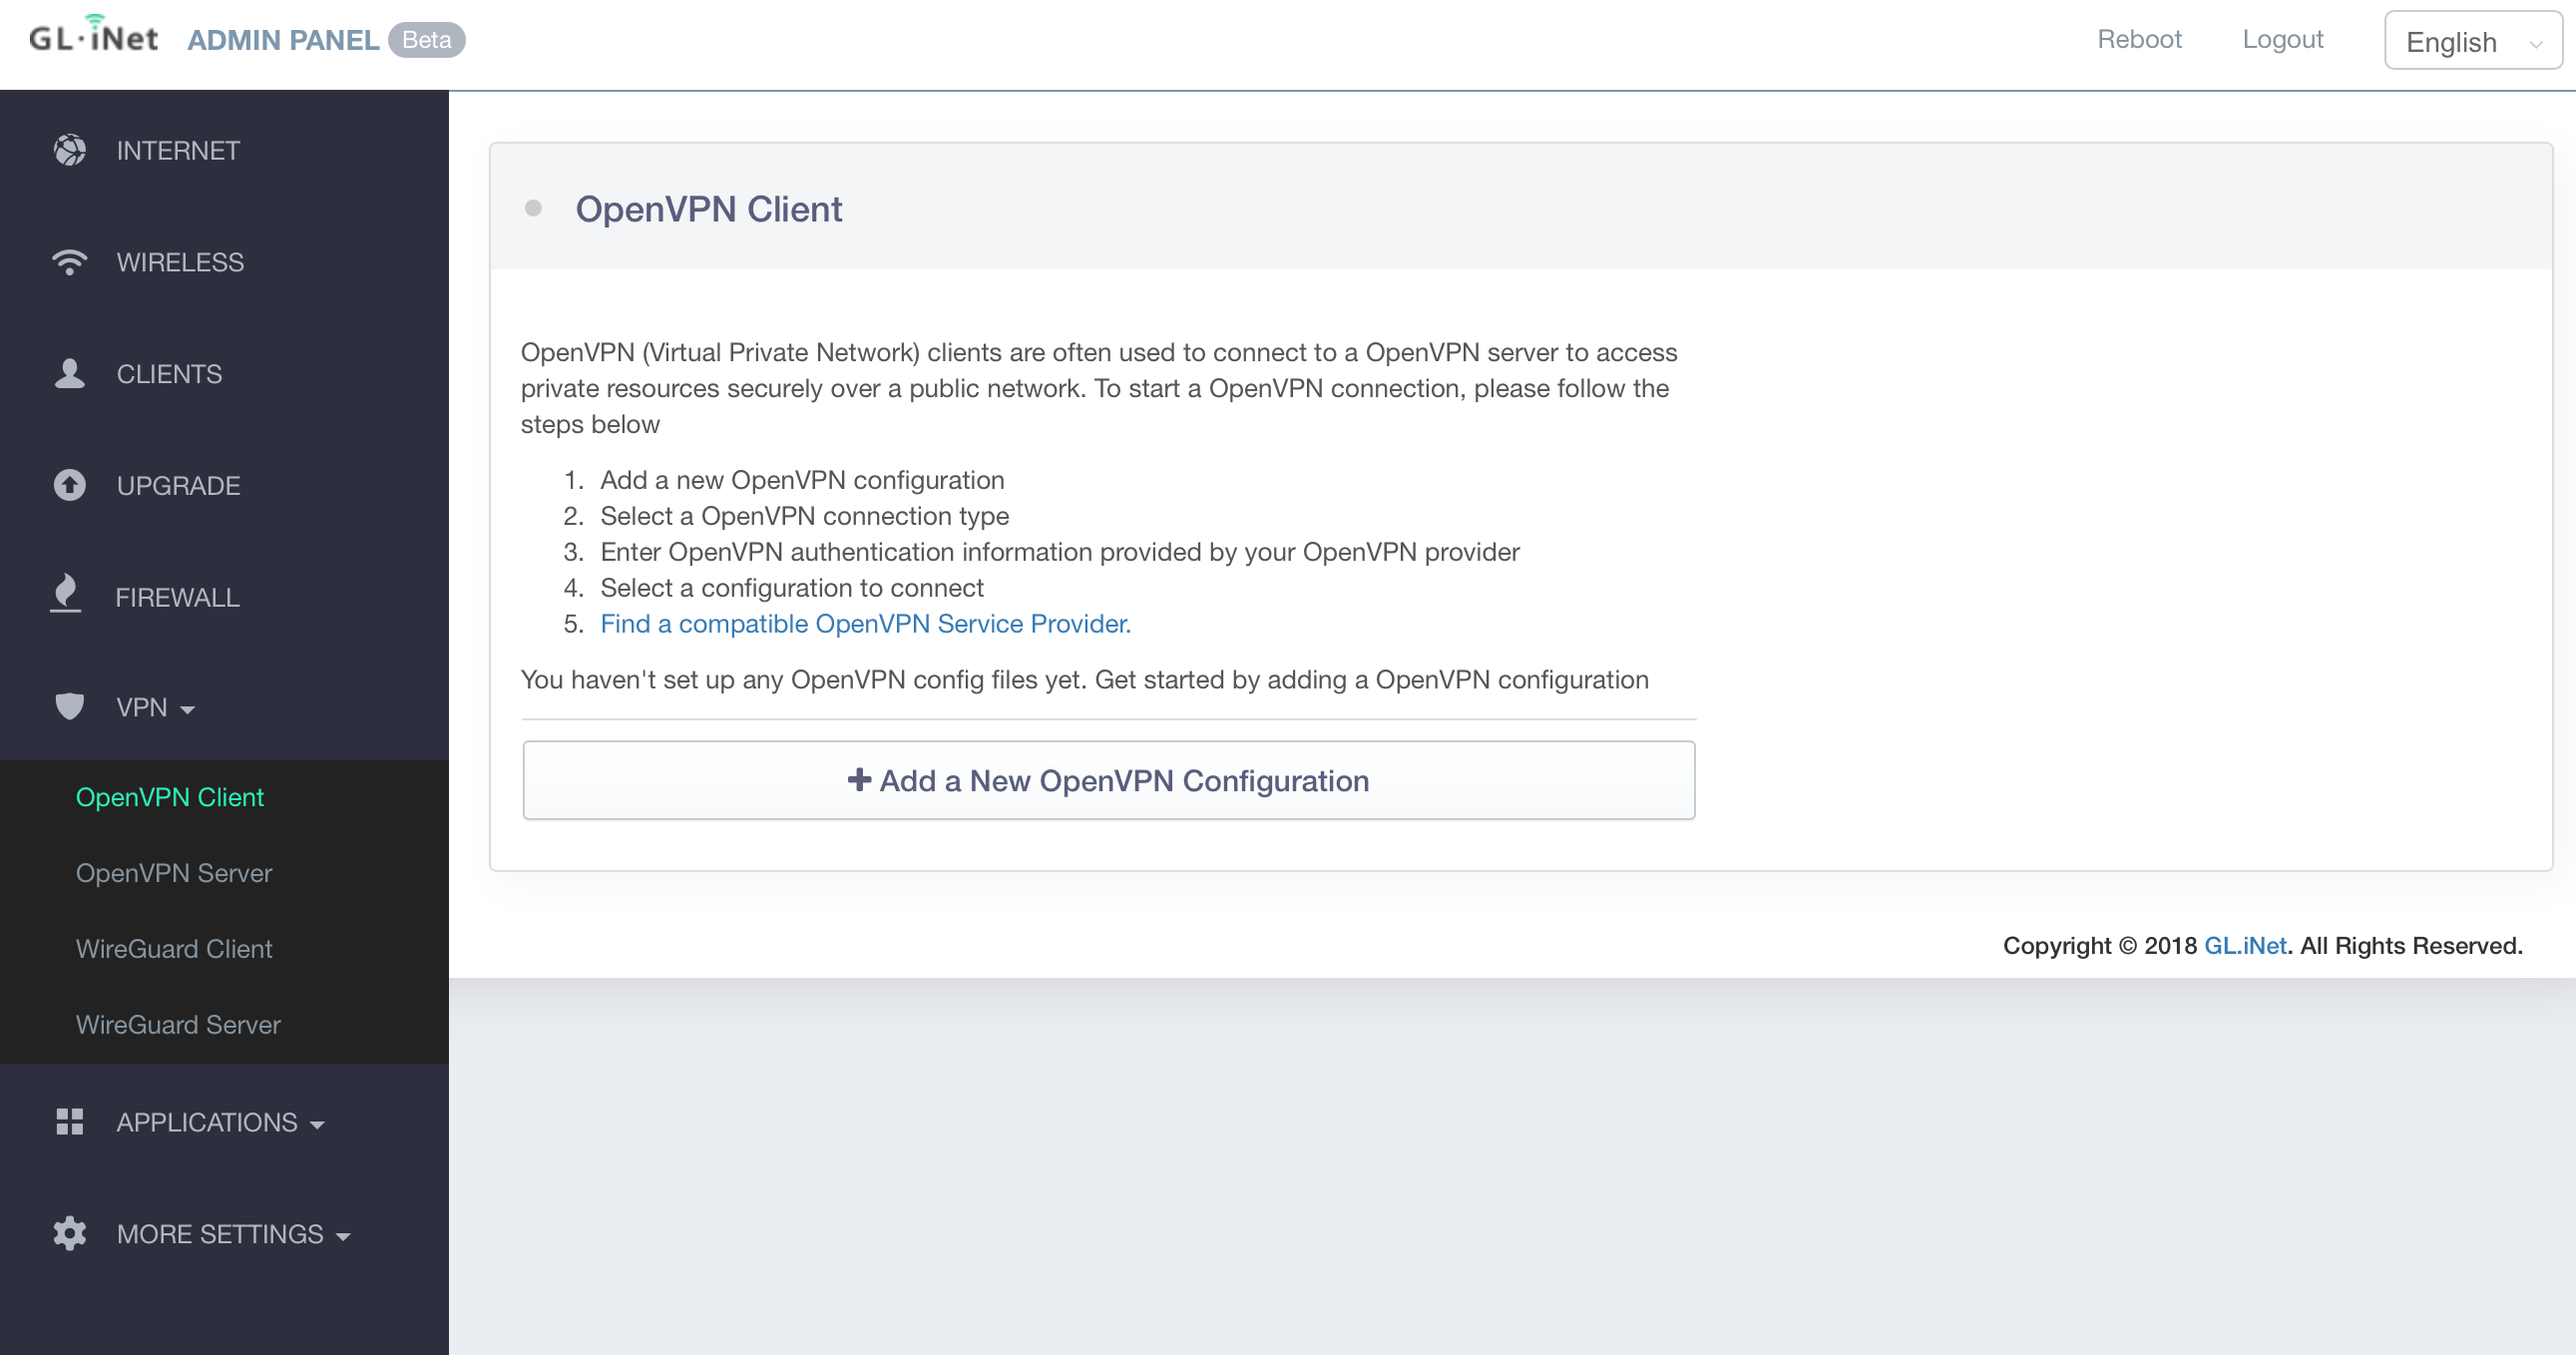
Once logged in, on the left menu click on VPN and then in the sub-menu click OpenVPN Client
Step 3.)
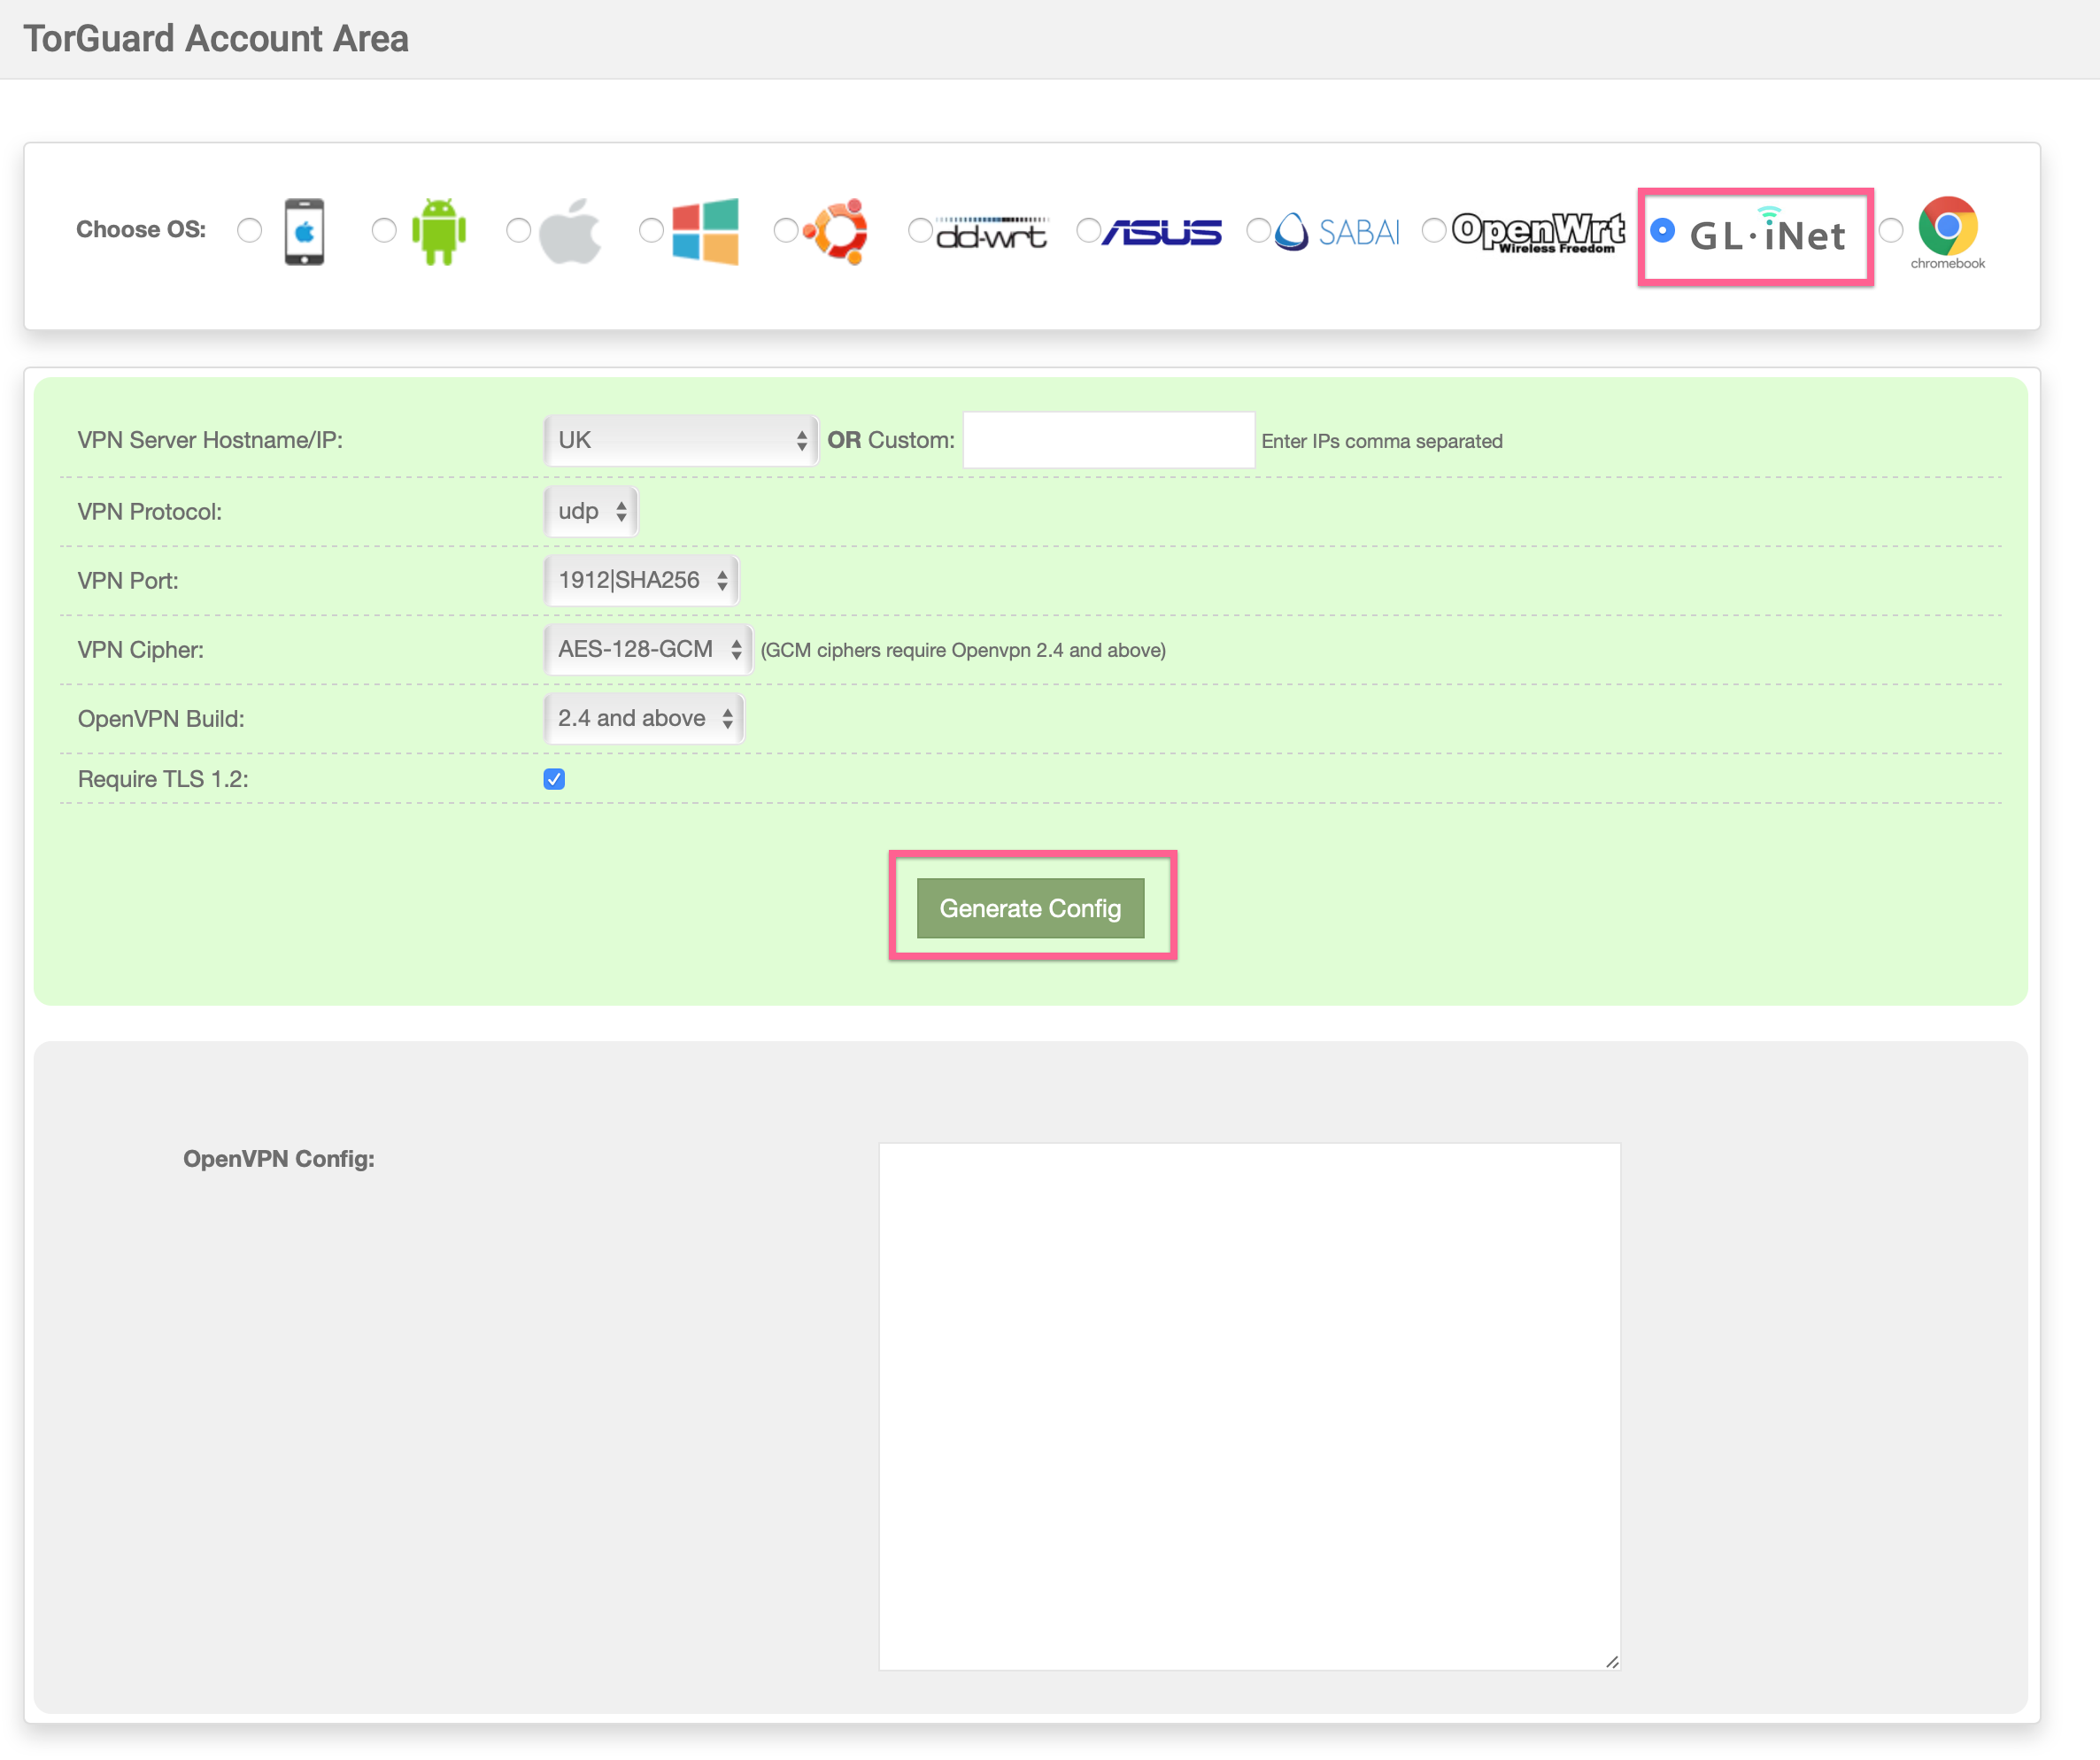
Now we need to create a config file, head over to our OpenVPN Config Generator located here: https://torguard.net/tgconf.php?action=vpn-openvpnconfig
Generate a config by selecting the Gli image on the top row, Select your country you want to connect with or enter a custom IP, your Dedicated IP for example
VPN Server Hostname/IP: Your Dedicated IP or any IP of your choice from our VPN service
VPN Protocol: TCP or UDP - this must match your Dedicated IP settings, if you don't have a dedicated IP then to your preference.
VPN Port: Whatever port suits - If you have a Dedicated IP then this must match your Dedicated IP settings.
VPN Cipher: Your preference although we recommend AES-128-GCM to go easy on your router CPU.
OpenVPN Build: OpenVPN 2.4 and above - most devices today will now use OpenVPN 2.4
Require TLS 1.2: Optional, will use TLS 1.2 and above by default.
Step 4.)
Now back to the router interface click Add New VPN Configuration - it will popup a window where you can drag and drop your config into as below:
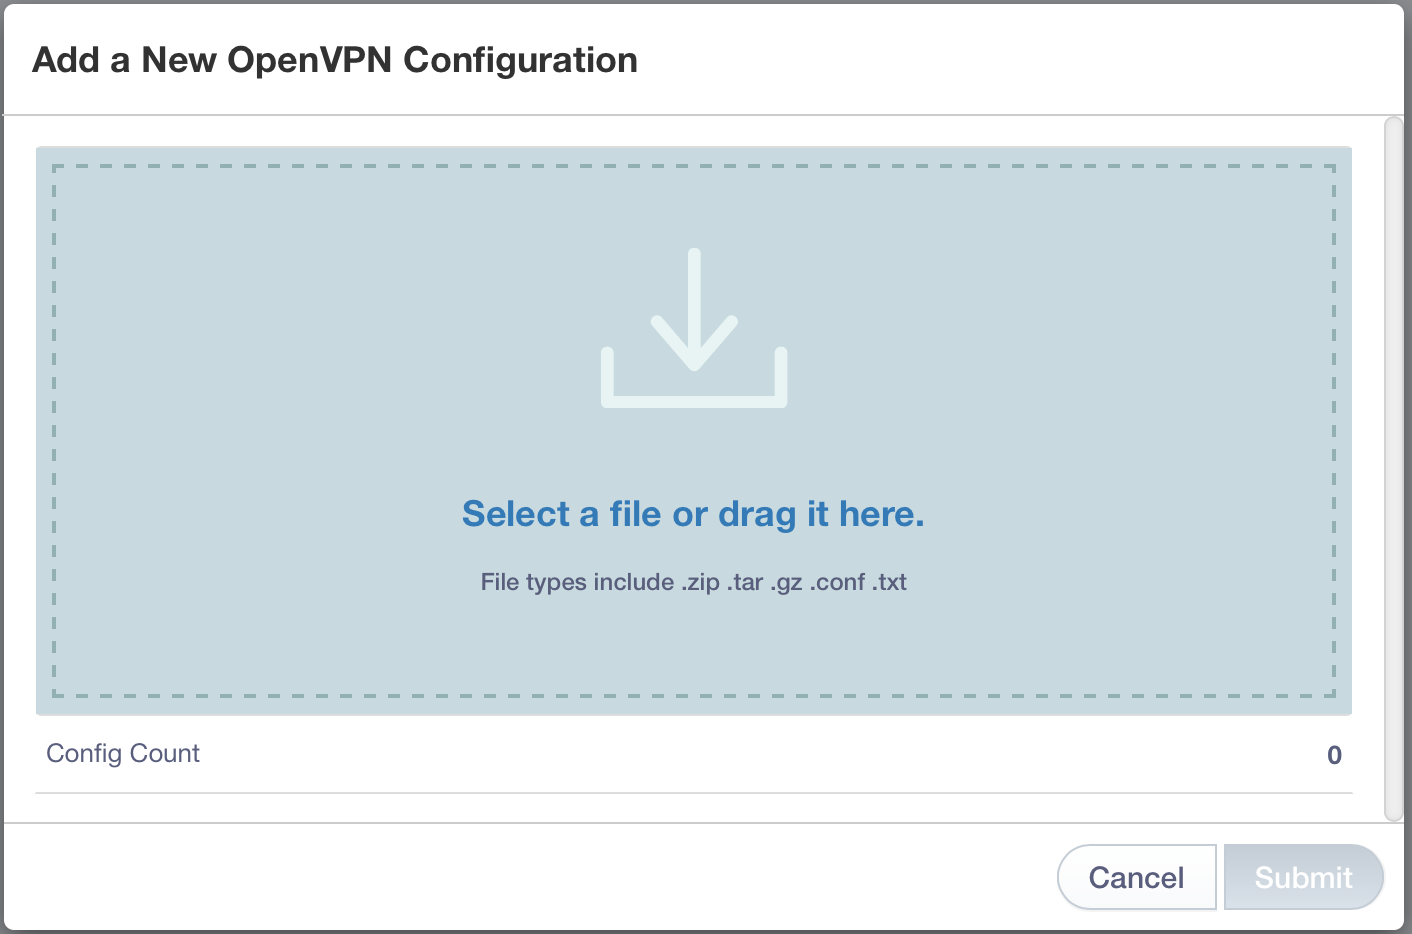
Drop the config in or click Select file to locate your file, once that's imported you should see a Success message as per below:

Now enter your description and your TorGuard VPN username and Password, click submit.
Step 5.)
Now click connect, give it about 10/20 seconds to fully connect, usually, it is much quicker but just to be sure, once connected you should see the following output:
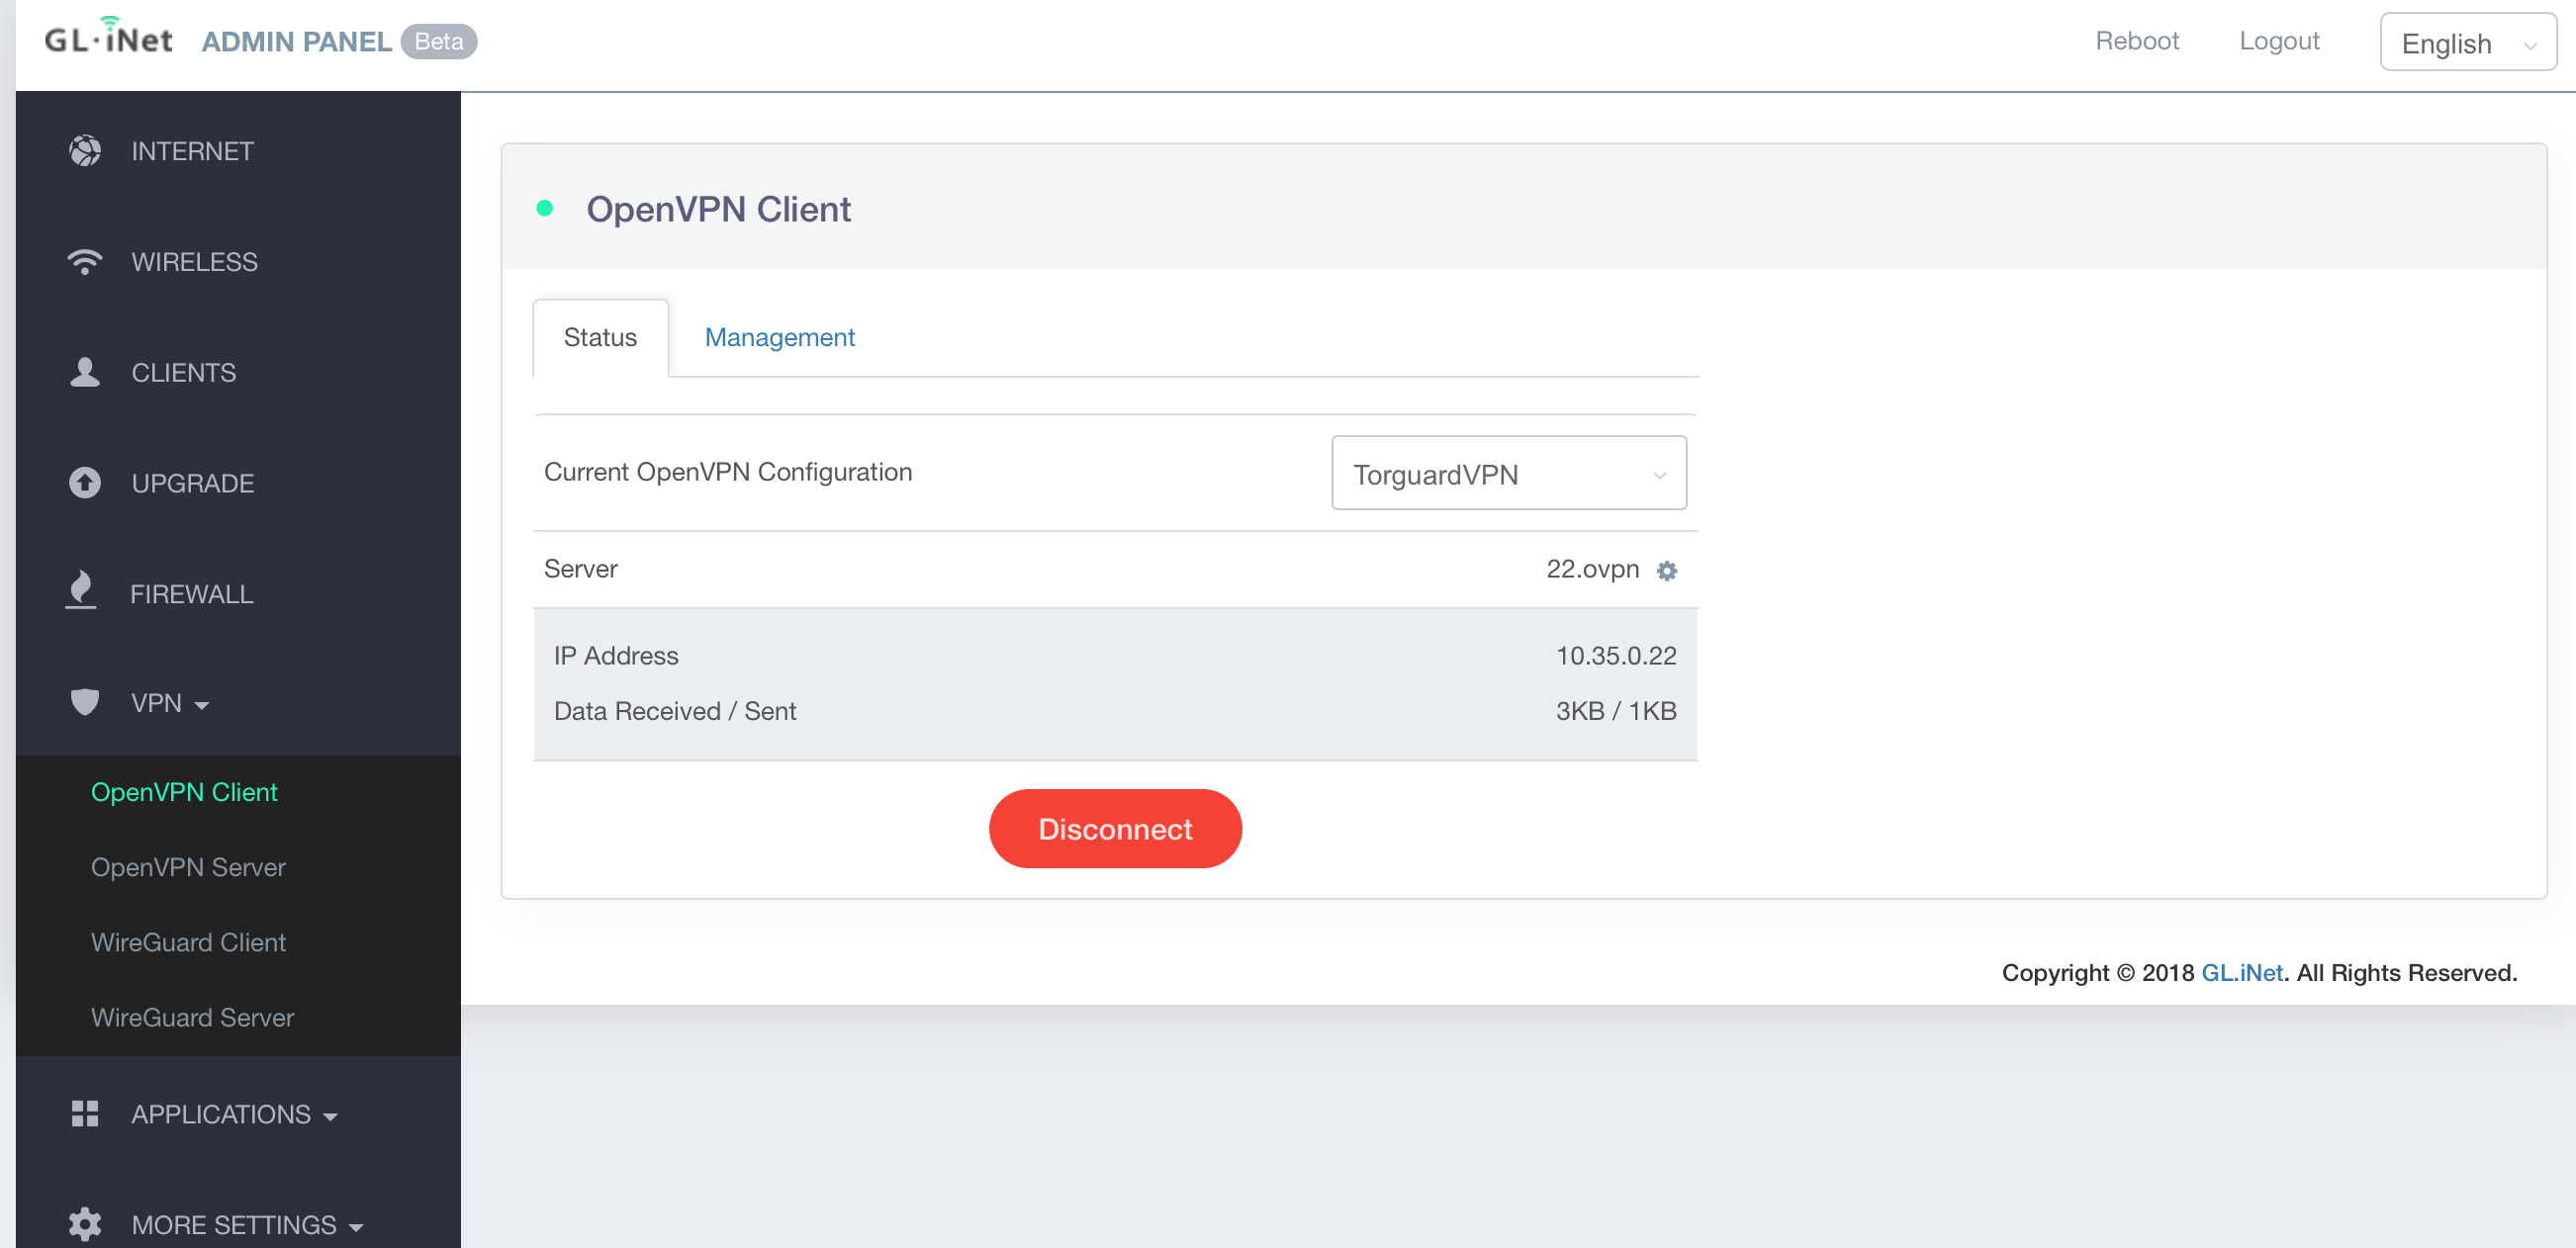
You should see your local IP assigned by the VPN and data being received and sent which means your now successfully connected.
Step 6.)
Check your IP has changed on our What's My IP page here https://torguard.net/whats-my-ip.php
Notes:
1) Occasionally some networks may block our VPN hostnames via DNS, in that case when generating your config file you would enter a direct VPN IP rather than generating using our hostnames.
2) Some networks filter UDP completely or just on specific ports so if you can't connect try TCP or a different port.