Synology NAS devices support VPN connections to secure your data transfers and enable secure remote access. This guide covers VPN setup on Synology DiskStation Manager (DSM), including the legacy PPTP protocol and recommendations for more secure alternatives.
⚠️ Security Warning: PPTP is Deprecated
PPTP is an outdated protocol with known security vulnerabilities. It should NOT be used for sensitive data. We strongly recommend using:
- OpenVPN: Most secure, widely supported
- L2TP/IPsec: Better security than PPTP
- WireGuard: Modern, fast (requires DSM 7.0+)
This guide includes PPTP instructions for legacy compatibility only.
Supported Synology Models
VPN client functionality is available on most Synology NAS models running DSM 6.0 or later:
| Series | Popular Models | DSM Version | VPN Performance |
|---|---|---|---|
| Plus Series | DS220+, DS420+, DS920+ | DSM 6.2+ | Good (50-100 Mbps) |
| Value Series | DS220j, DS420j | DSM 6.2+ | Basic (10-30 Mbps) |
| xs/xs+ Series | DS1520+, DS1821+ | DSM 6.2+ | Excellent (100+ Mbps) |
| RackStation | RS820+, RS1221+ | DSM 6.2+ | Enterprise grade |
Prerequisites
- Synology NAS with DSM 6.0 or higher
- Active TorGuard VPN subscription
- TorGuard VPN username and password
- Admin access to Synology DSM
- List of TorGuard VPN servers
Recommended: OpenVPN Setup (Most Secure)
Step 1: Download TorGuard OpenVPN Config
- Login to your TorGuard account
- Download OpenVPN config files for your desired server
- Extract the .ovpn file
Step 2: Install VPN Plus Server (DSM 6.2+)
- Open Package Center
- Search for "VPN Plus Server"
- Install the package
Step 3: Configure OpenVPN
- Go to Control Panel → Network → Network Interface
- Click Create → Create VPN Profile
- Select "OpenVPN (via importing .ovpn file)"
- Import your TorGuard .ovpn file
- Enter your TorGuard credentials
- Click Next → Apply
PPTP Setup (Legacy - Not Recommended)
Step 1: Access Network Settings
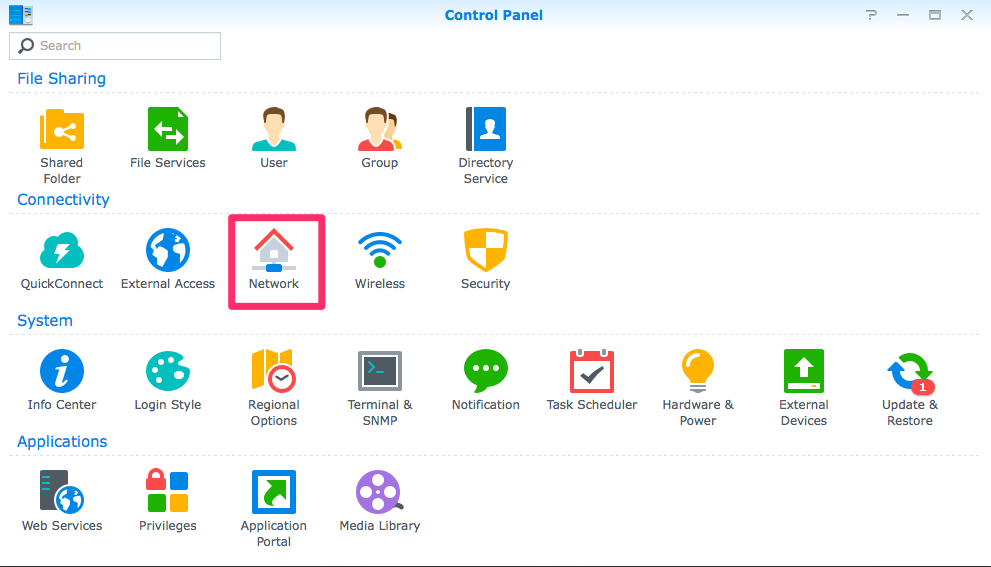
Login to your Synology DSM and navigate to Control Panel → Network.
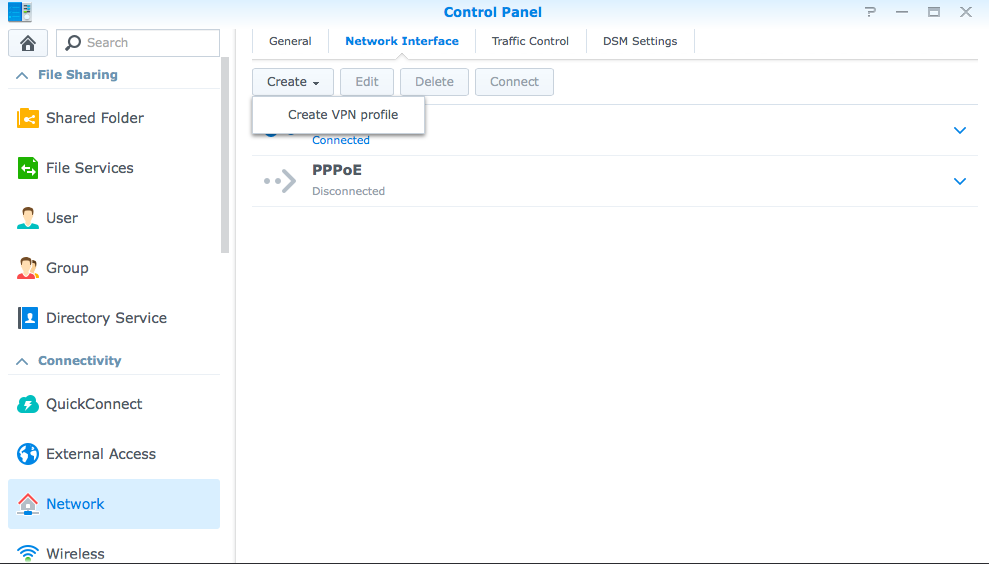
Step 2: Create VPN Profile
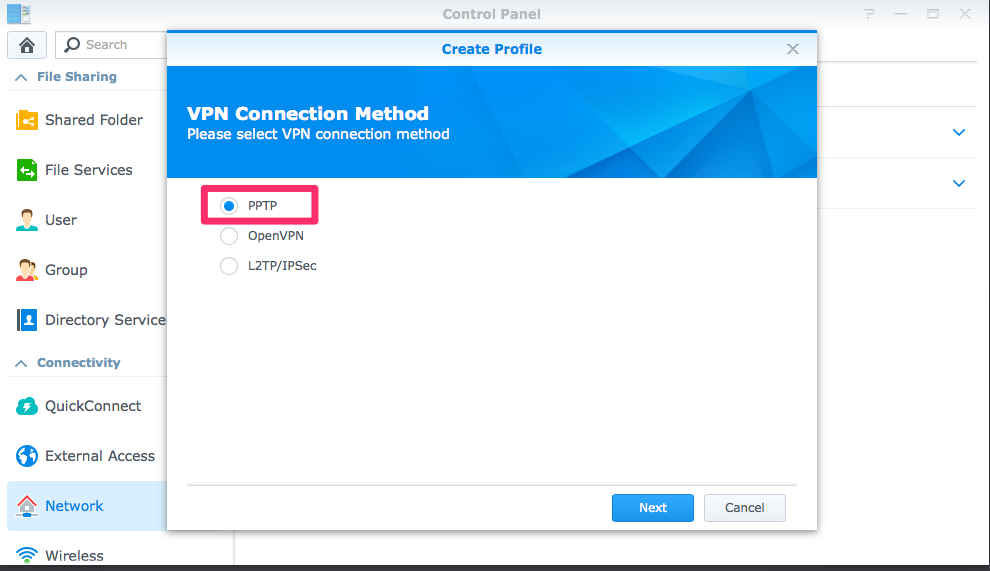
Click "Network Interface", then select "Create → Create VPN Profile" and choose "PPTP" from the list.
Step 3: Configure PPTP Connection
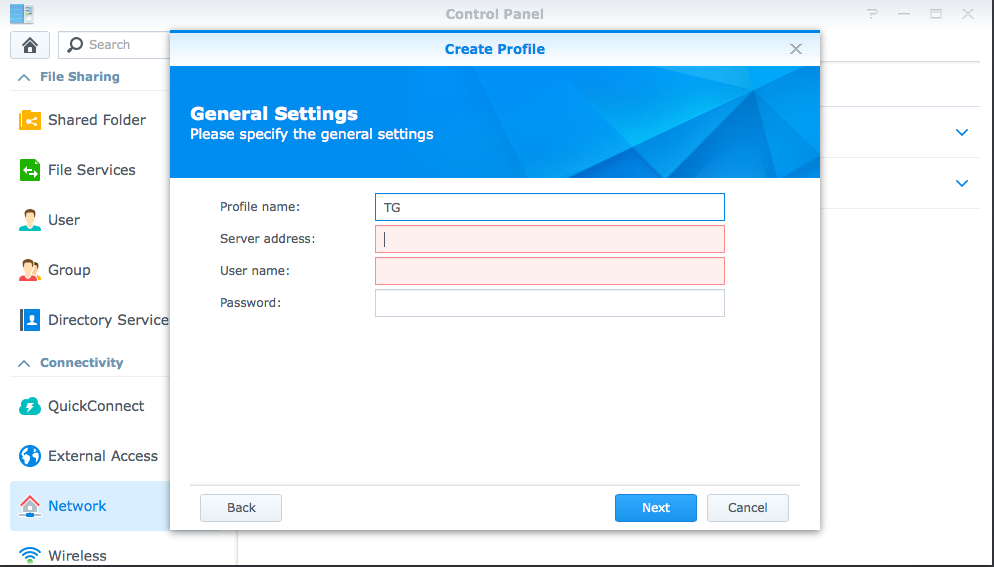
Fill in the connection details:
- Profile name: TorGuard VPN (or any descriptive name)
- Server address: Your chosen TorGuard PPTP server
- USA: us-ny.torguard.com
- UK: uk.torguard.com
- Netherlands: nl.torguard.com
- Username: Your TorGuard VPN username
- Password: Your TorGuard VPN password
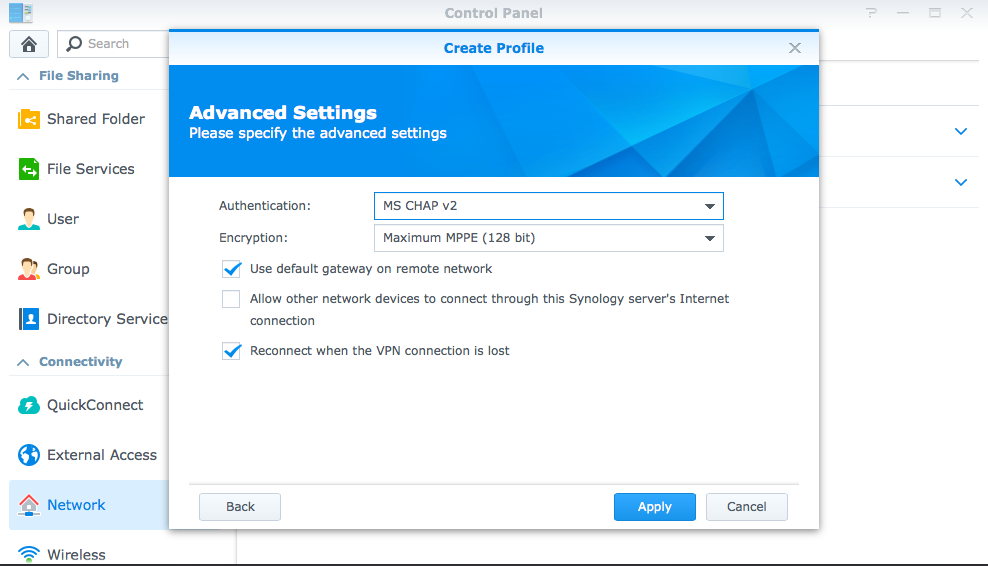
Step 4: Set Encryption Options
Configure the security settings:
- Authentication: MS-CHAP v2
- Encryption: Maximum MPPE (128 bit)
- Options: Check "Use default gateway on remote network"
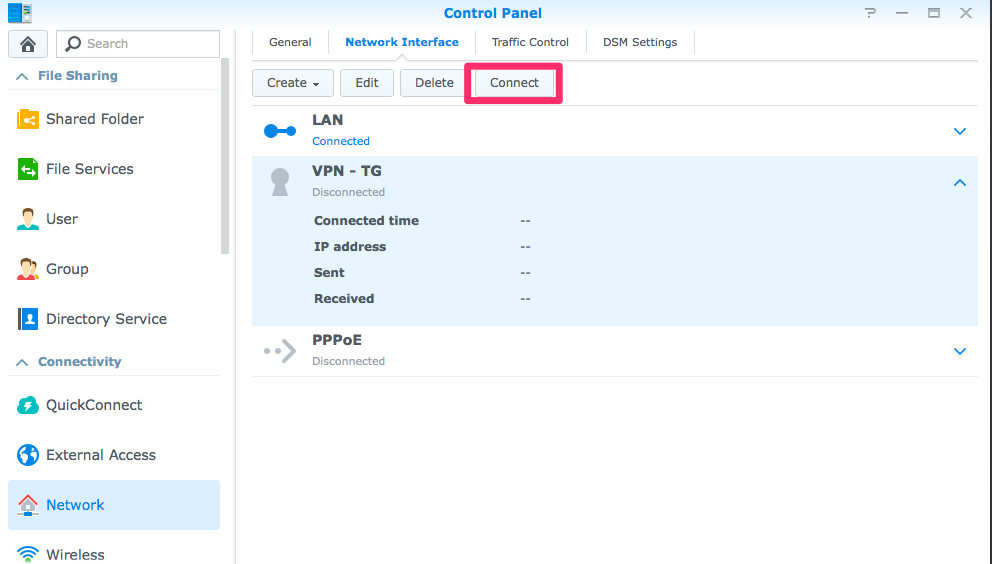
Step 5: Connect to VPN
Select your VPN profile and click "Connect" to establish the connection.
Step 6: Verify Connection
To verify your NAS is using the VPN, SSH into your Synology and run:
# Check current IP address
curl http://checkip.dyndns.org

# Alternative method
wget -qO- http://ipecho.net/plain
L2TP/IPsec Setup (Better Security)
For improved security over PPTP:
- Create VPN Profile → Select "L2TP/IPsec"
- Enter server details:
- Server: TorGuard L2TP server address
- Pre-shared key: torguard
- Username/Password: Your TorGuard credentials
- Set authentication to MS-CHAPv2
- Enable "Use default gateway"
Advanced VPN Configuration
Split Tunneling
Route only specific traffic through VPN:
- Uncheck "Use default gateway on remote network"
- Add static routes for specific destinations
- Useful for accessing local resources while connected
VPN Connection on Boot
Enable automatic VPN connection:
- Control Panel → Task Scheduler
- Create → Triggered Task → Boot-up
- User-defined script:
synovpnc connect --name="TorGuard VPN"
Multiple VPN Profiles
Create profiles for different purposes:
- TorGuard US: For streaming
- TorGuard EU: For privacy
- TorGuard Asia: For regional content
NAS-Specific VPN Considerations
Performance Impact
- VPN encryption uses CPU resources
- May affect file transfer speeds
- Monitor CPU usage during transfers
- Consider scheduling intensive tasks
Remote Access
When VPN is active:
- QuickConnect may not work
- Use DDNS with port forwarding
- Or access NAS through VPN IP
Download Station/Torrent
VPN benefits for downloading:
- Hide download activity from ISP
- Bypass throttling
- Access geo-restricted trackers
Troubleshooting Common Issues
Connection Fails
- Check credentials: Use VPN username, not account email
- Server status: Verify server is online
- Firewall: Allow VPN ports (PPTP: 1723, L2TP: 1701, OpenVPN: 1194)
- DSM version: Update to latest DSM
Slow Transfer Speeds
- Protocol: Try different VPN protocols
- Server location: Choose closer server
- Encryption: Lower encryption for speed
- Hardware limits: Check NAS CPU capabilities
Services Unreachable
- Port forwarding: May need reconfiguration
- Local access: Disable "Use default gateway"
- DNS issues: Set custom DNS servers
Security Best Practices
- Avoid PPTP: Use OpenVPN or L2TP/IPsec instead
- Regular updates: Keep DSM and packages updated
- Strong passwords: Use unique VPN credentials
- Monitor logs: Check VPN logs regularly
- Firewall rules: Configure DSM firewall properly
- 2FA: Enable two-factor authentication on DSM
Alternative VPN Solutions
VPN Server on NAS
Instead of client, run VPN server:
- Access your NAS remotely
- Secure your home network
- Available via VPN Plus Server package
Docker VPN Containers
For advanced users:
- Run VPN client in Docker
- Isolate VPN traffic
- More configuration options
Virtual Machine VPN
On supported models:
- Run pfSense or other router OS
- Full VPN gateway functionality
- Requires VMM package
💡 Pro Tips
- Test VPN during off-peak hours first
- Document your working configuration
- Set up notifications for VPN disconnections
- Consider dedicated VPN hardware for better performance
Need Help with NAS VPN Setup?
Our support team can assist with Synology VPN configuration, protocol recommendations, and troubleshooting NAS-specific issues.
Get NAS Support